
Phase 6 - Anchorages under vehicle
This is the phase in which we prepare the four anchors where we will fix the plate. We have to consider that the plate has 4 gripping points:
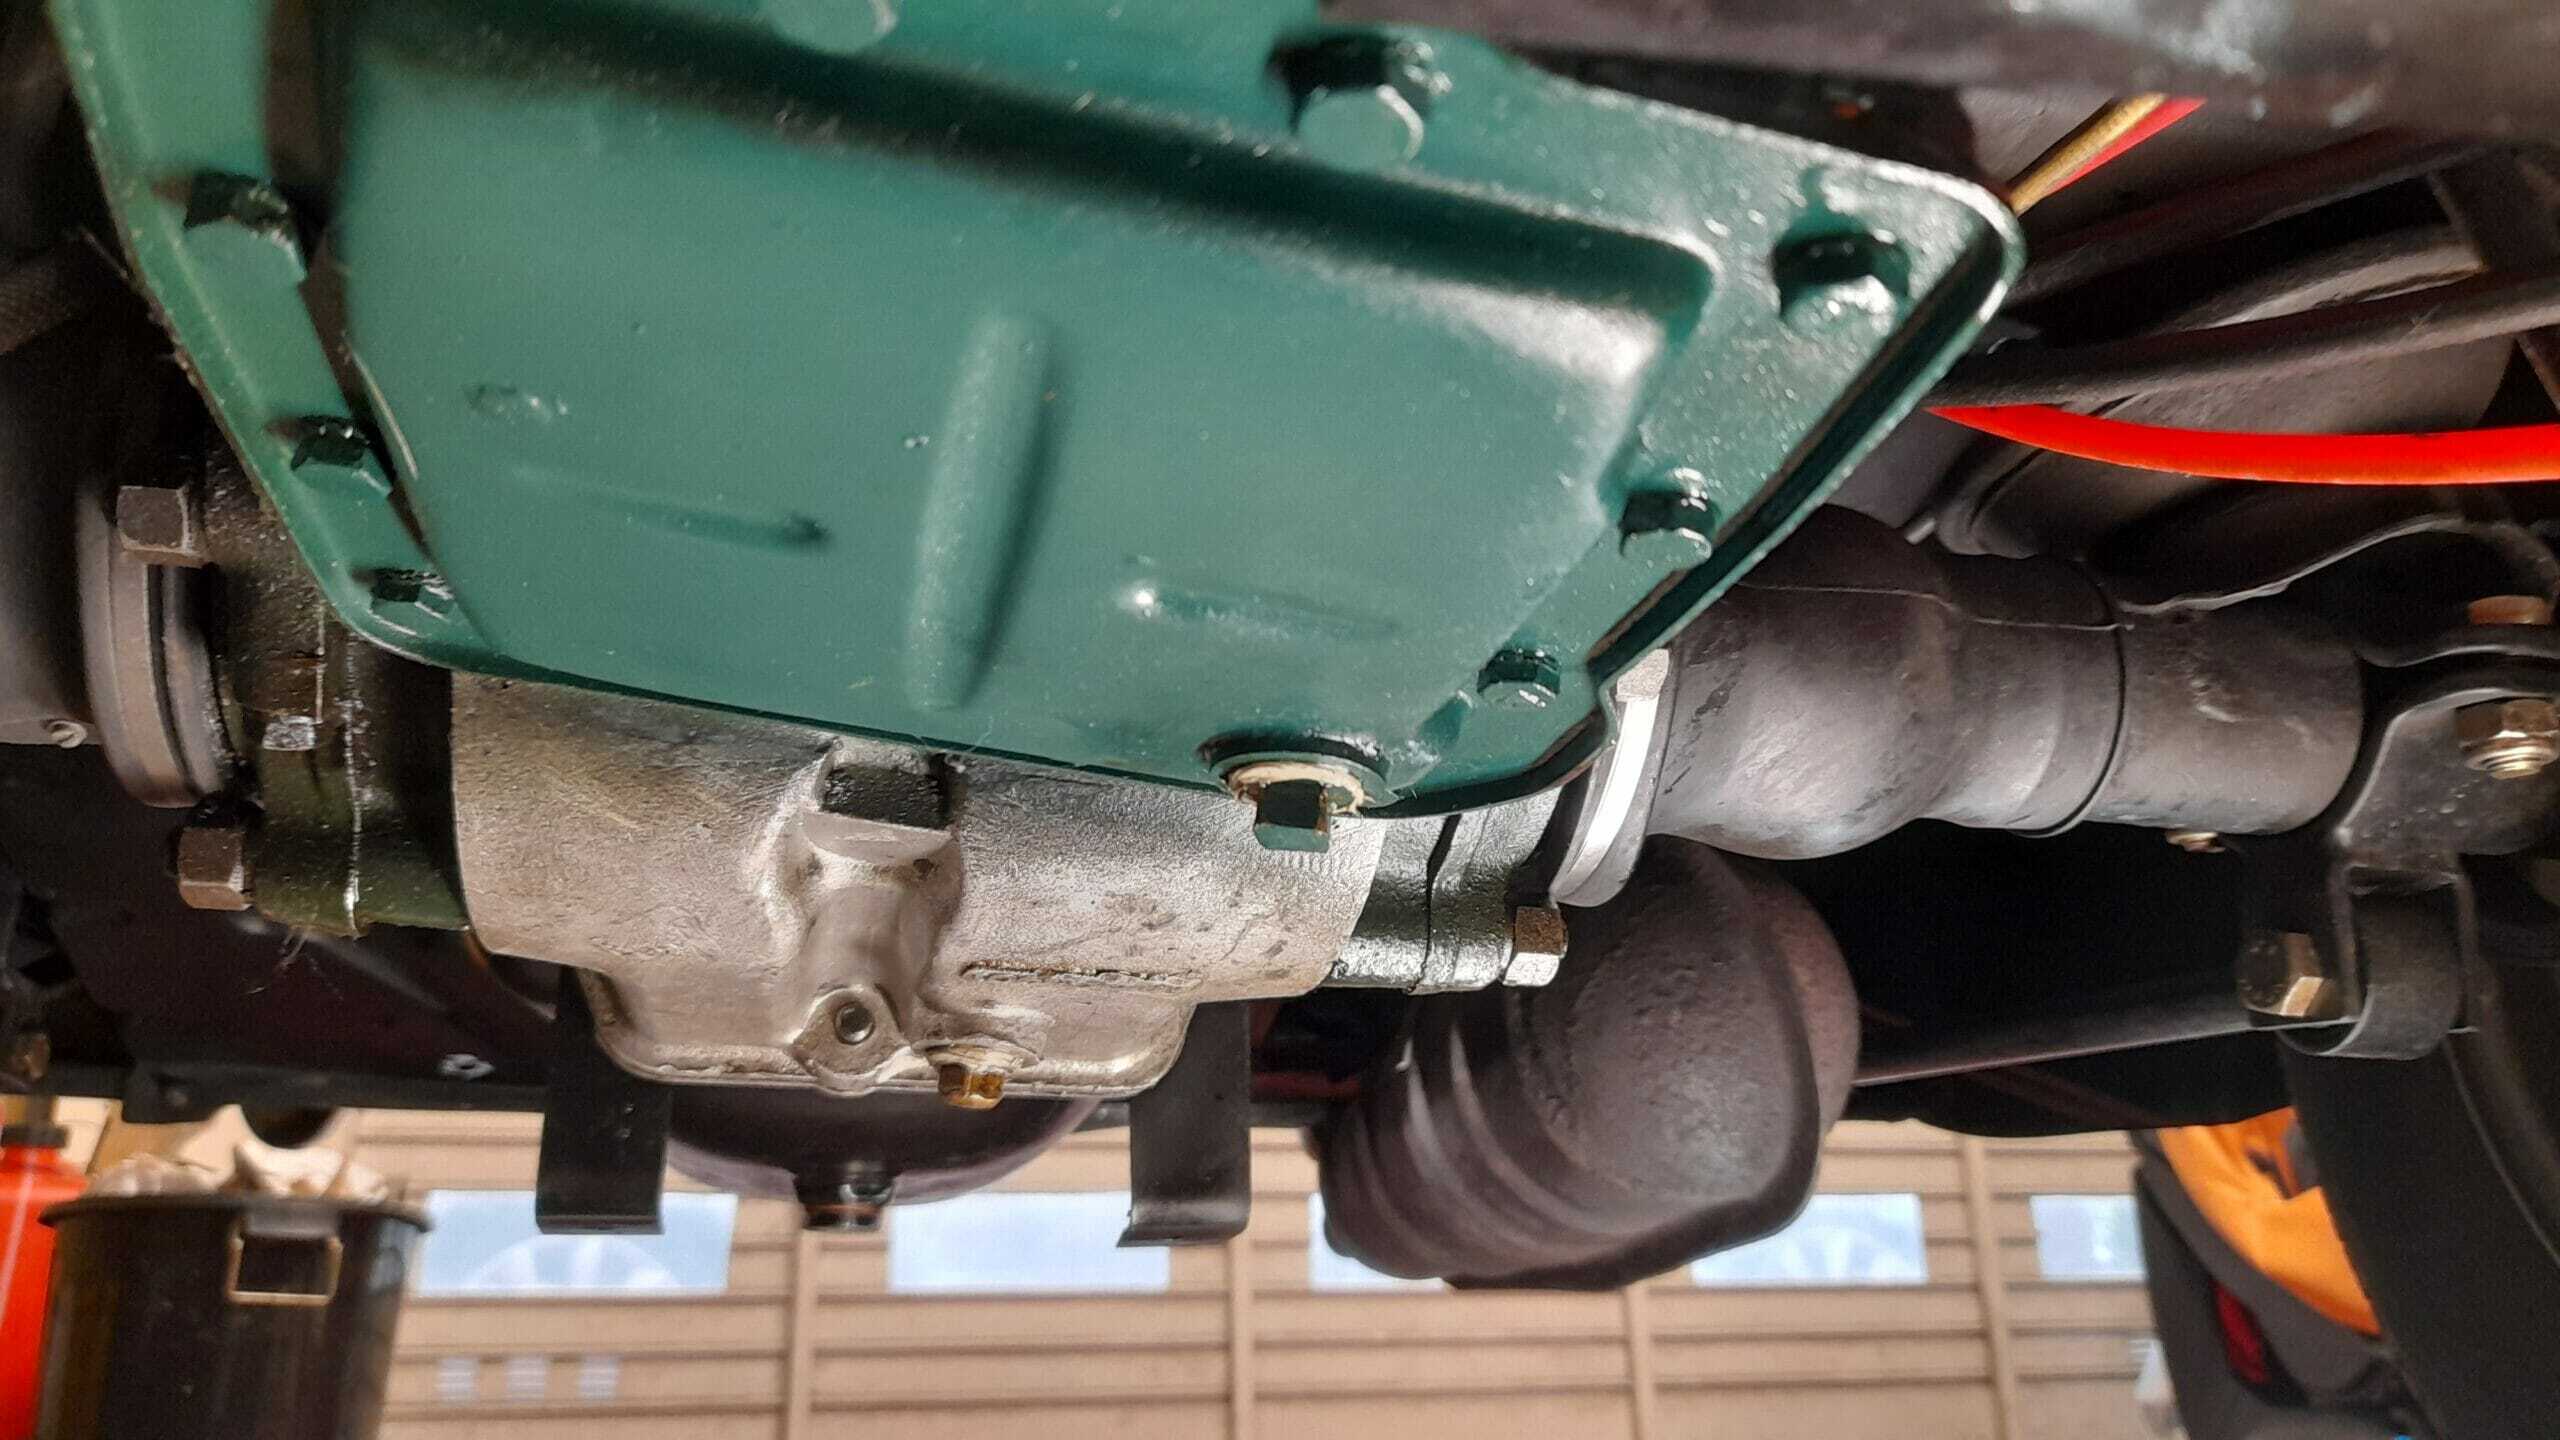
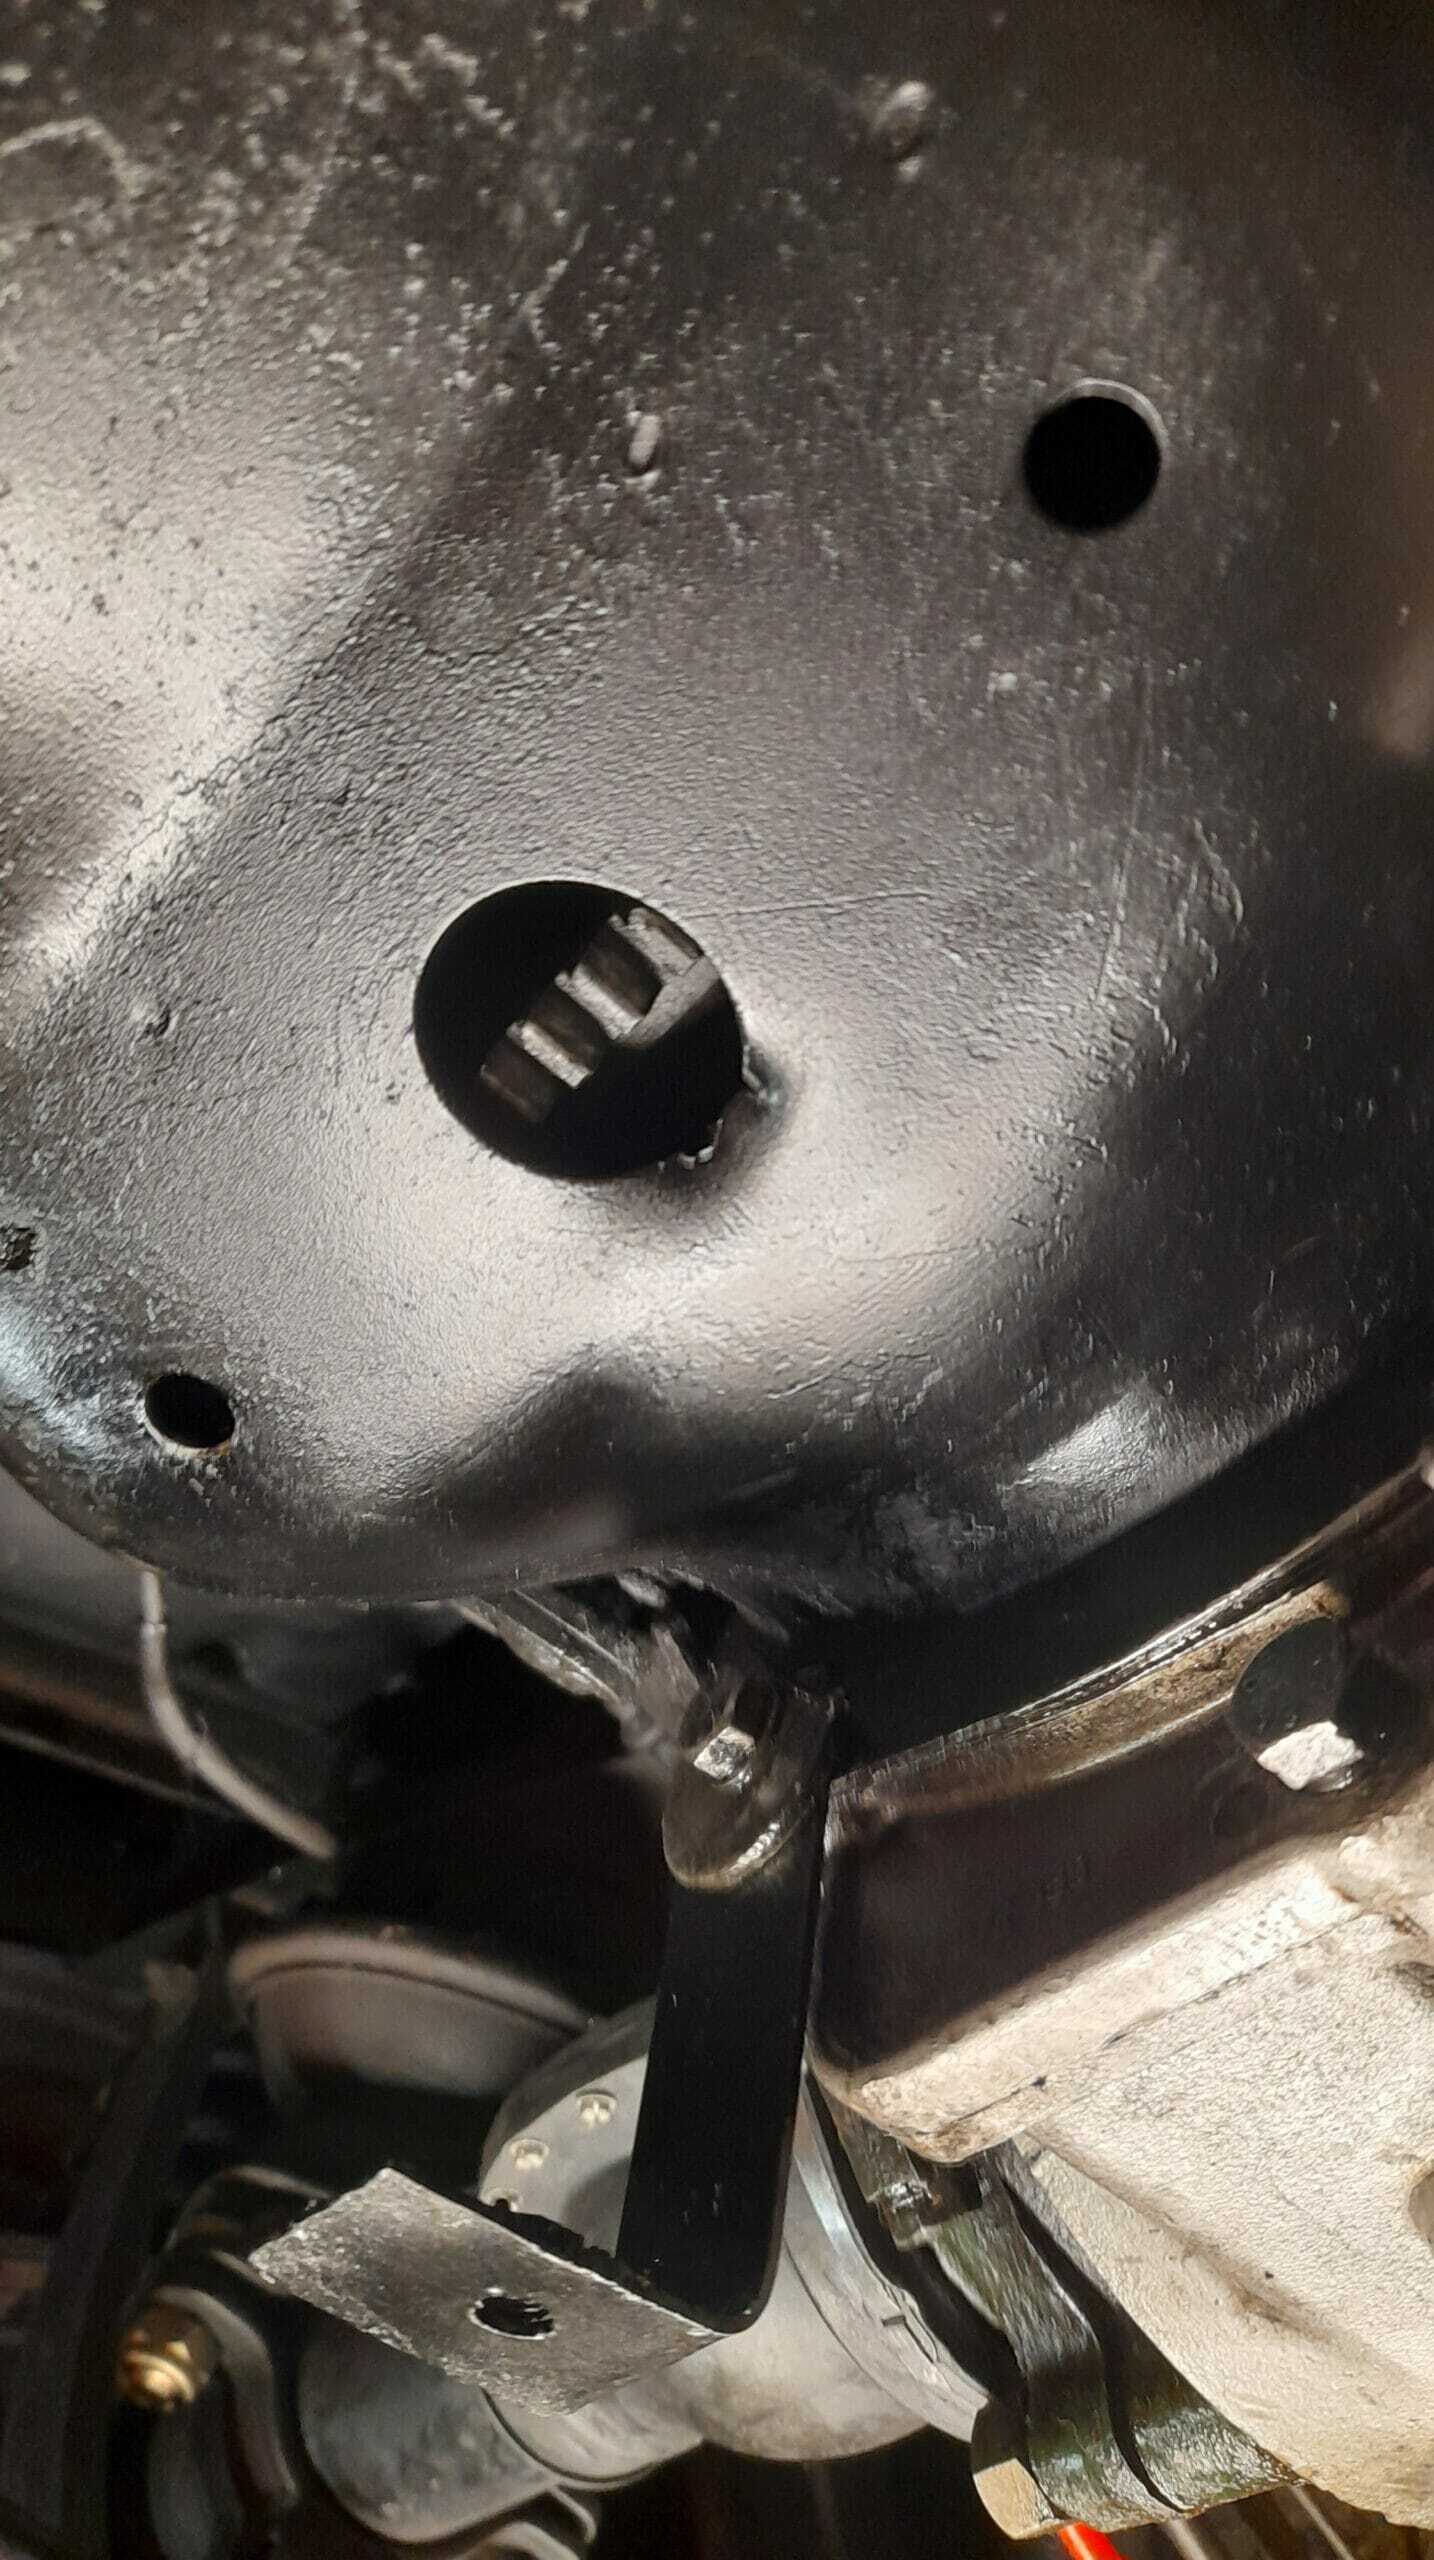
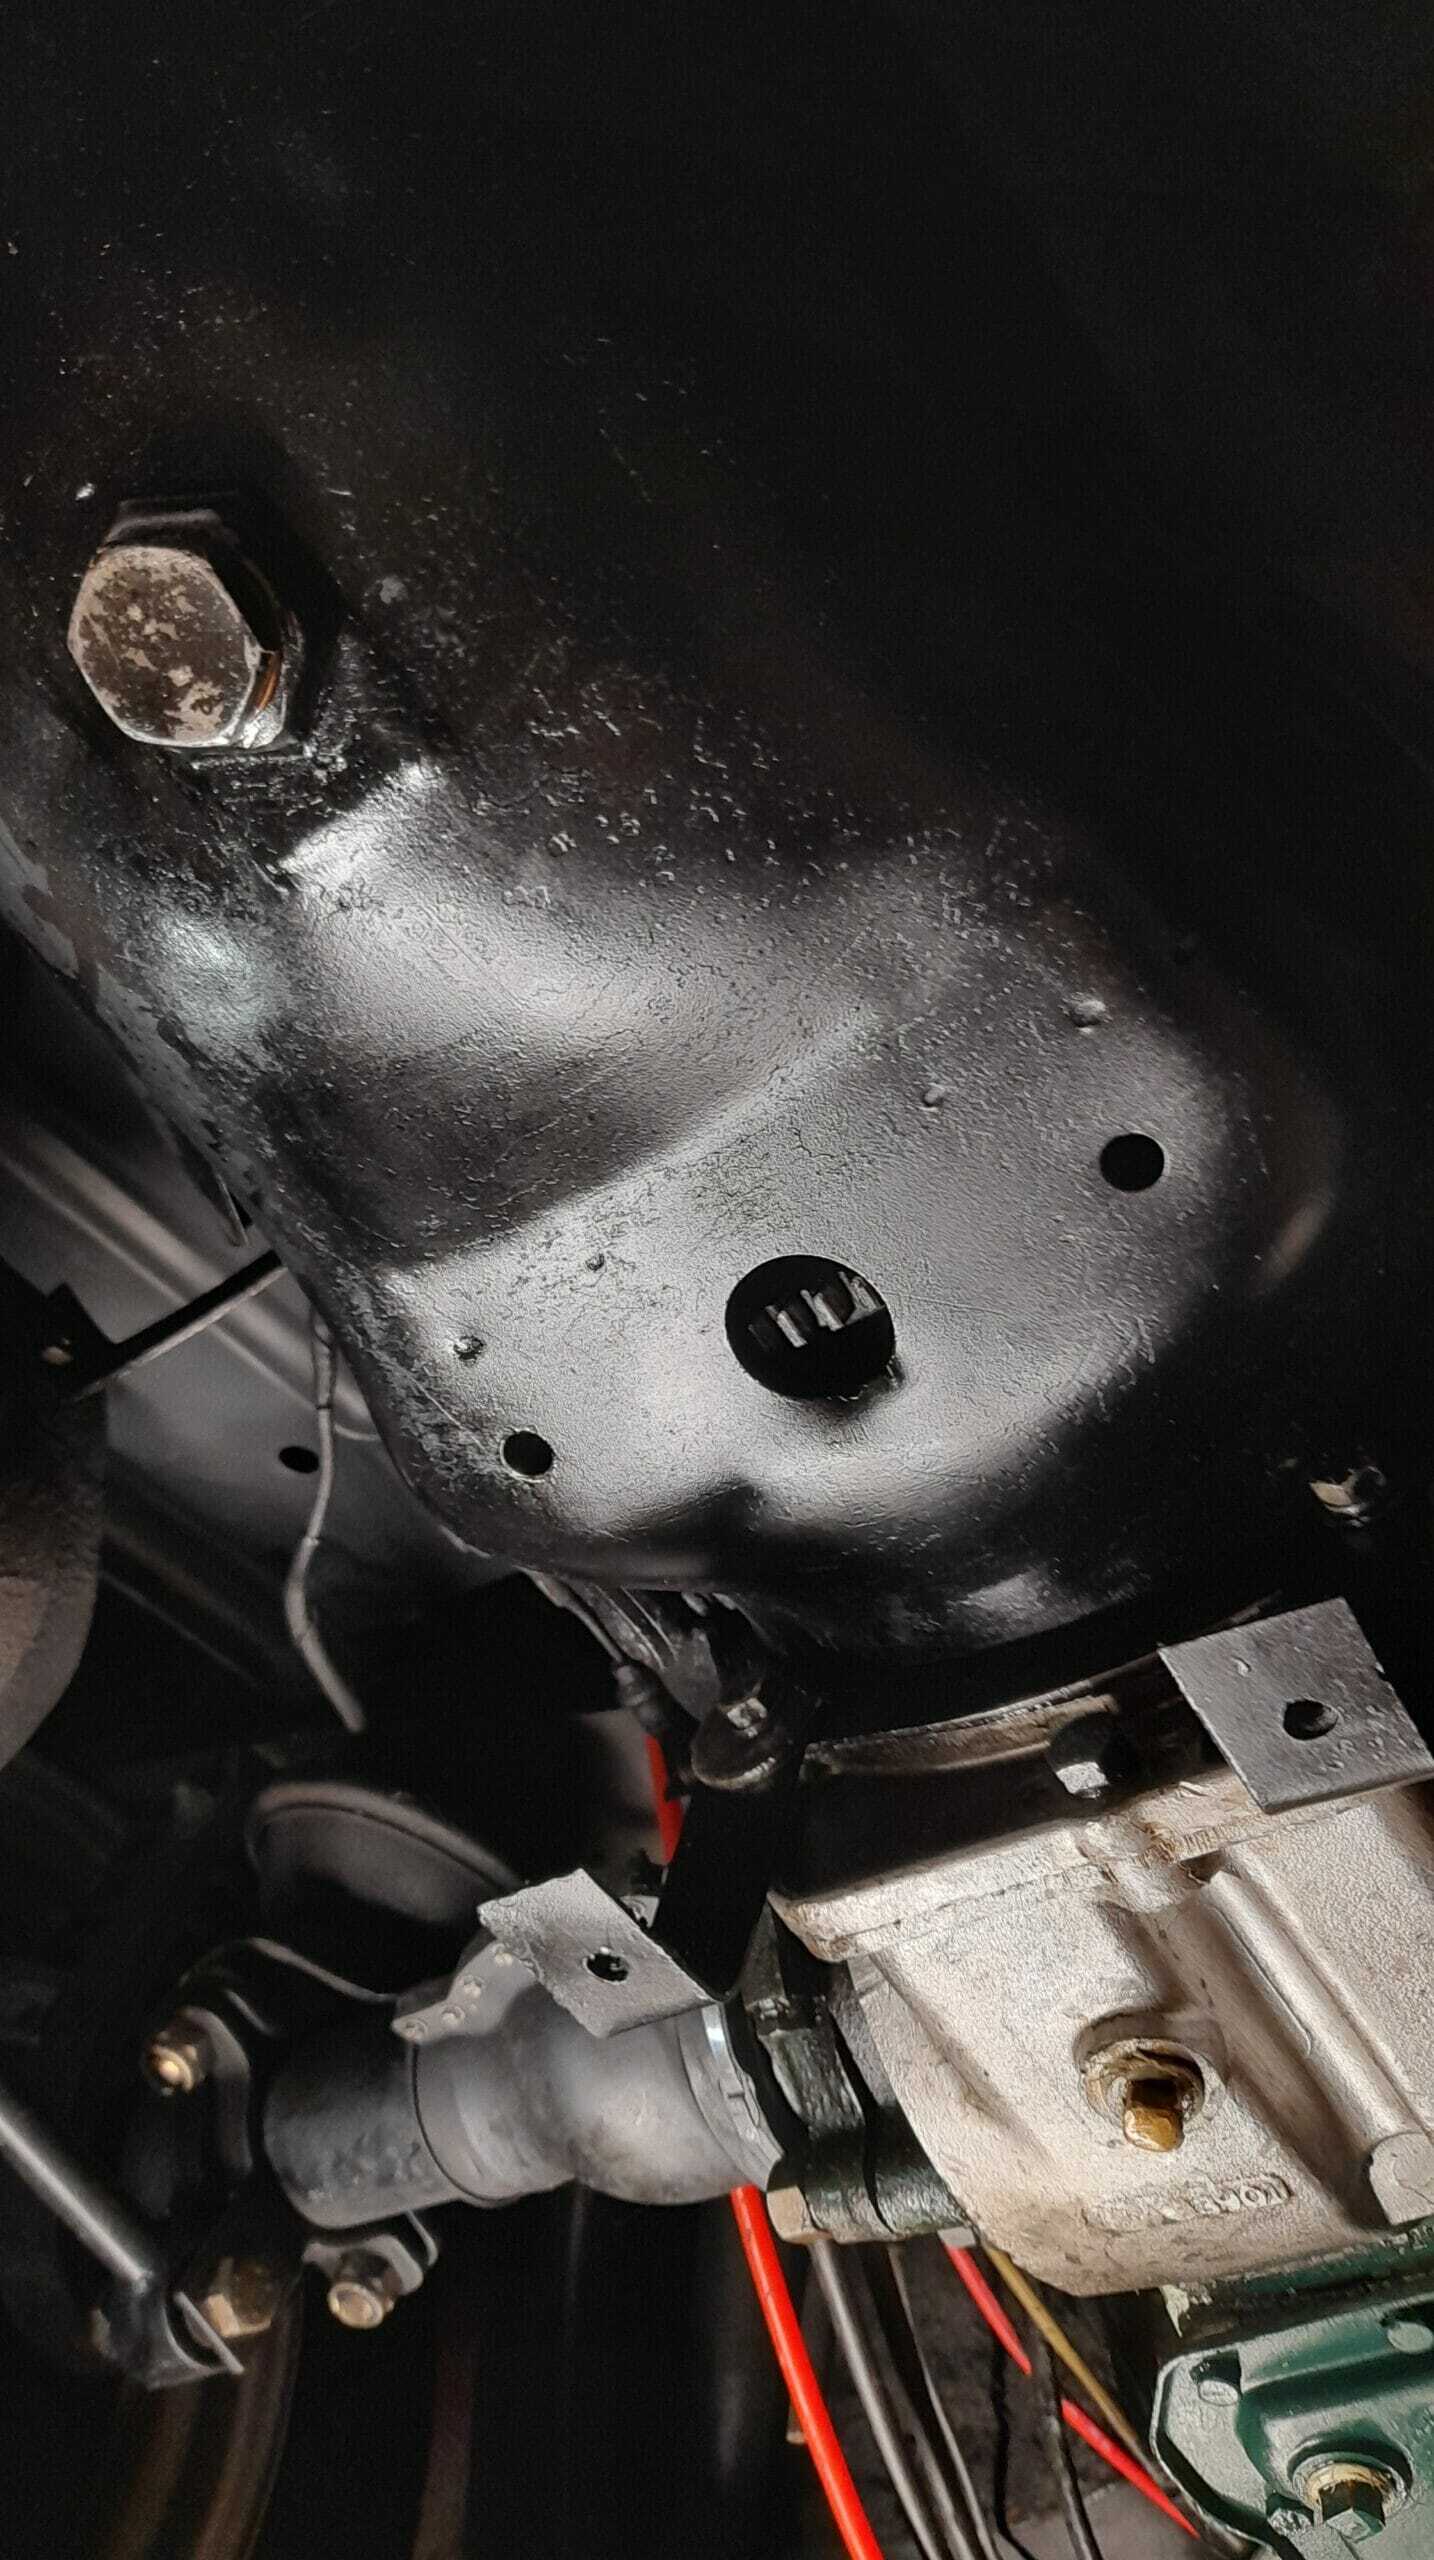
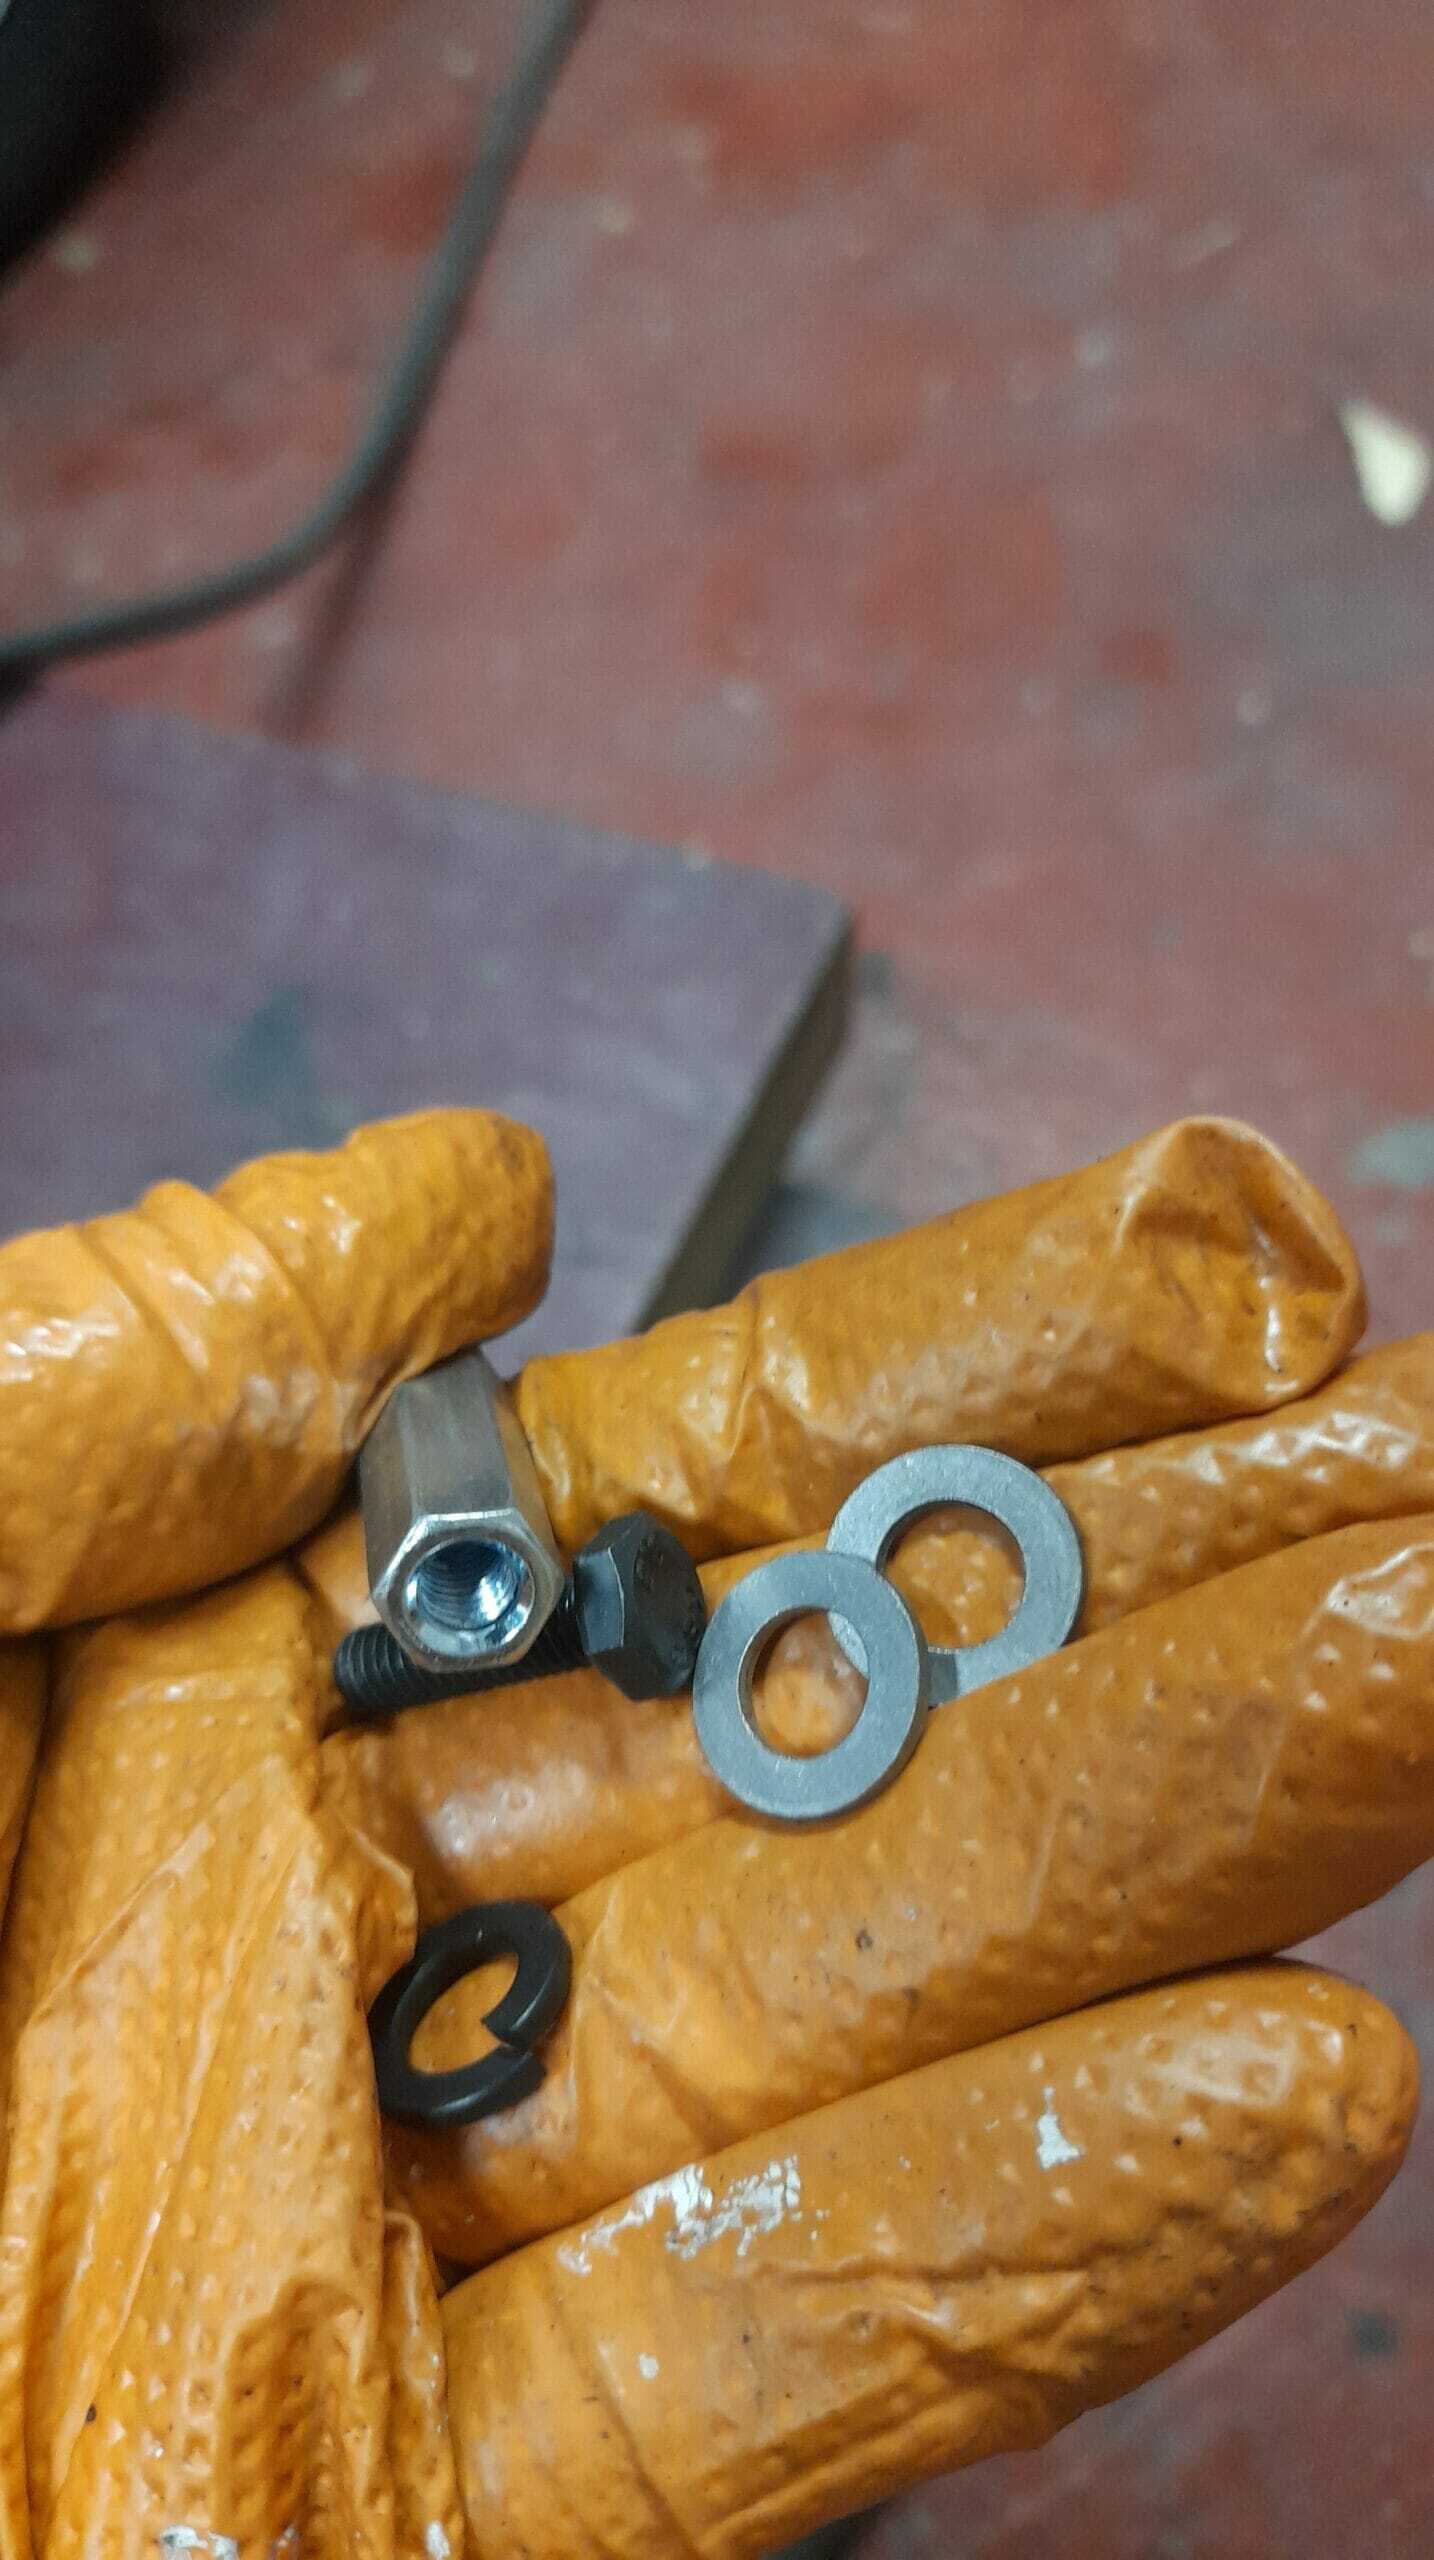
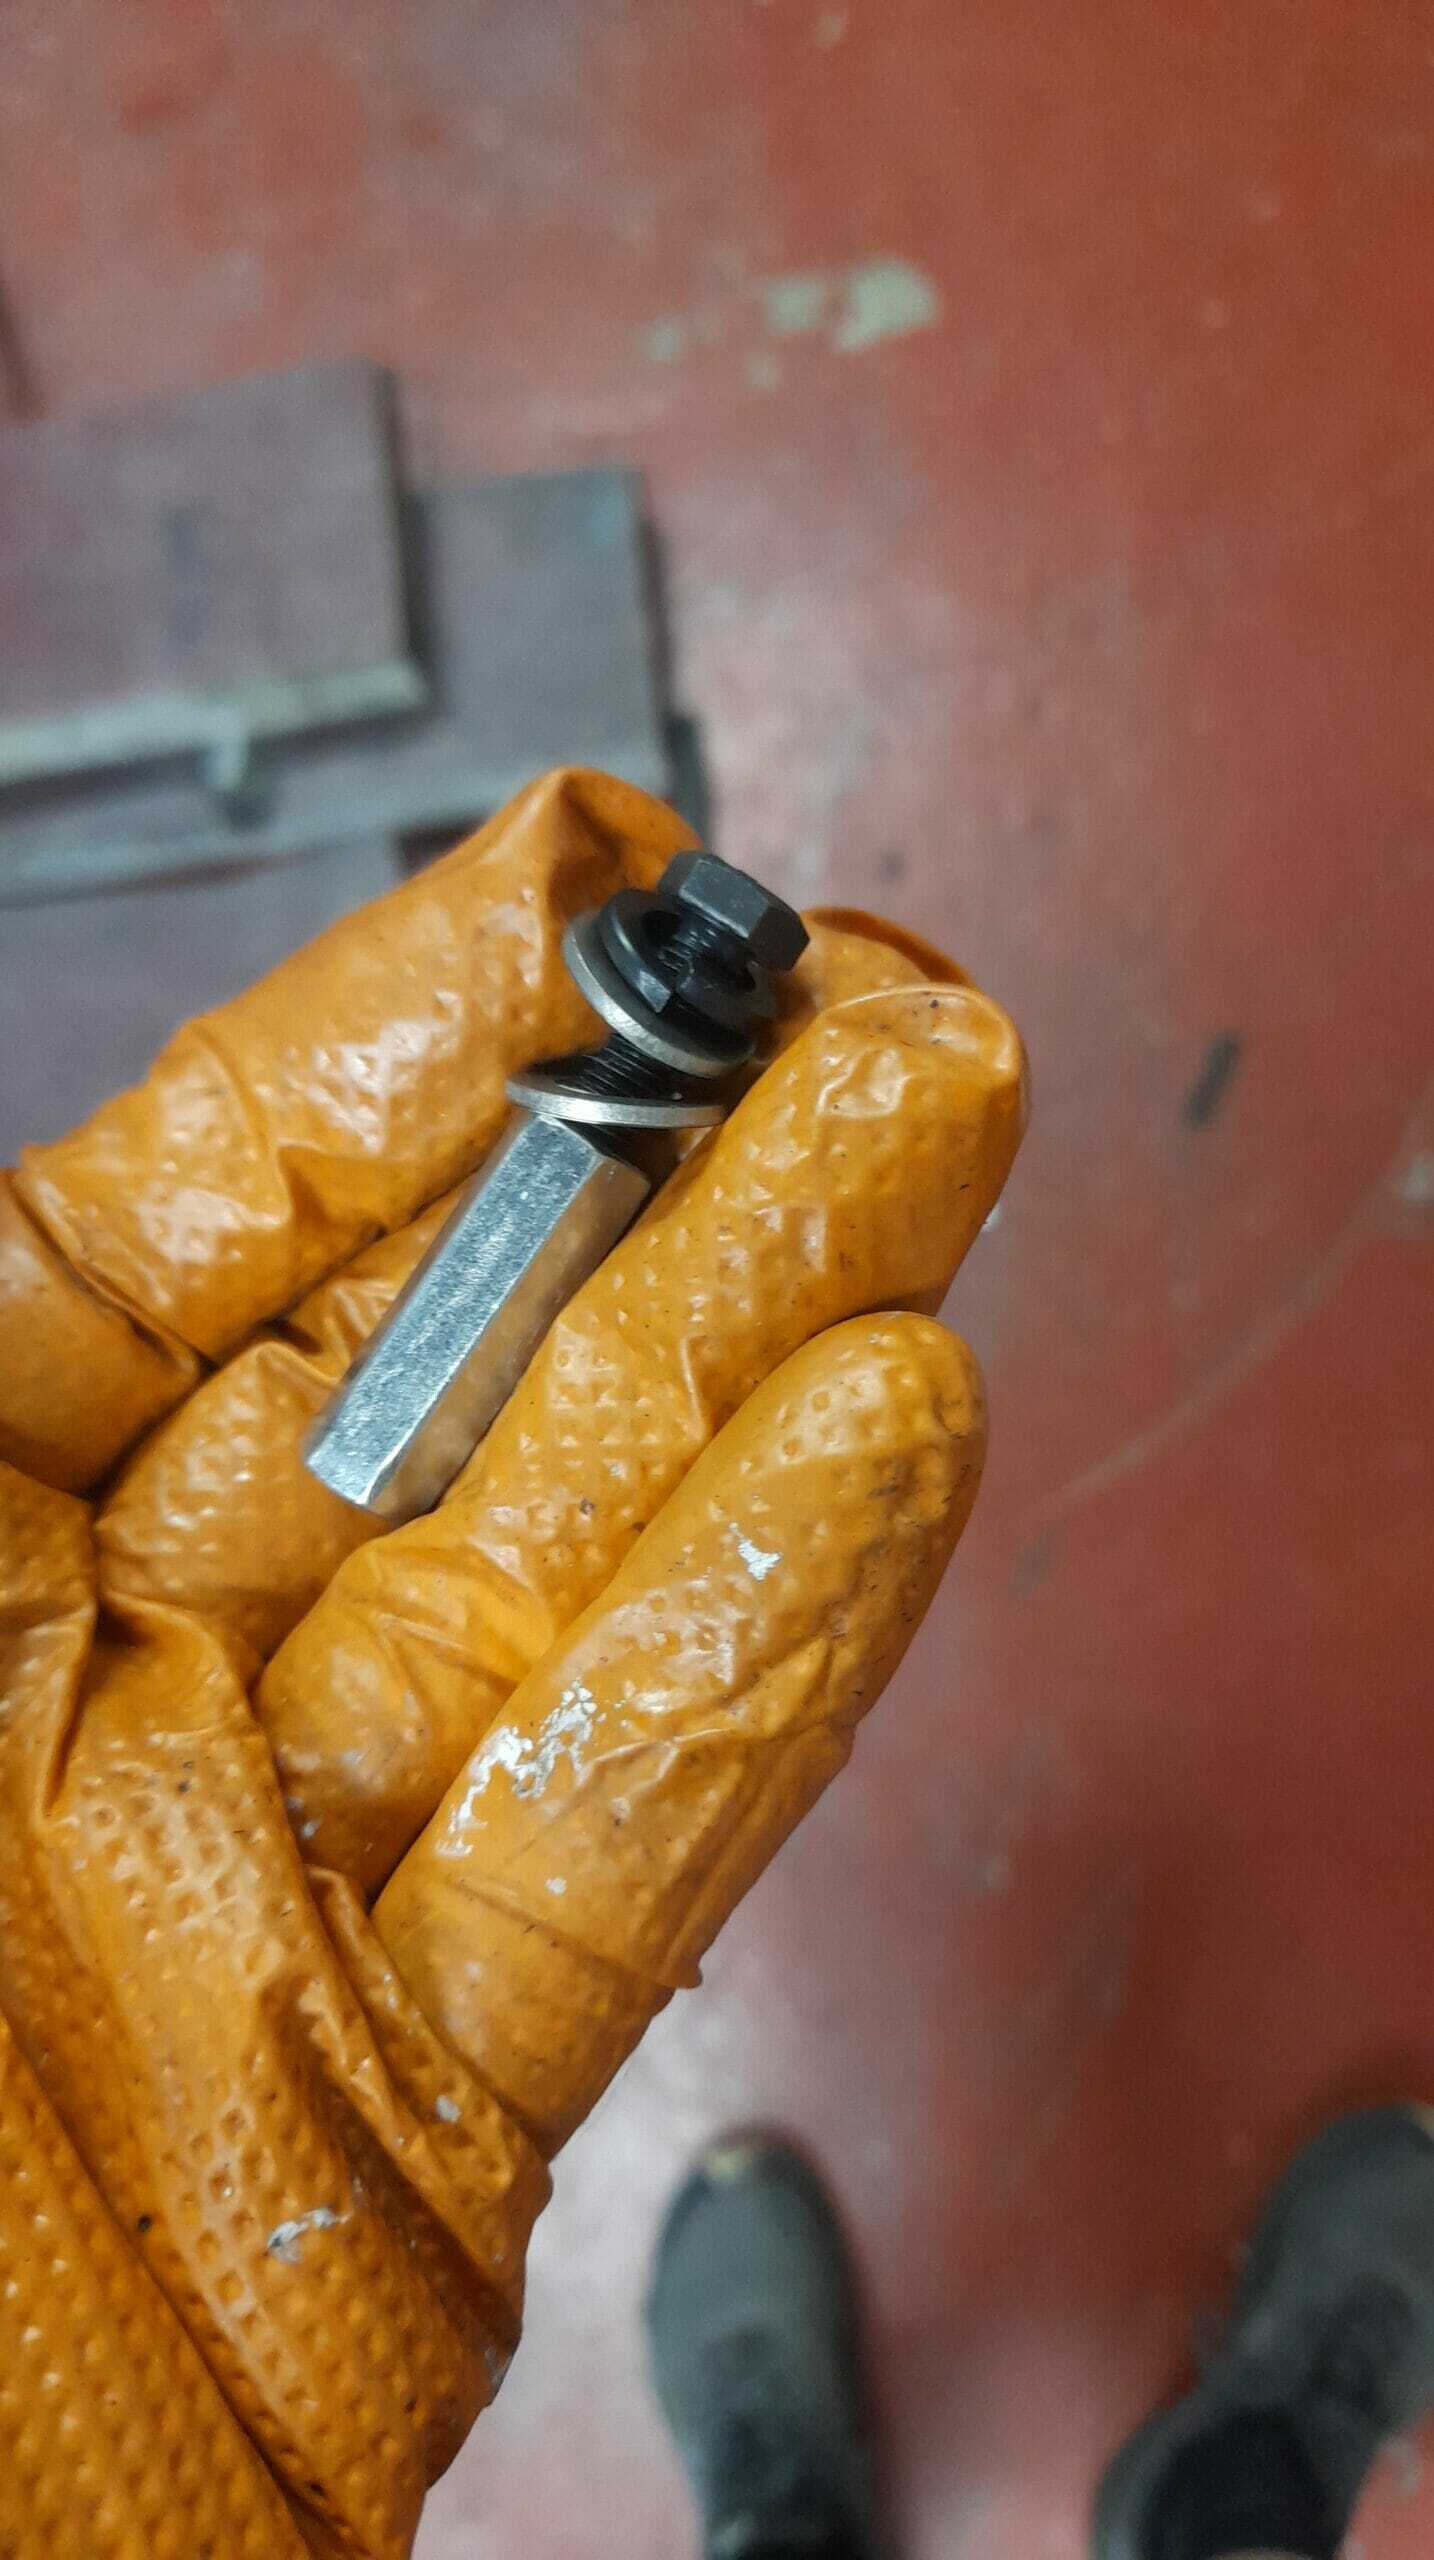
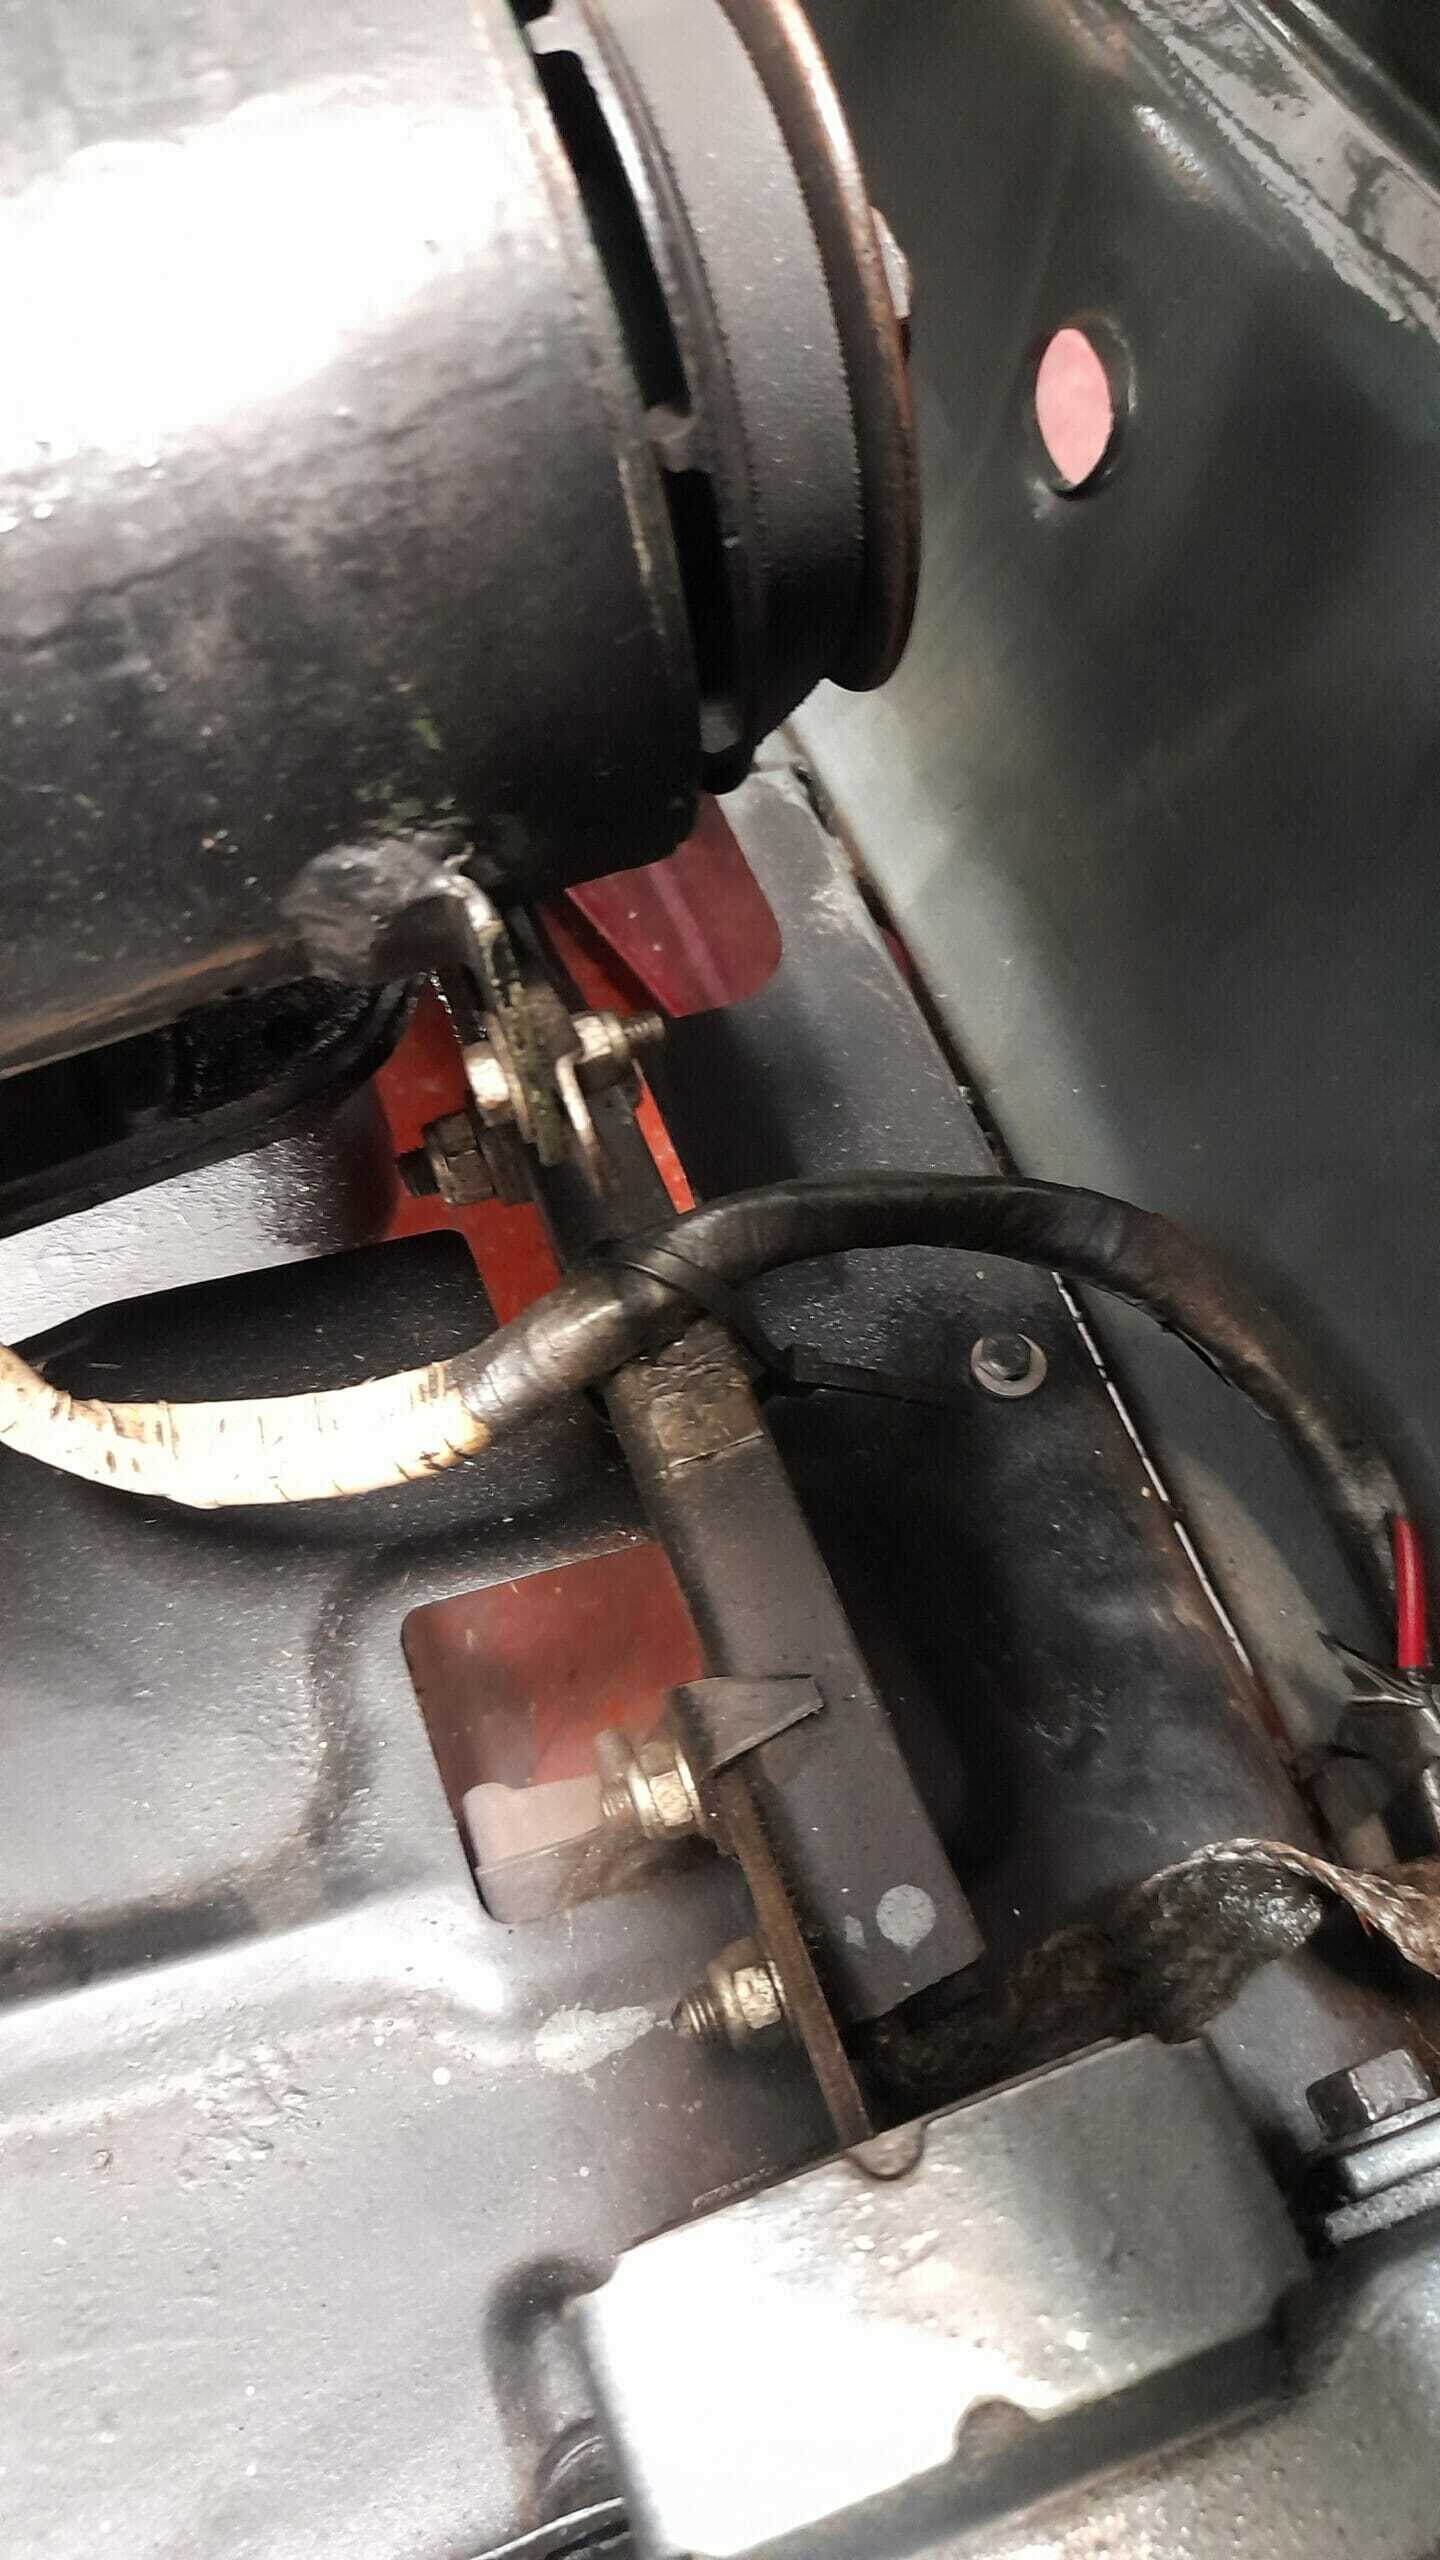
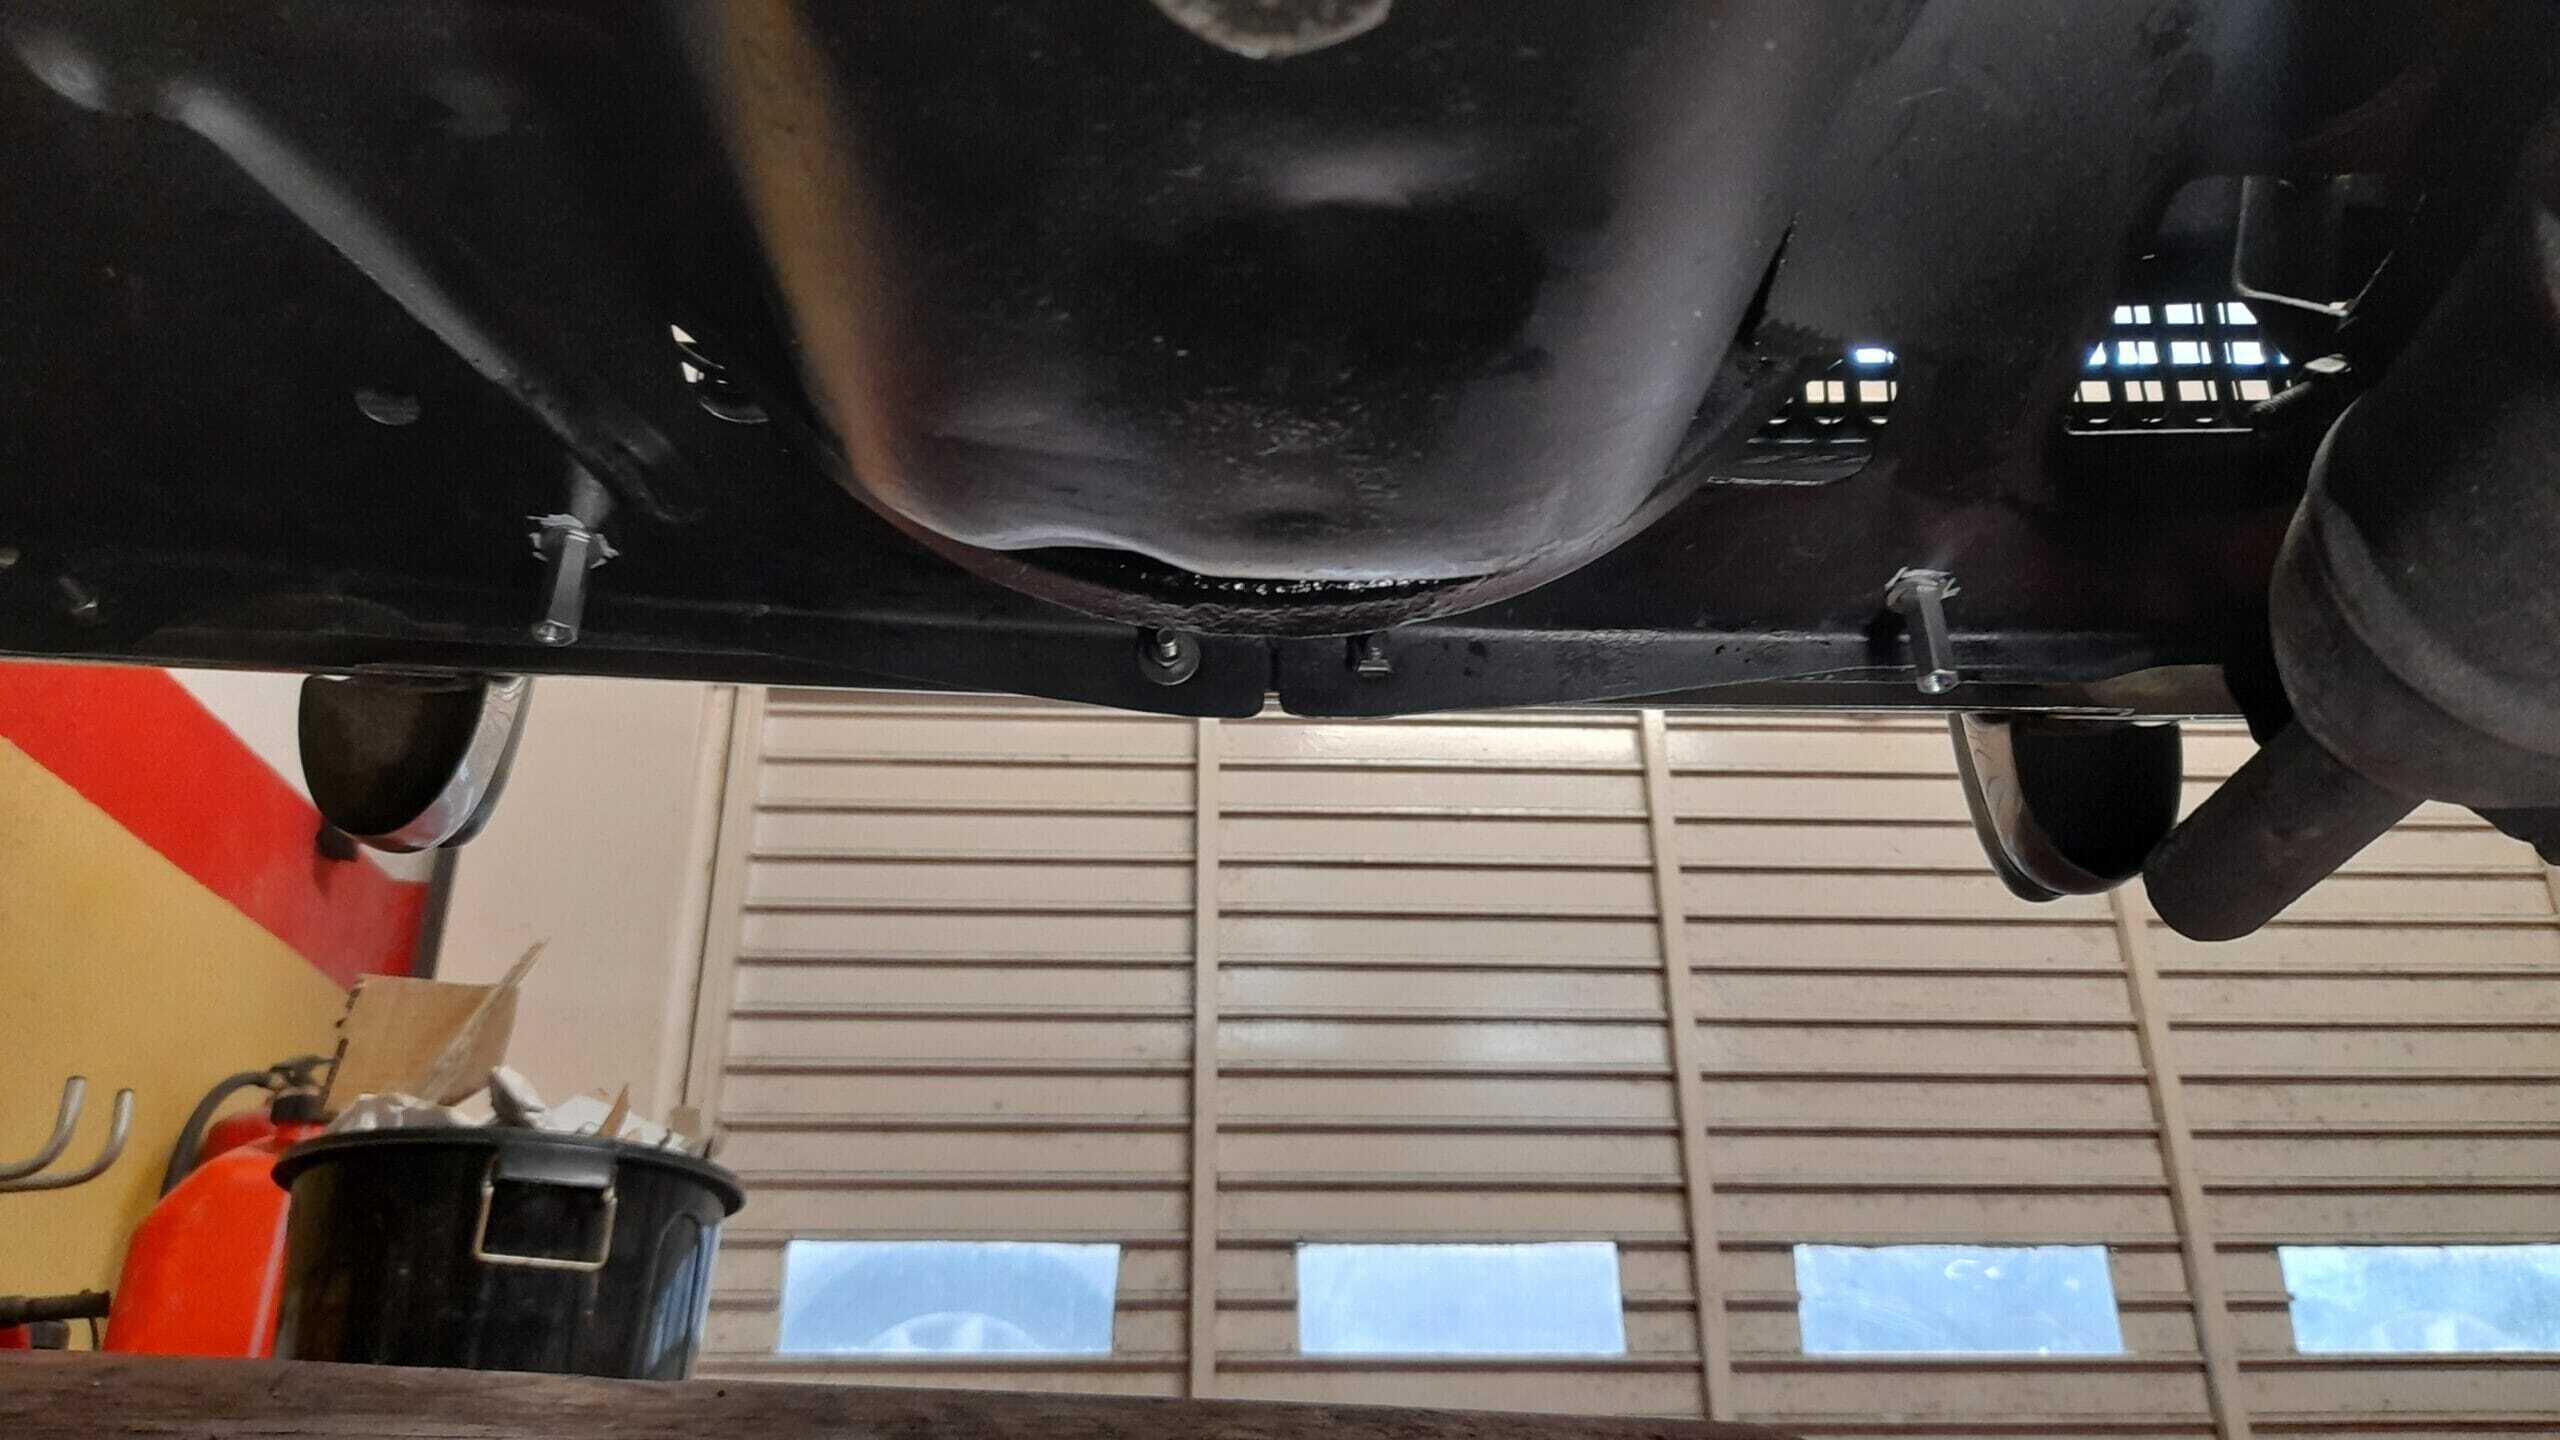
- Two at the rear by means of two 30 mm long spacer turrets. These turrets are attached to the two plates on each side of the engine (these plates are standard on the vehicle).
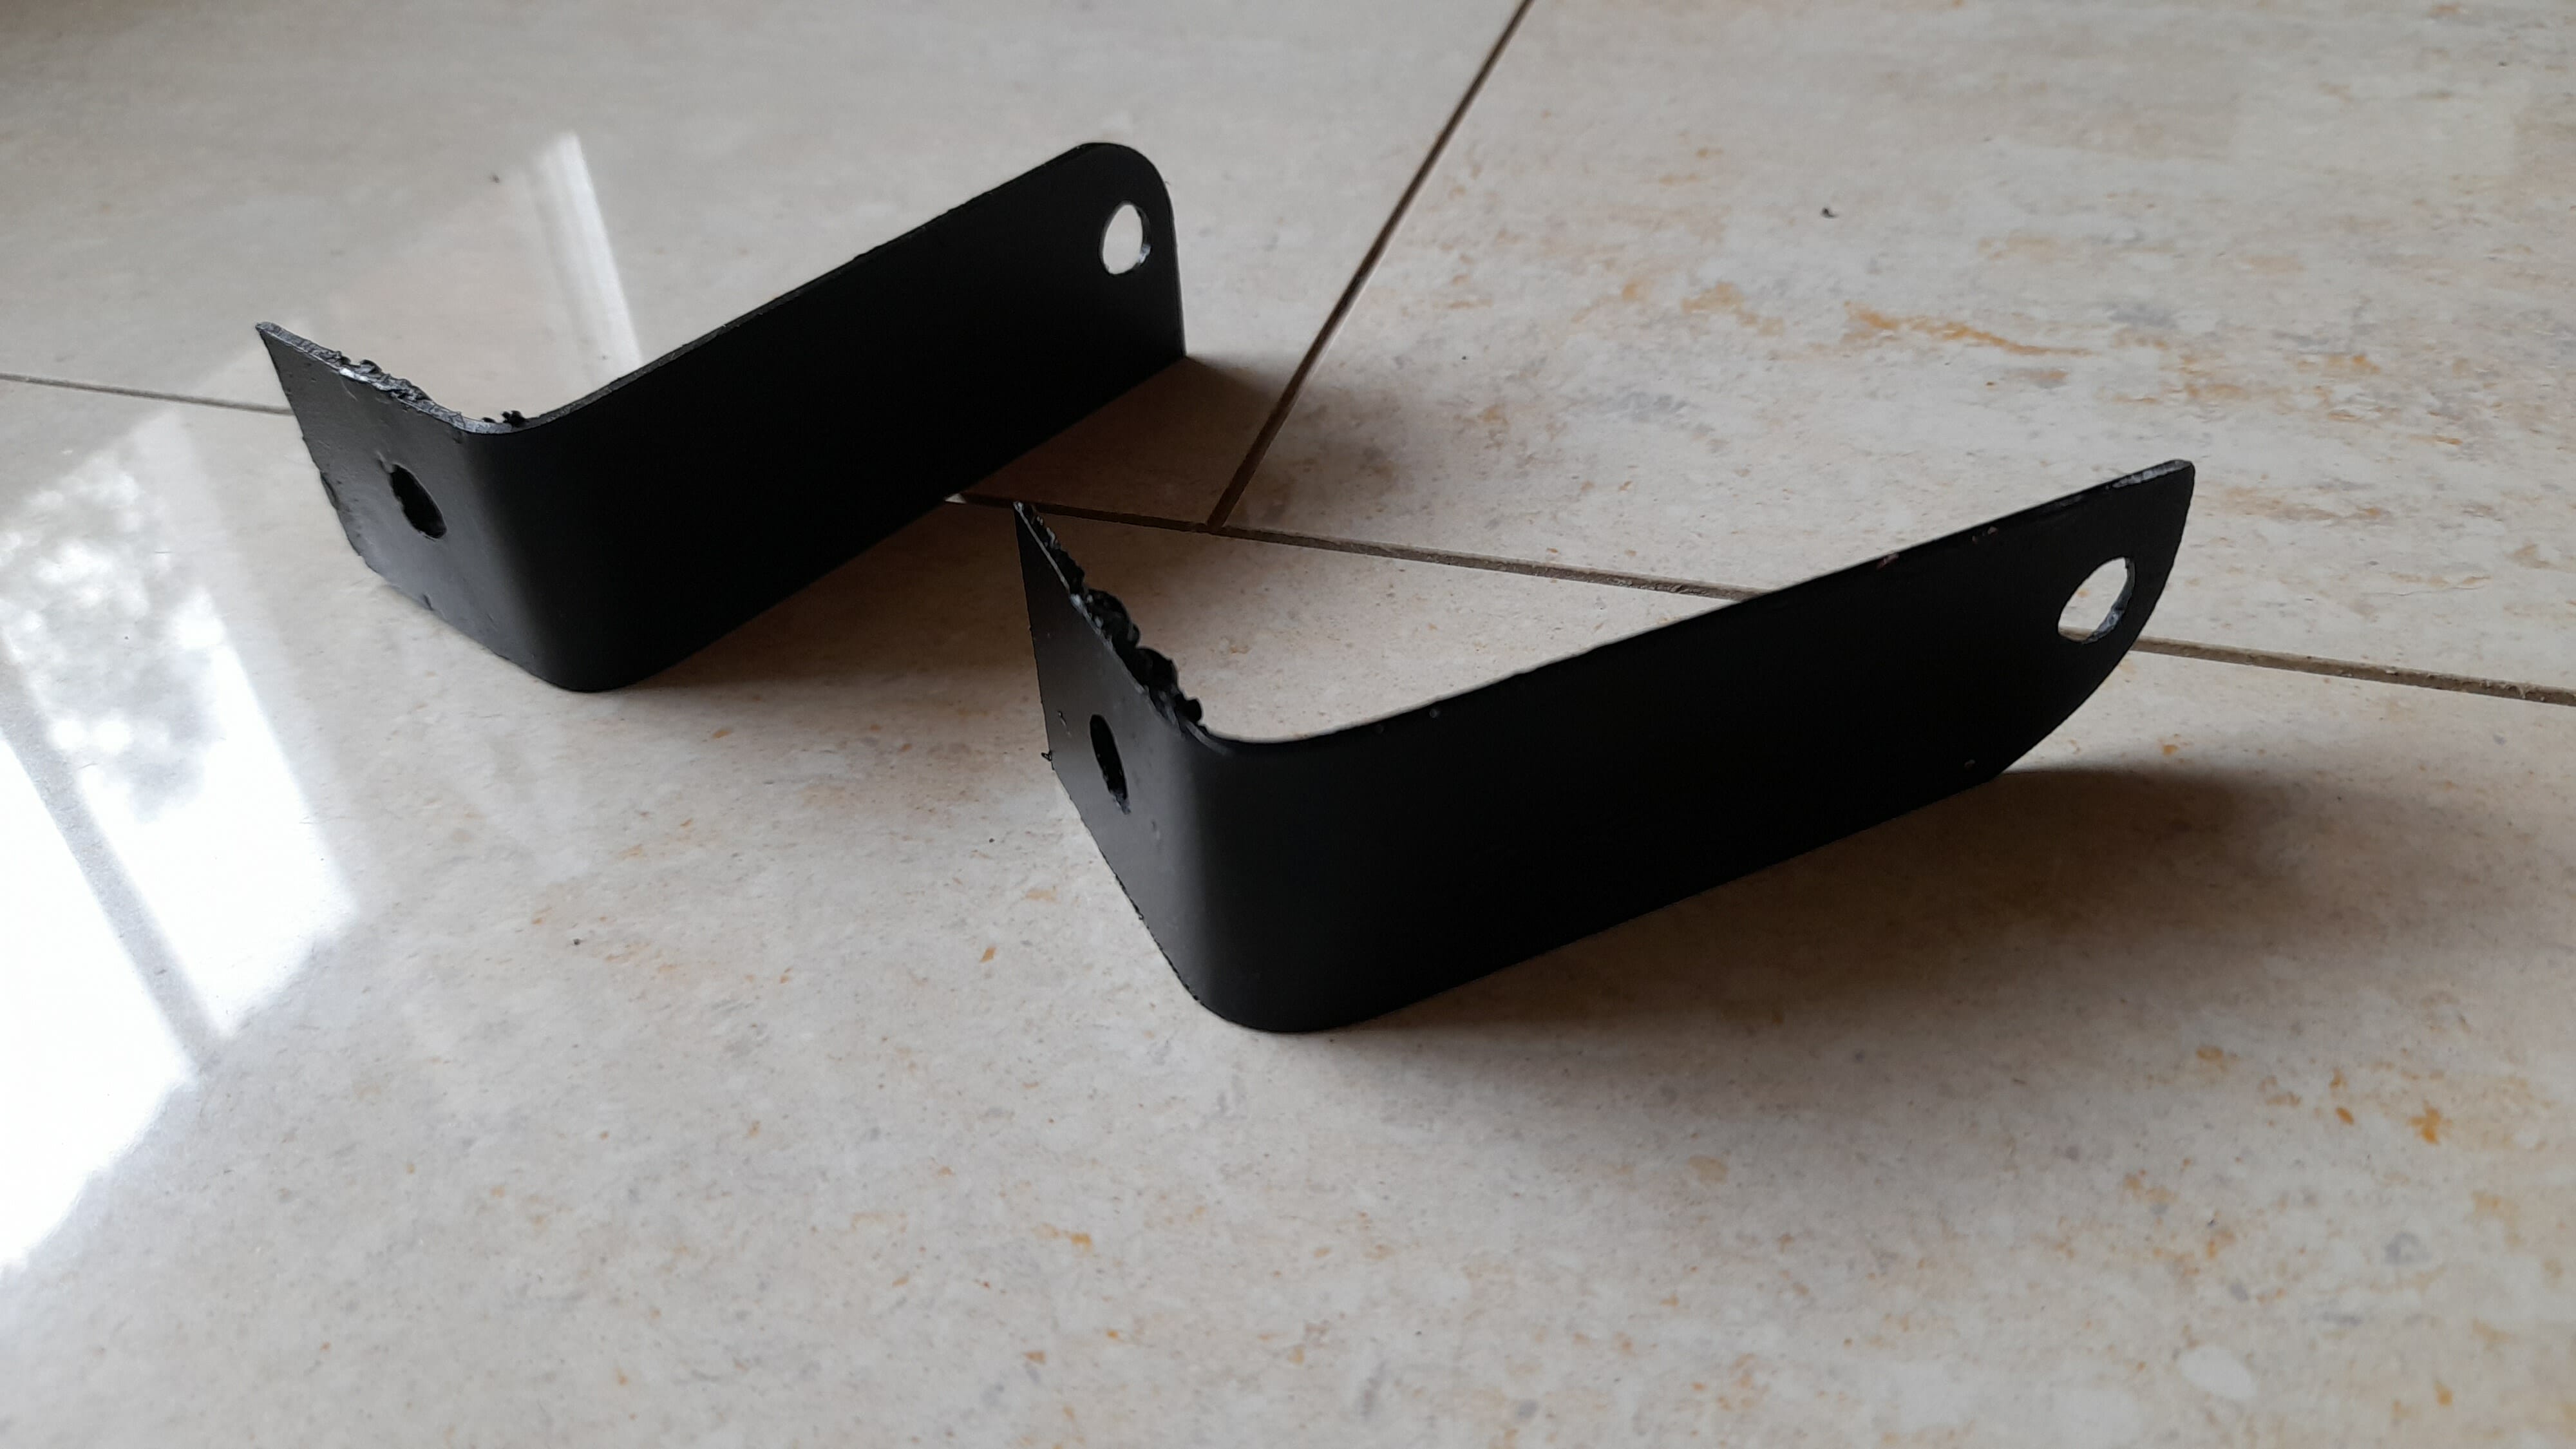
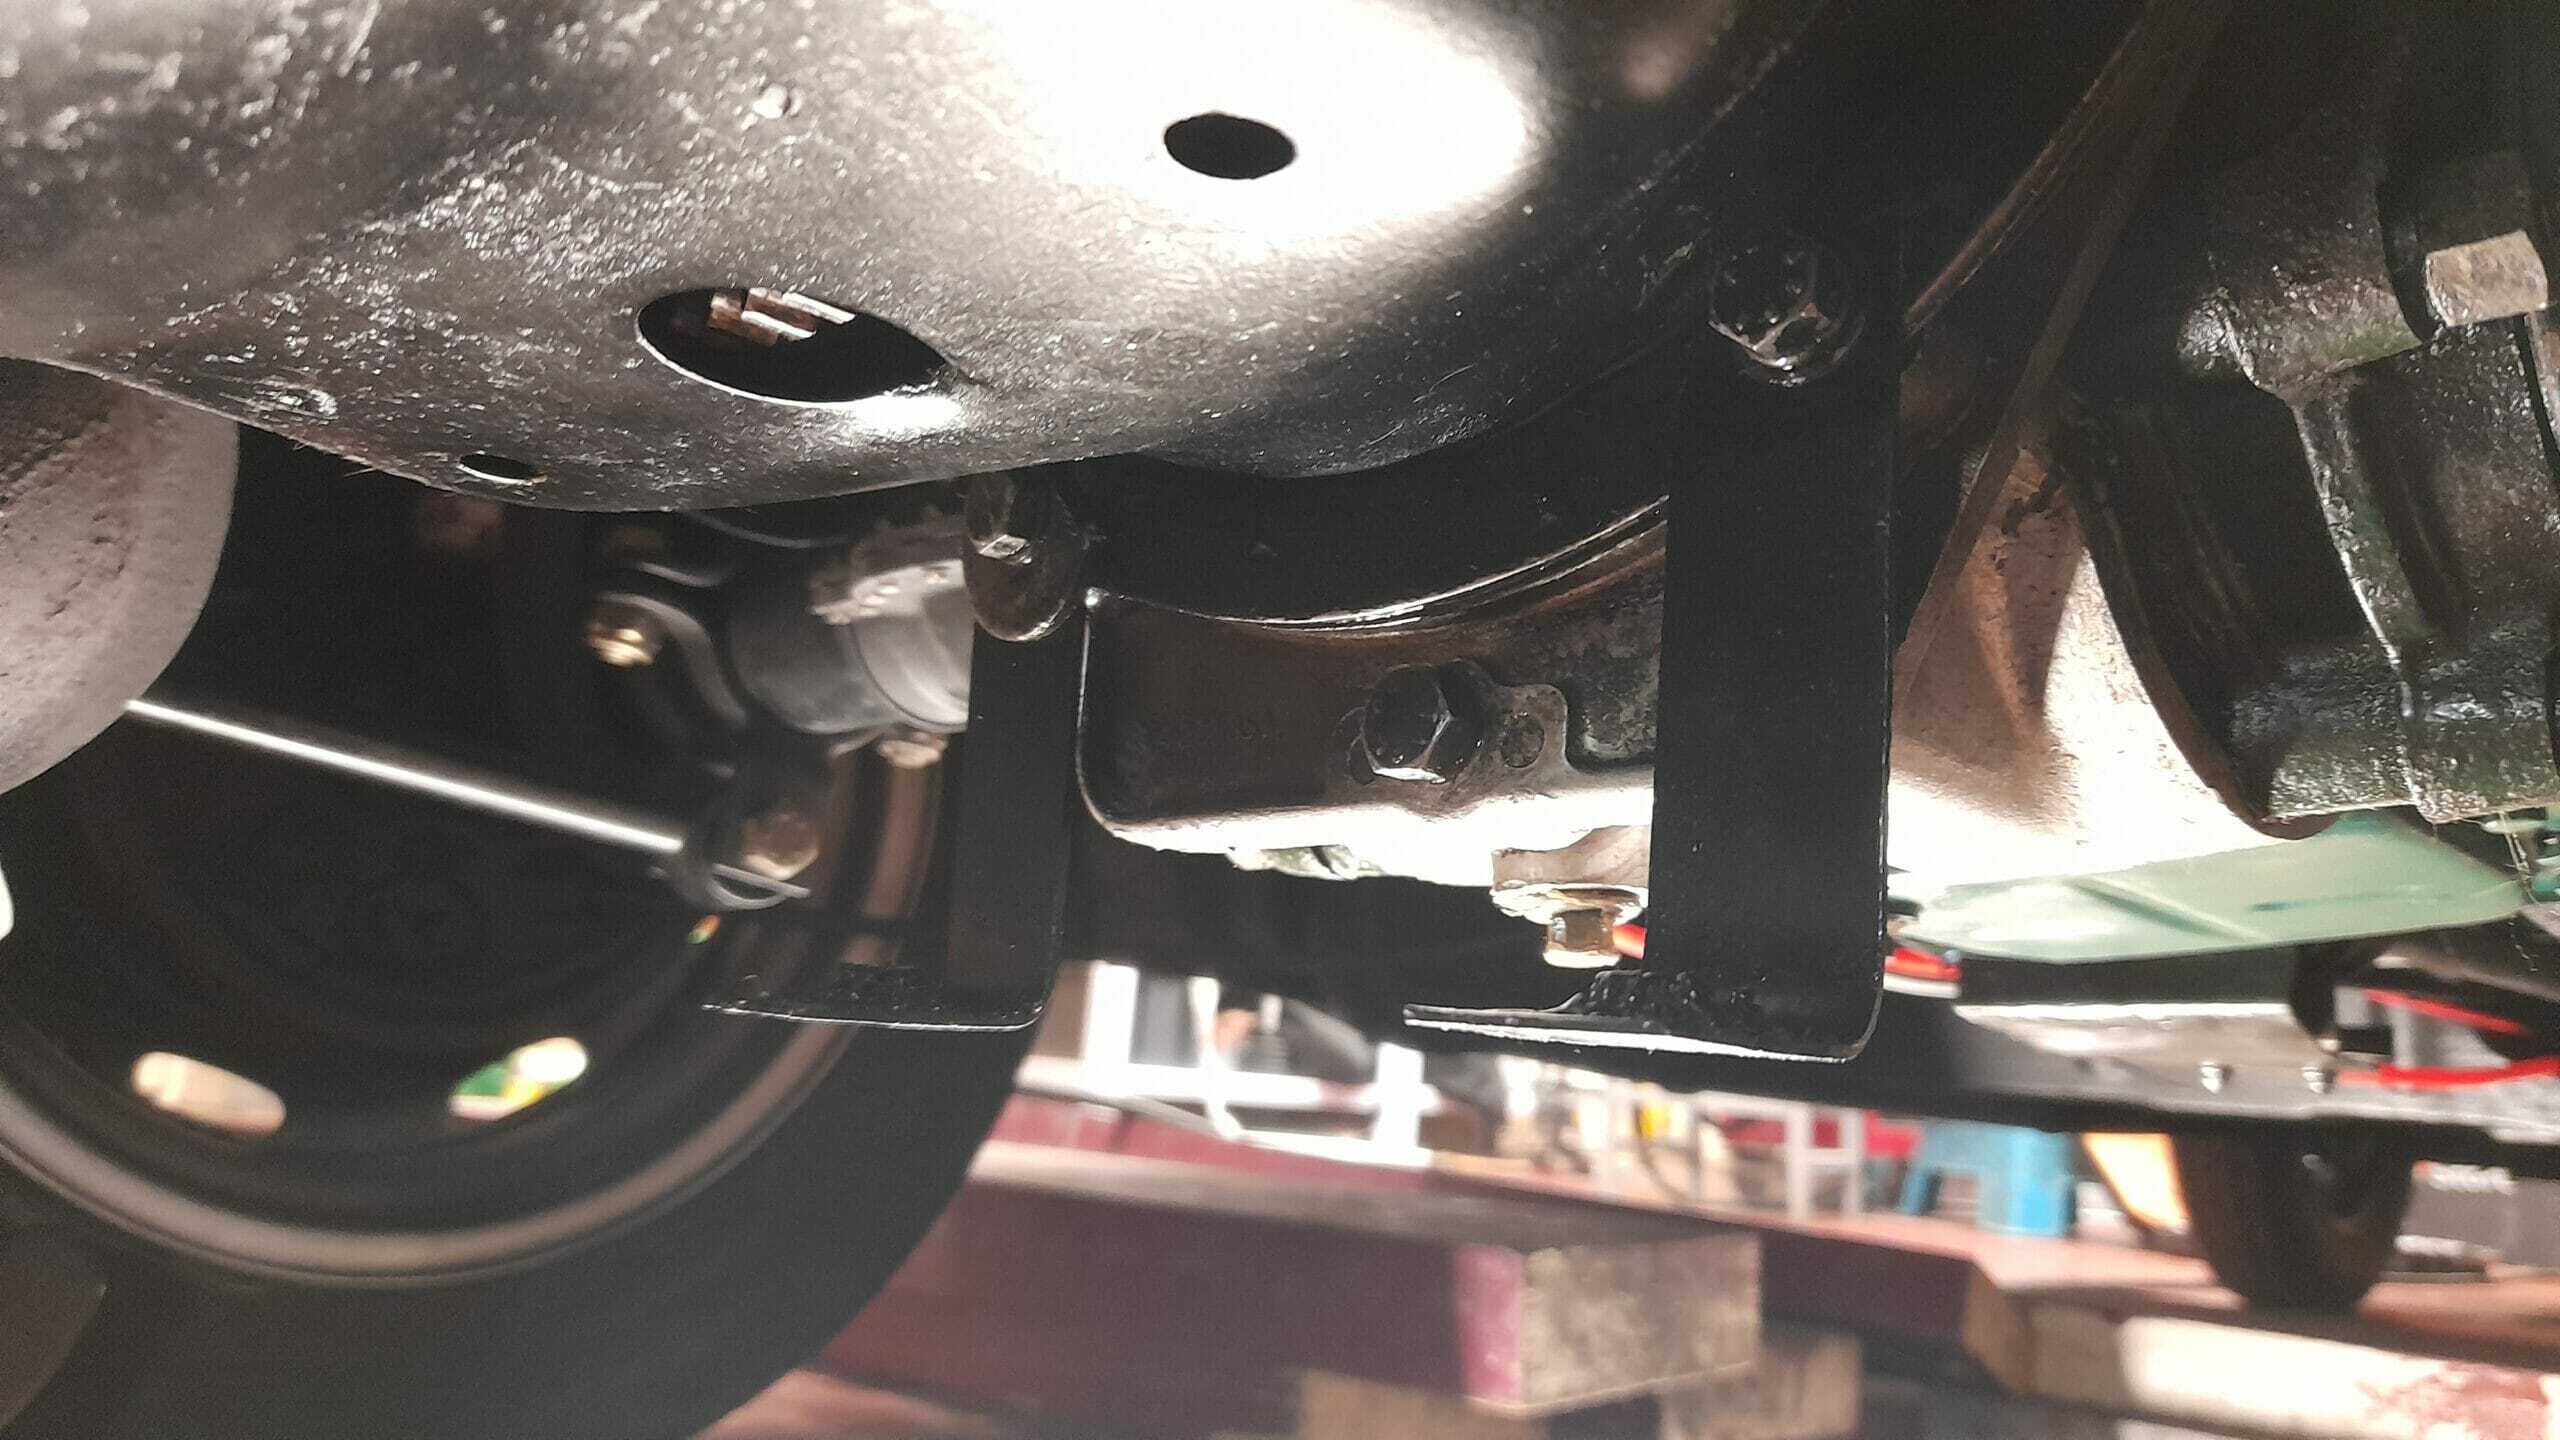
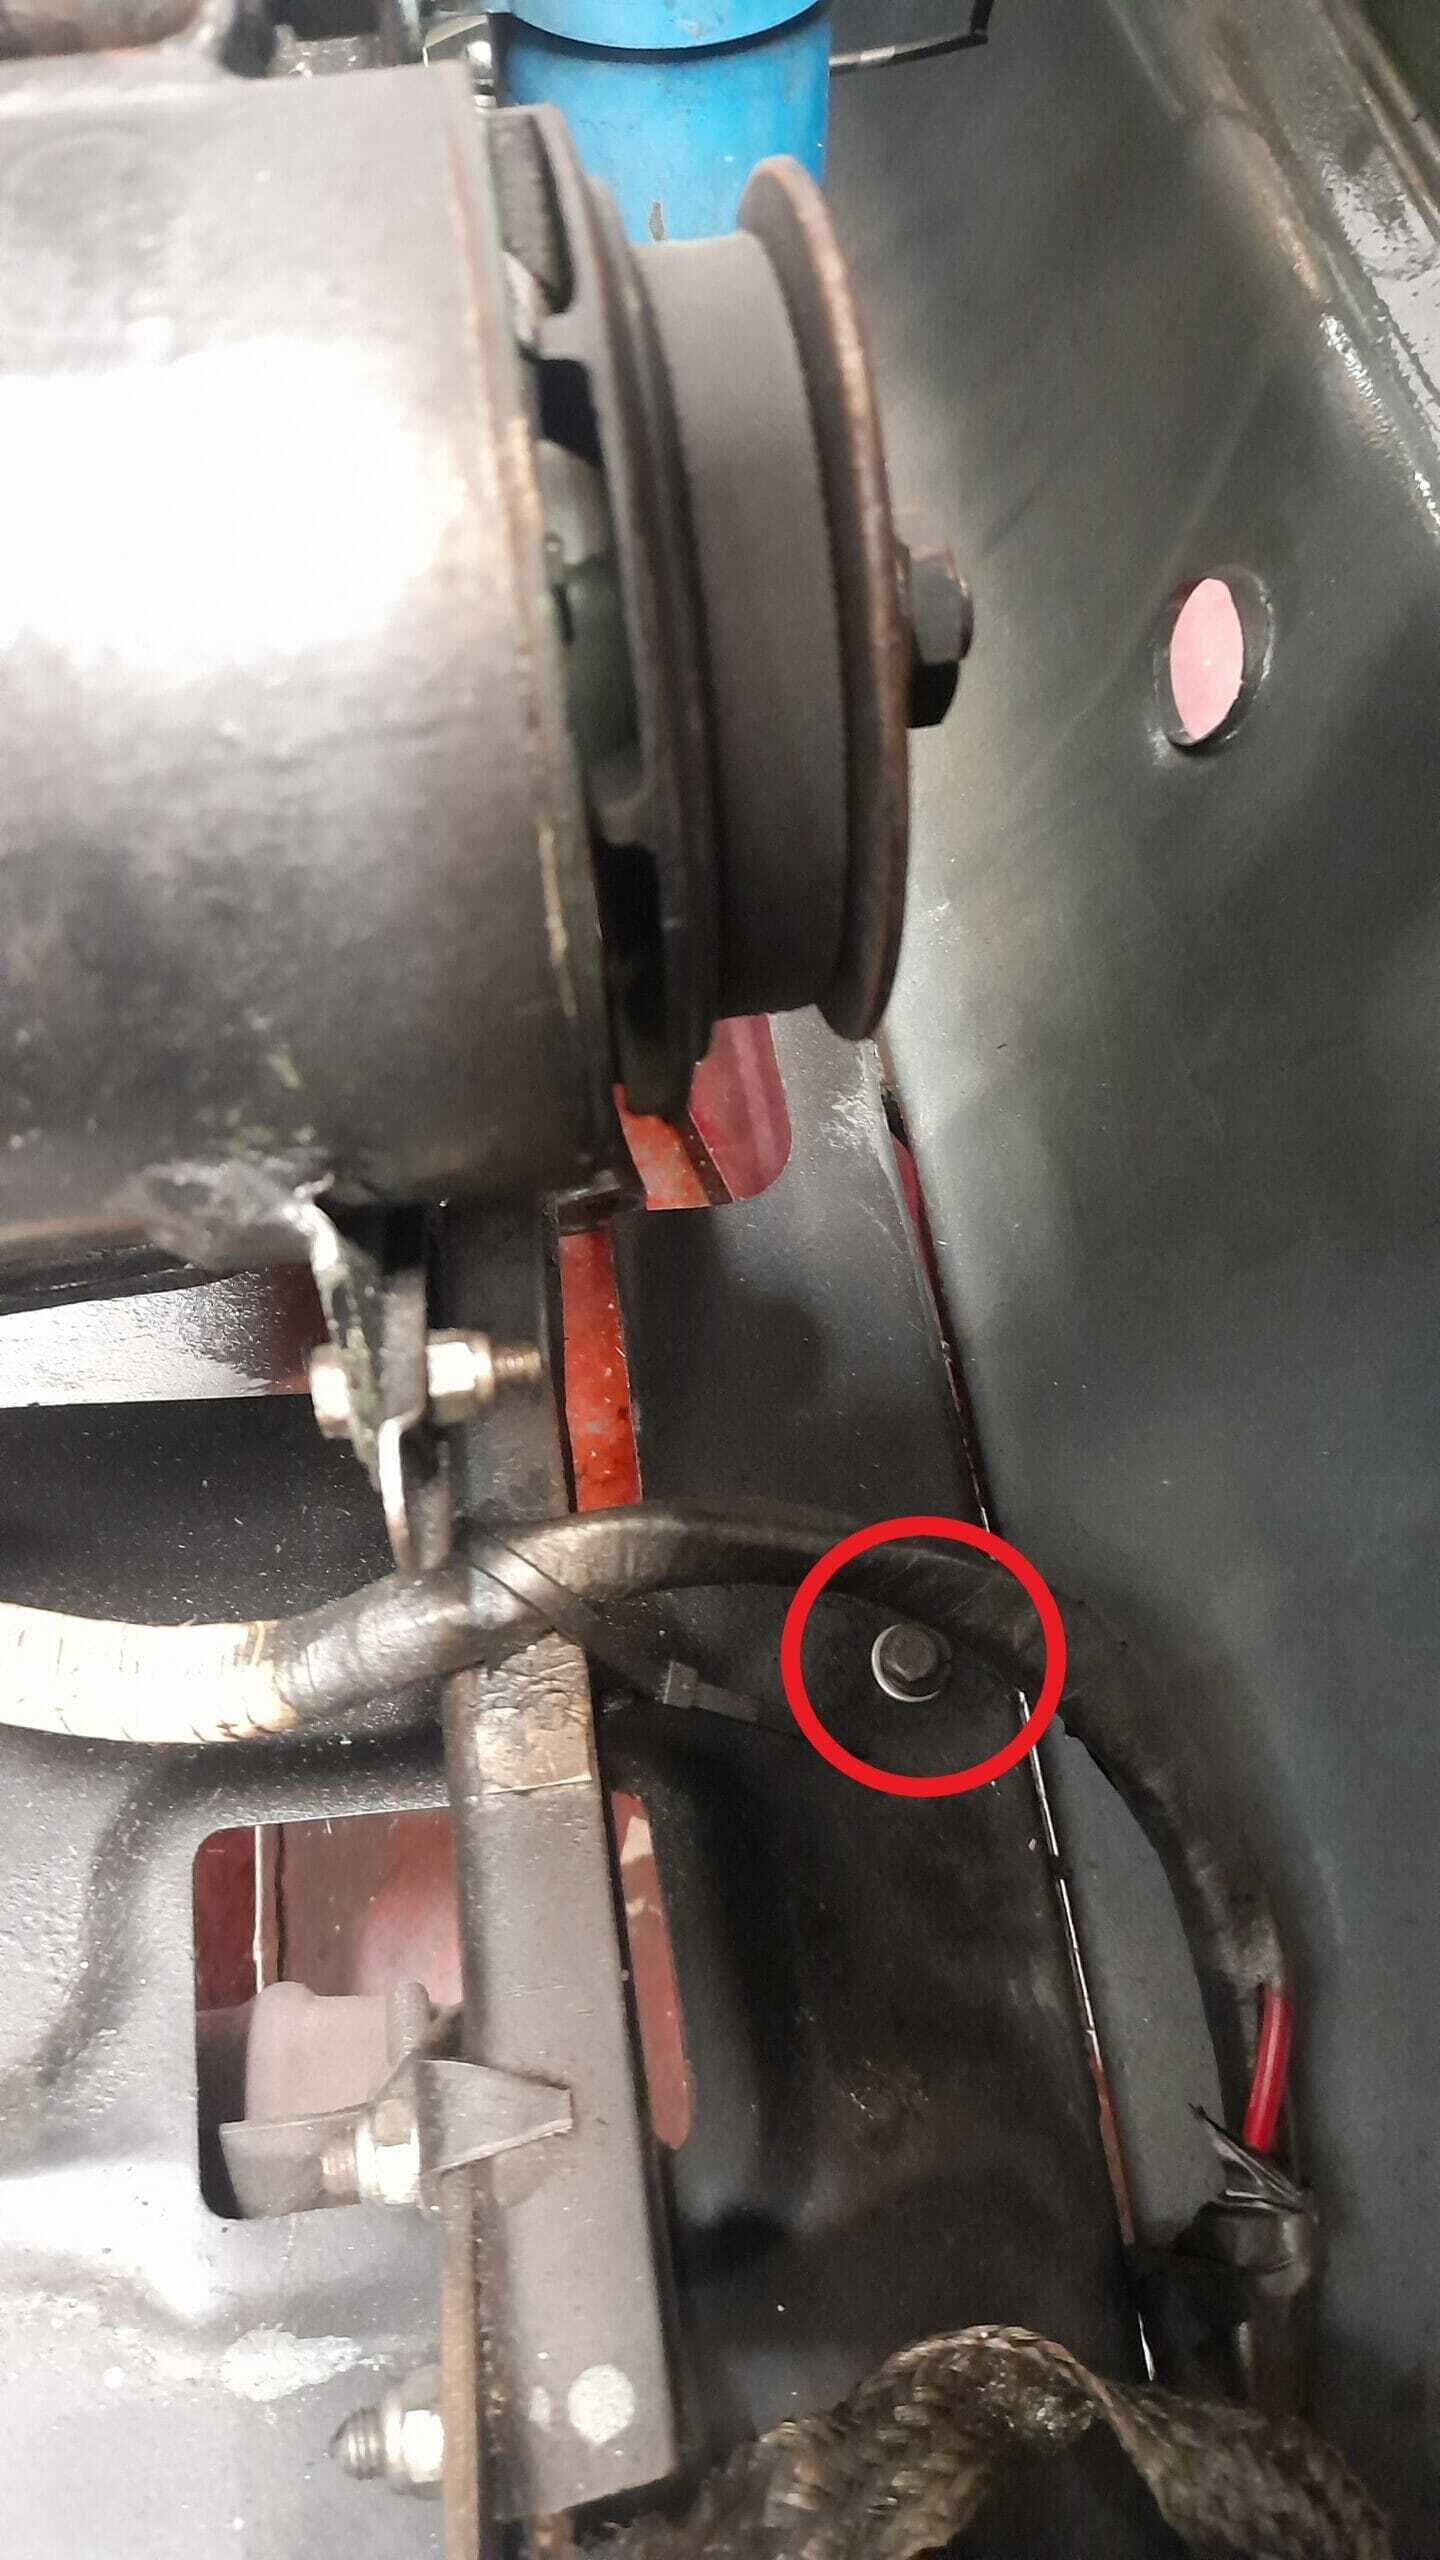
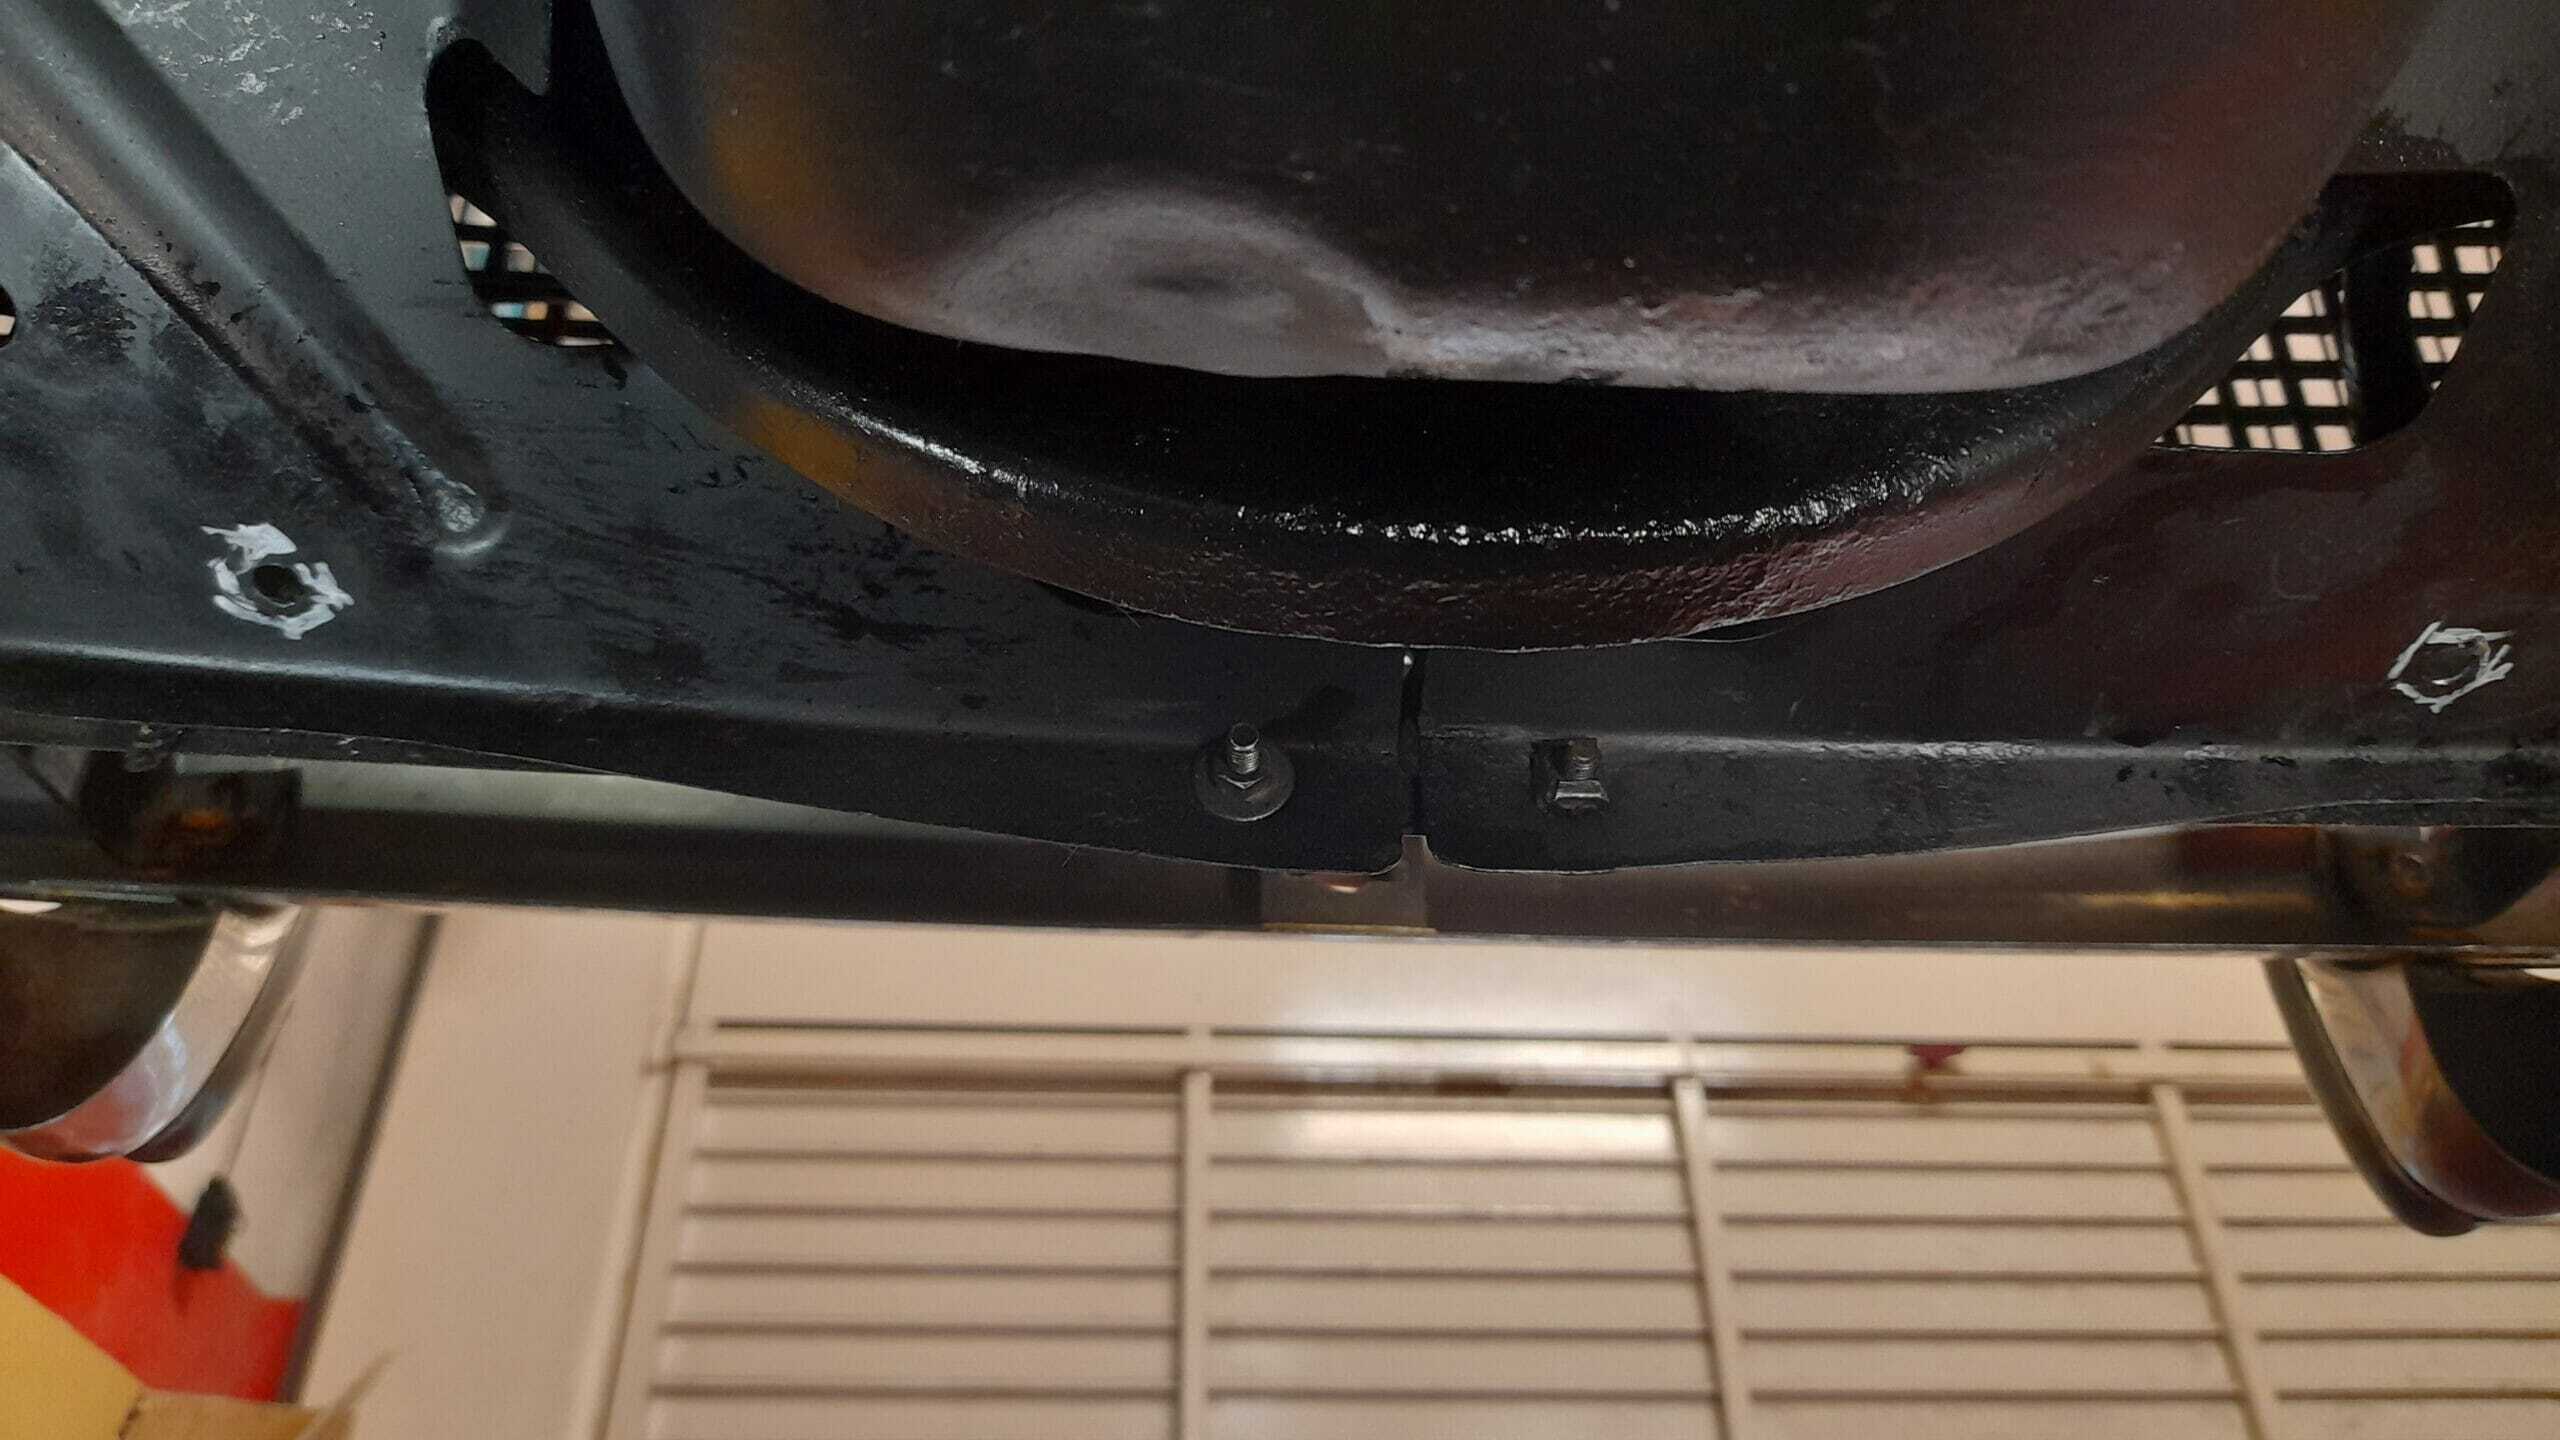
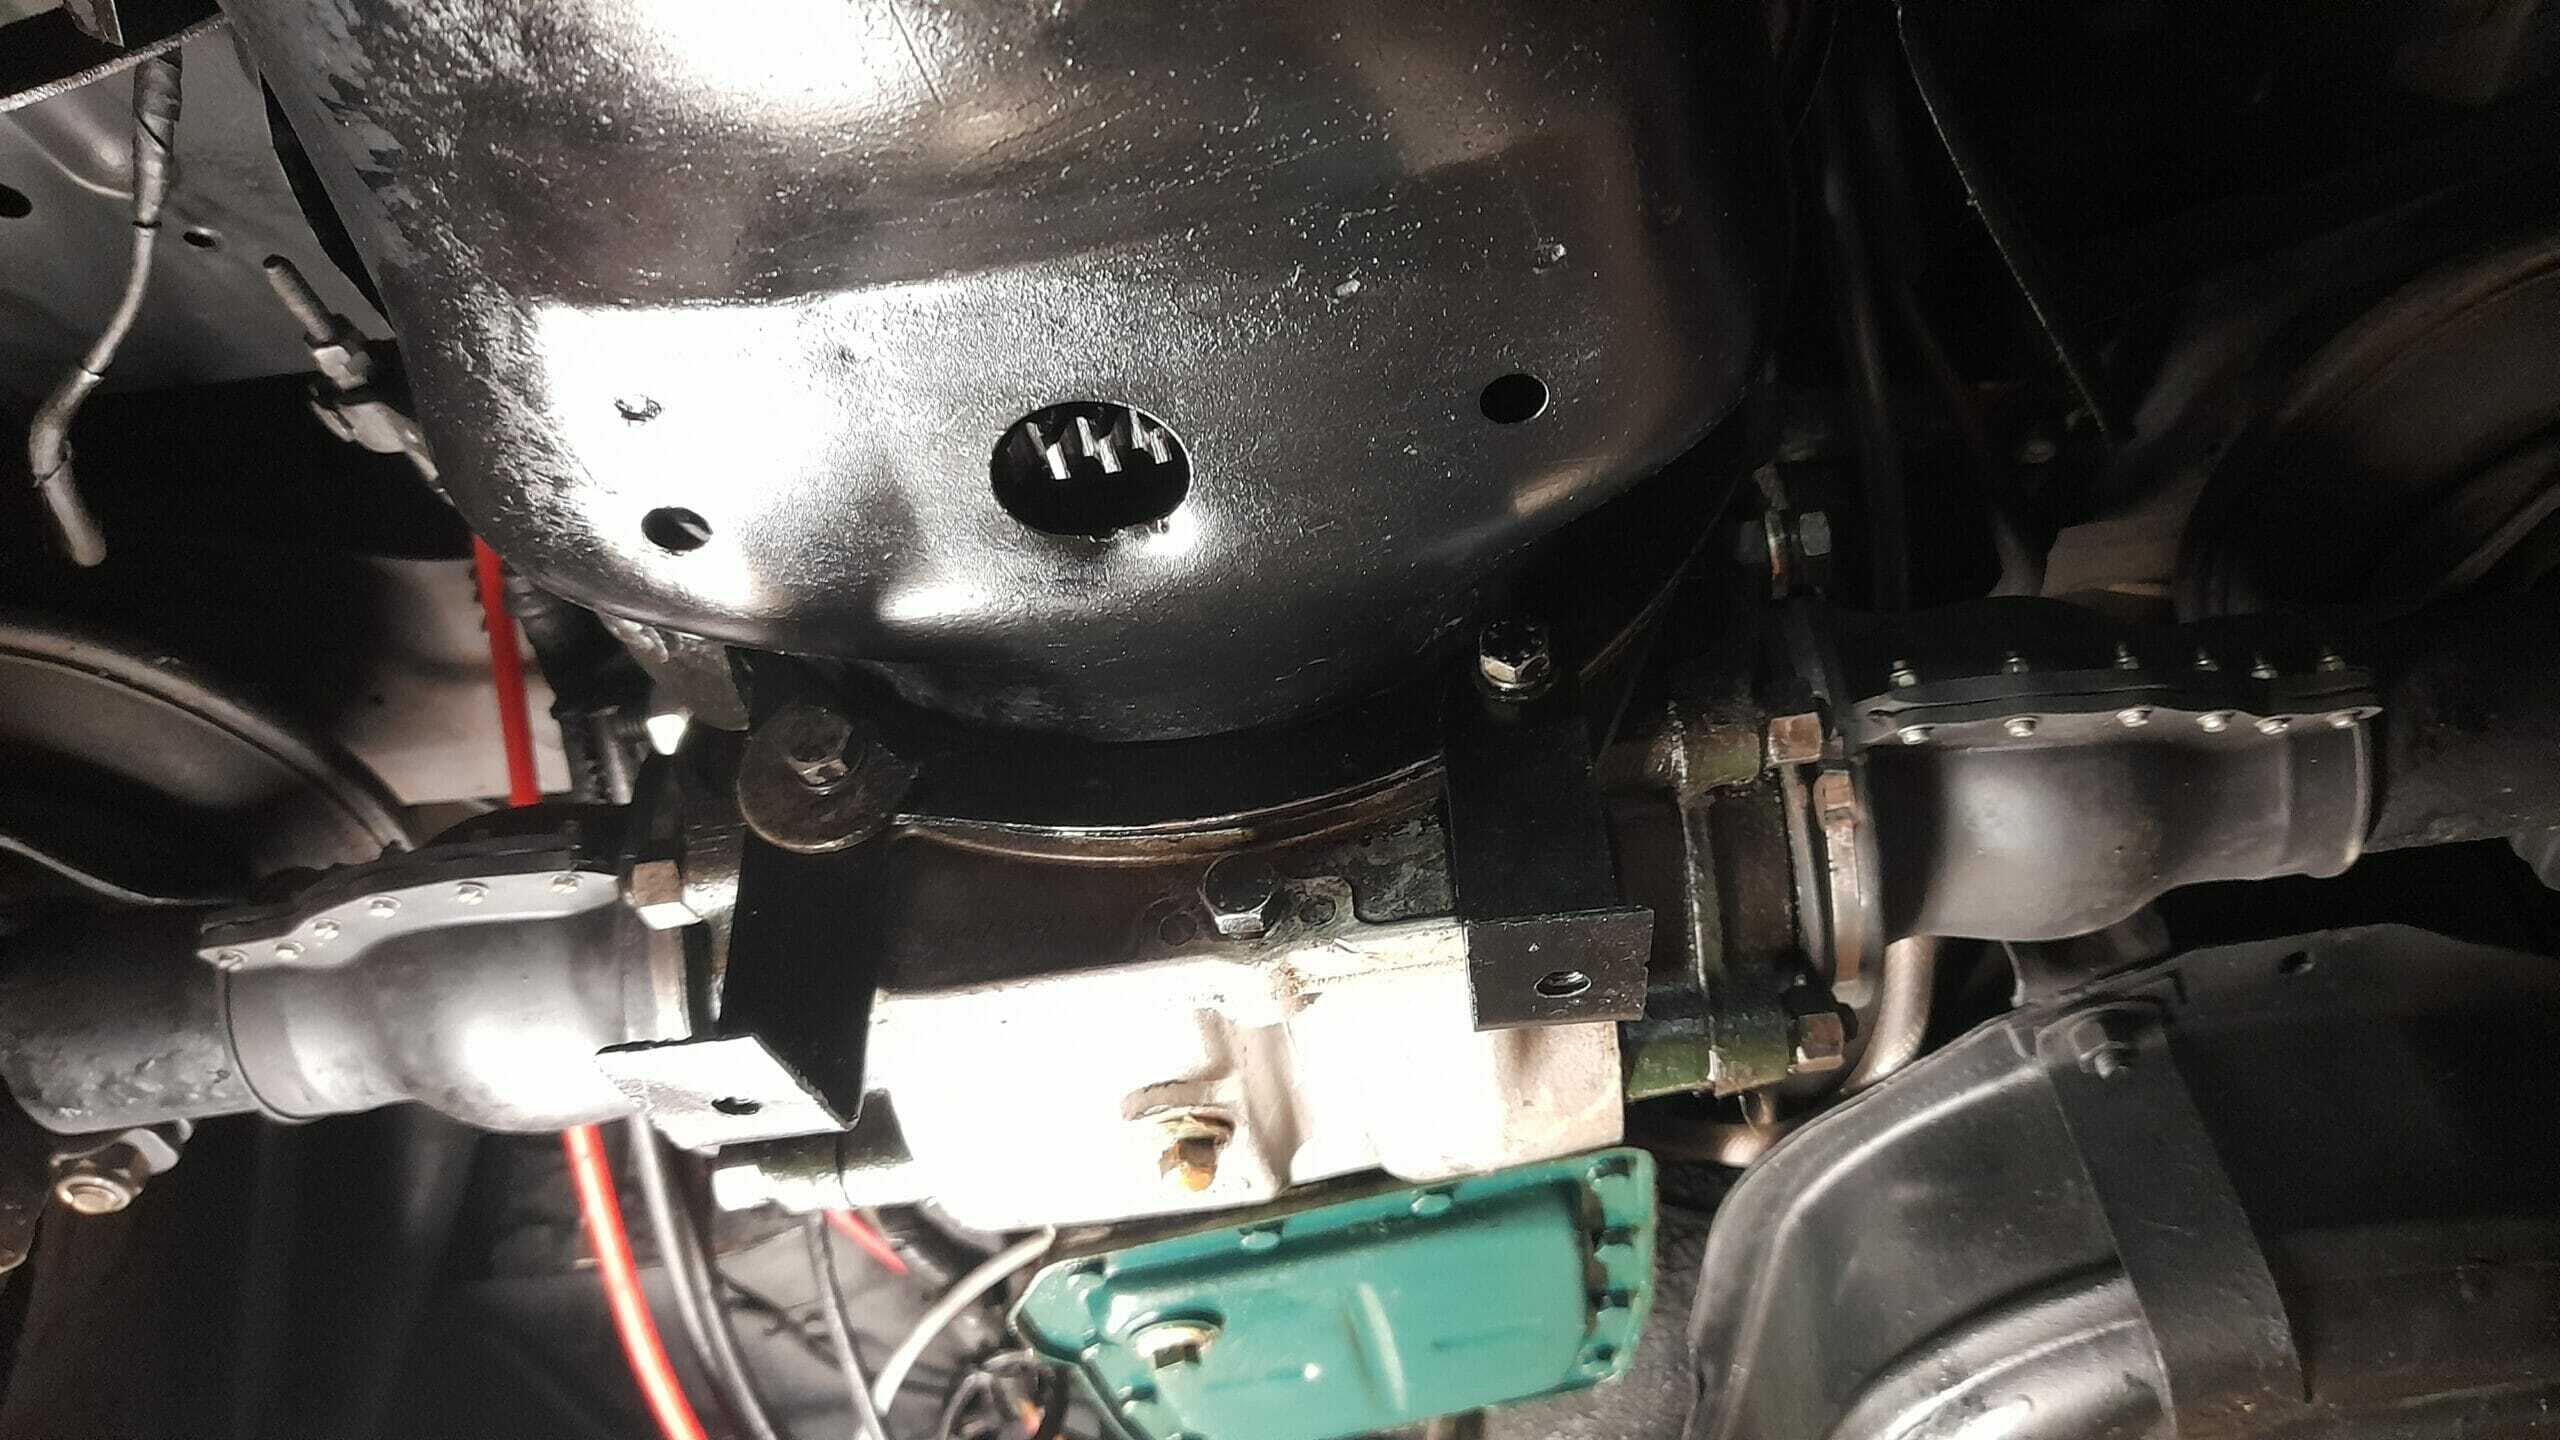
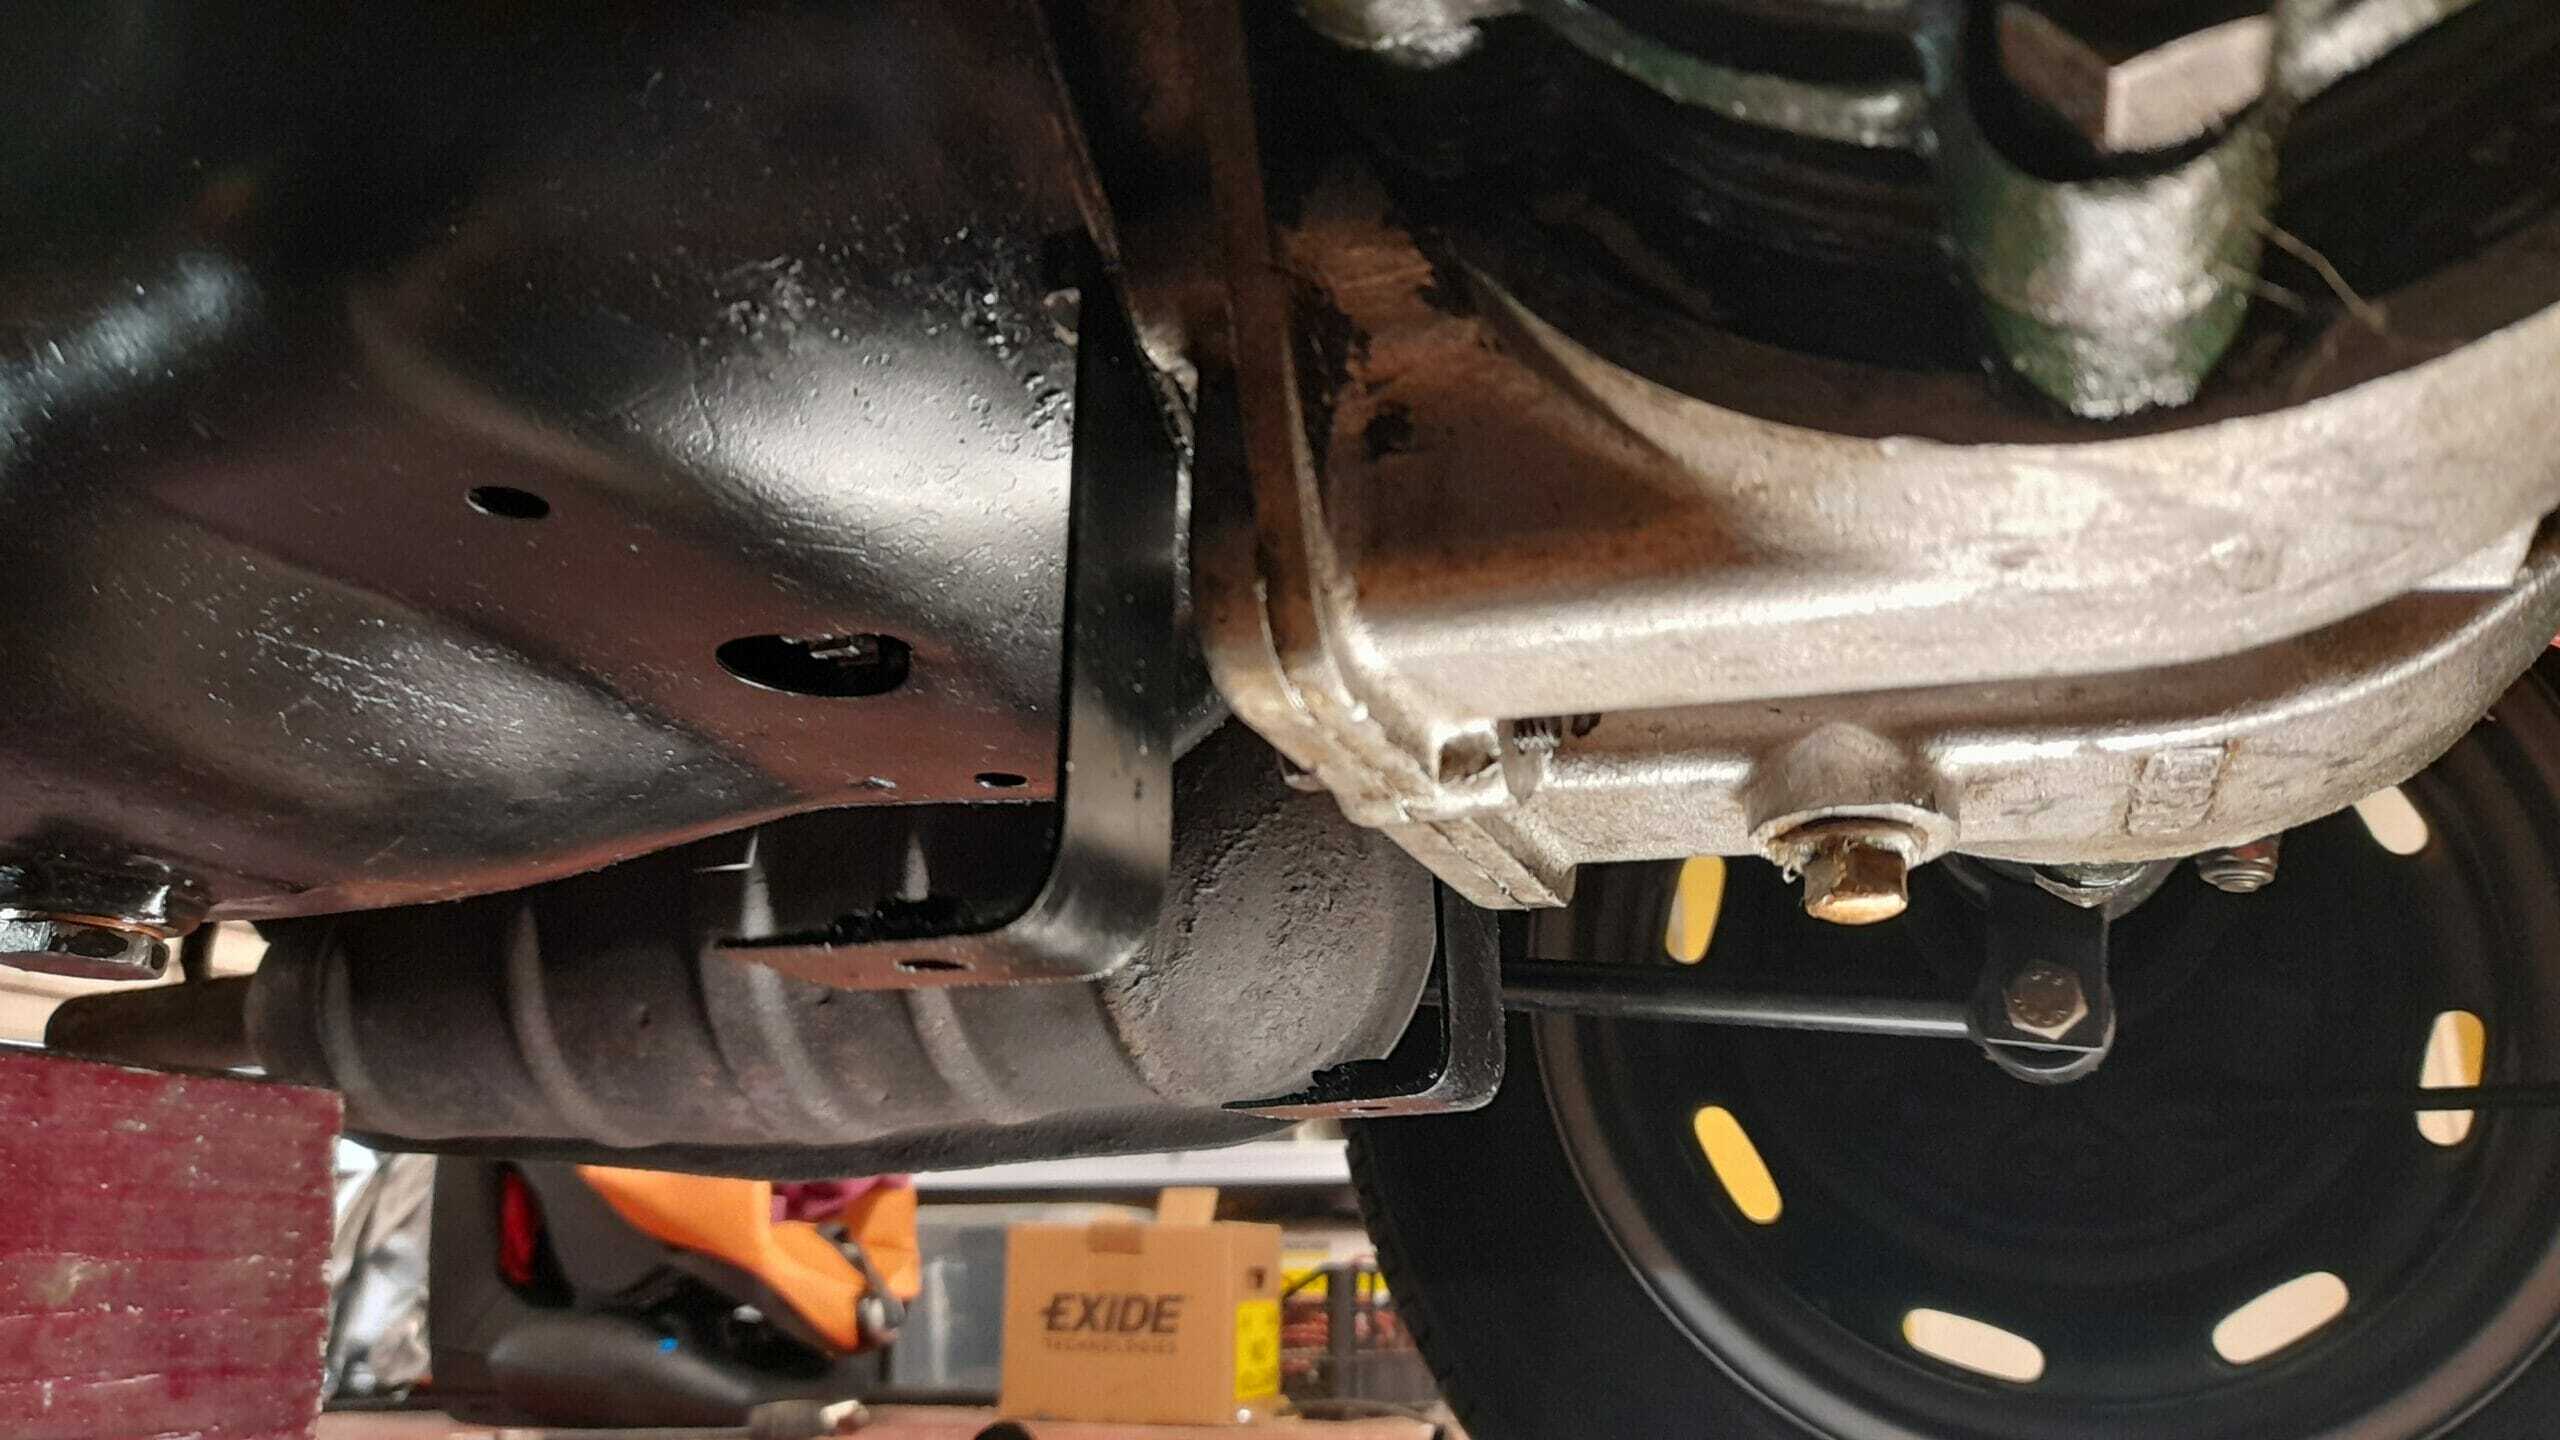
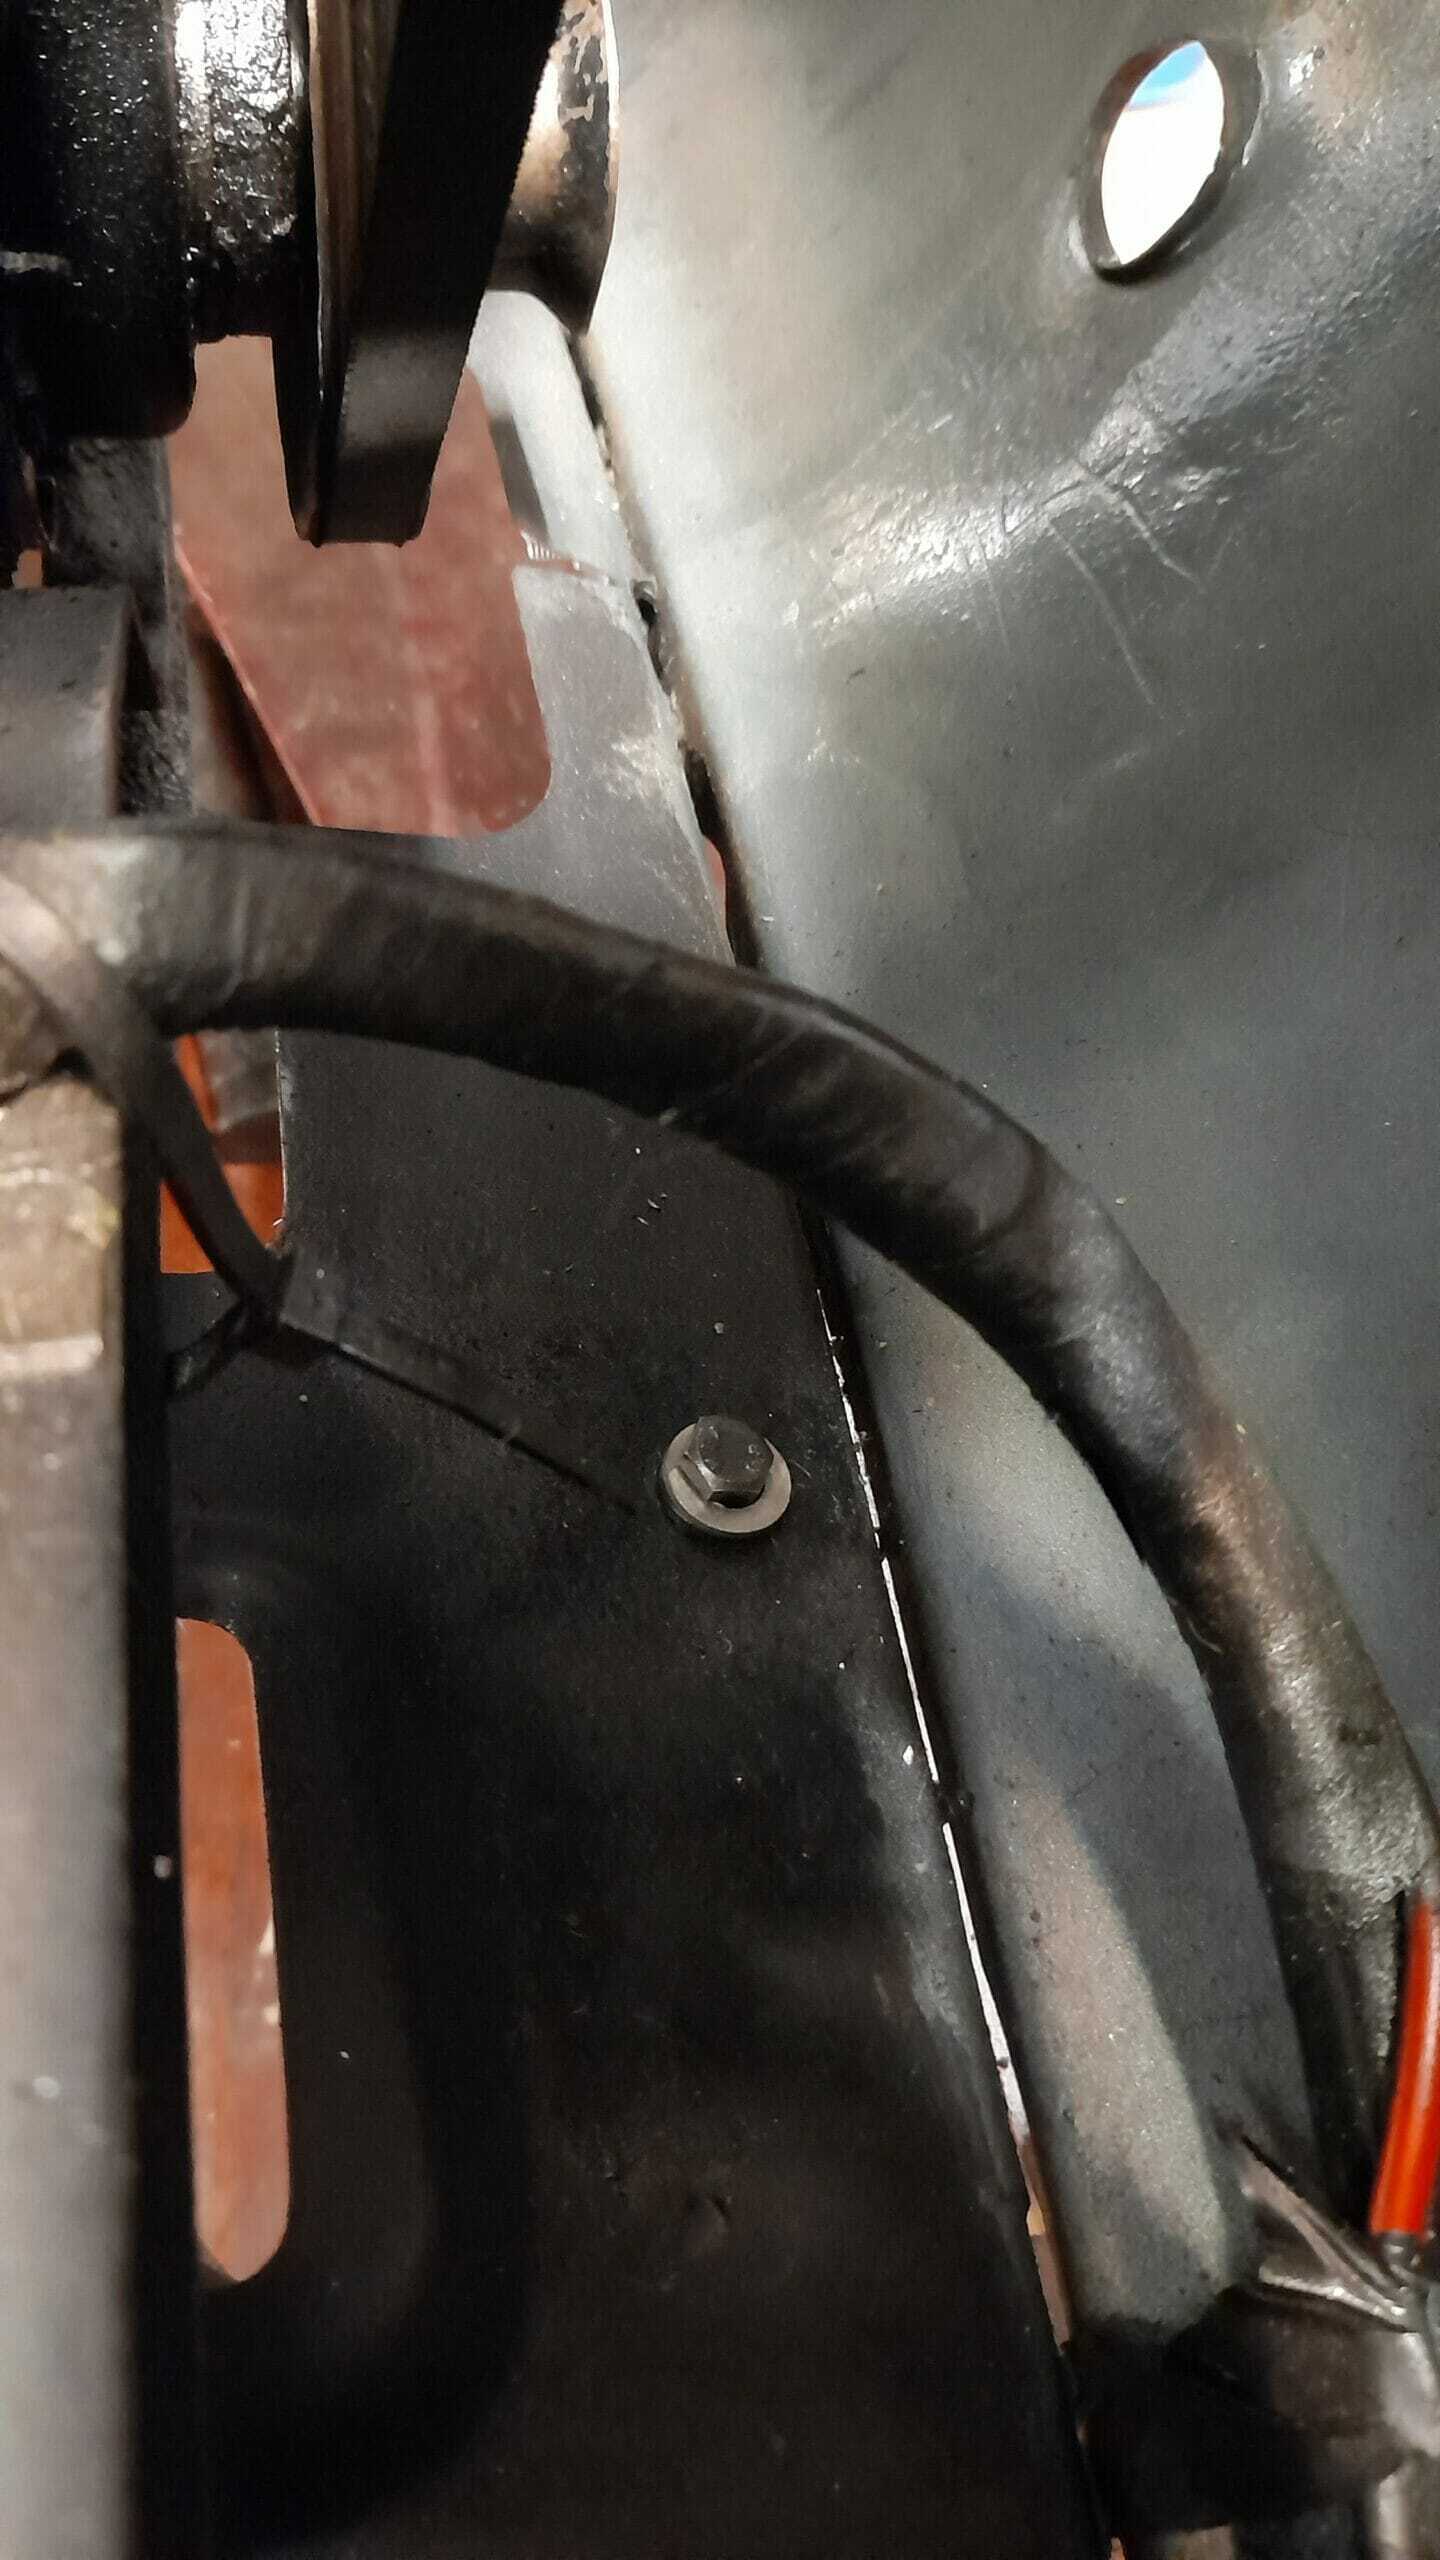
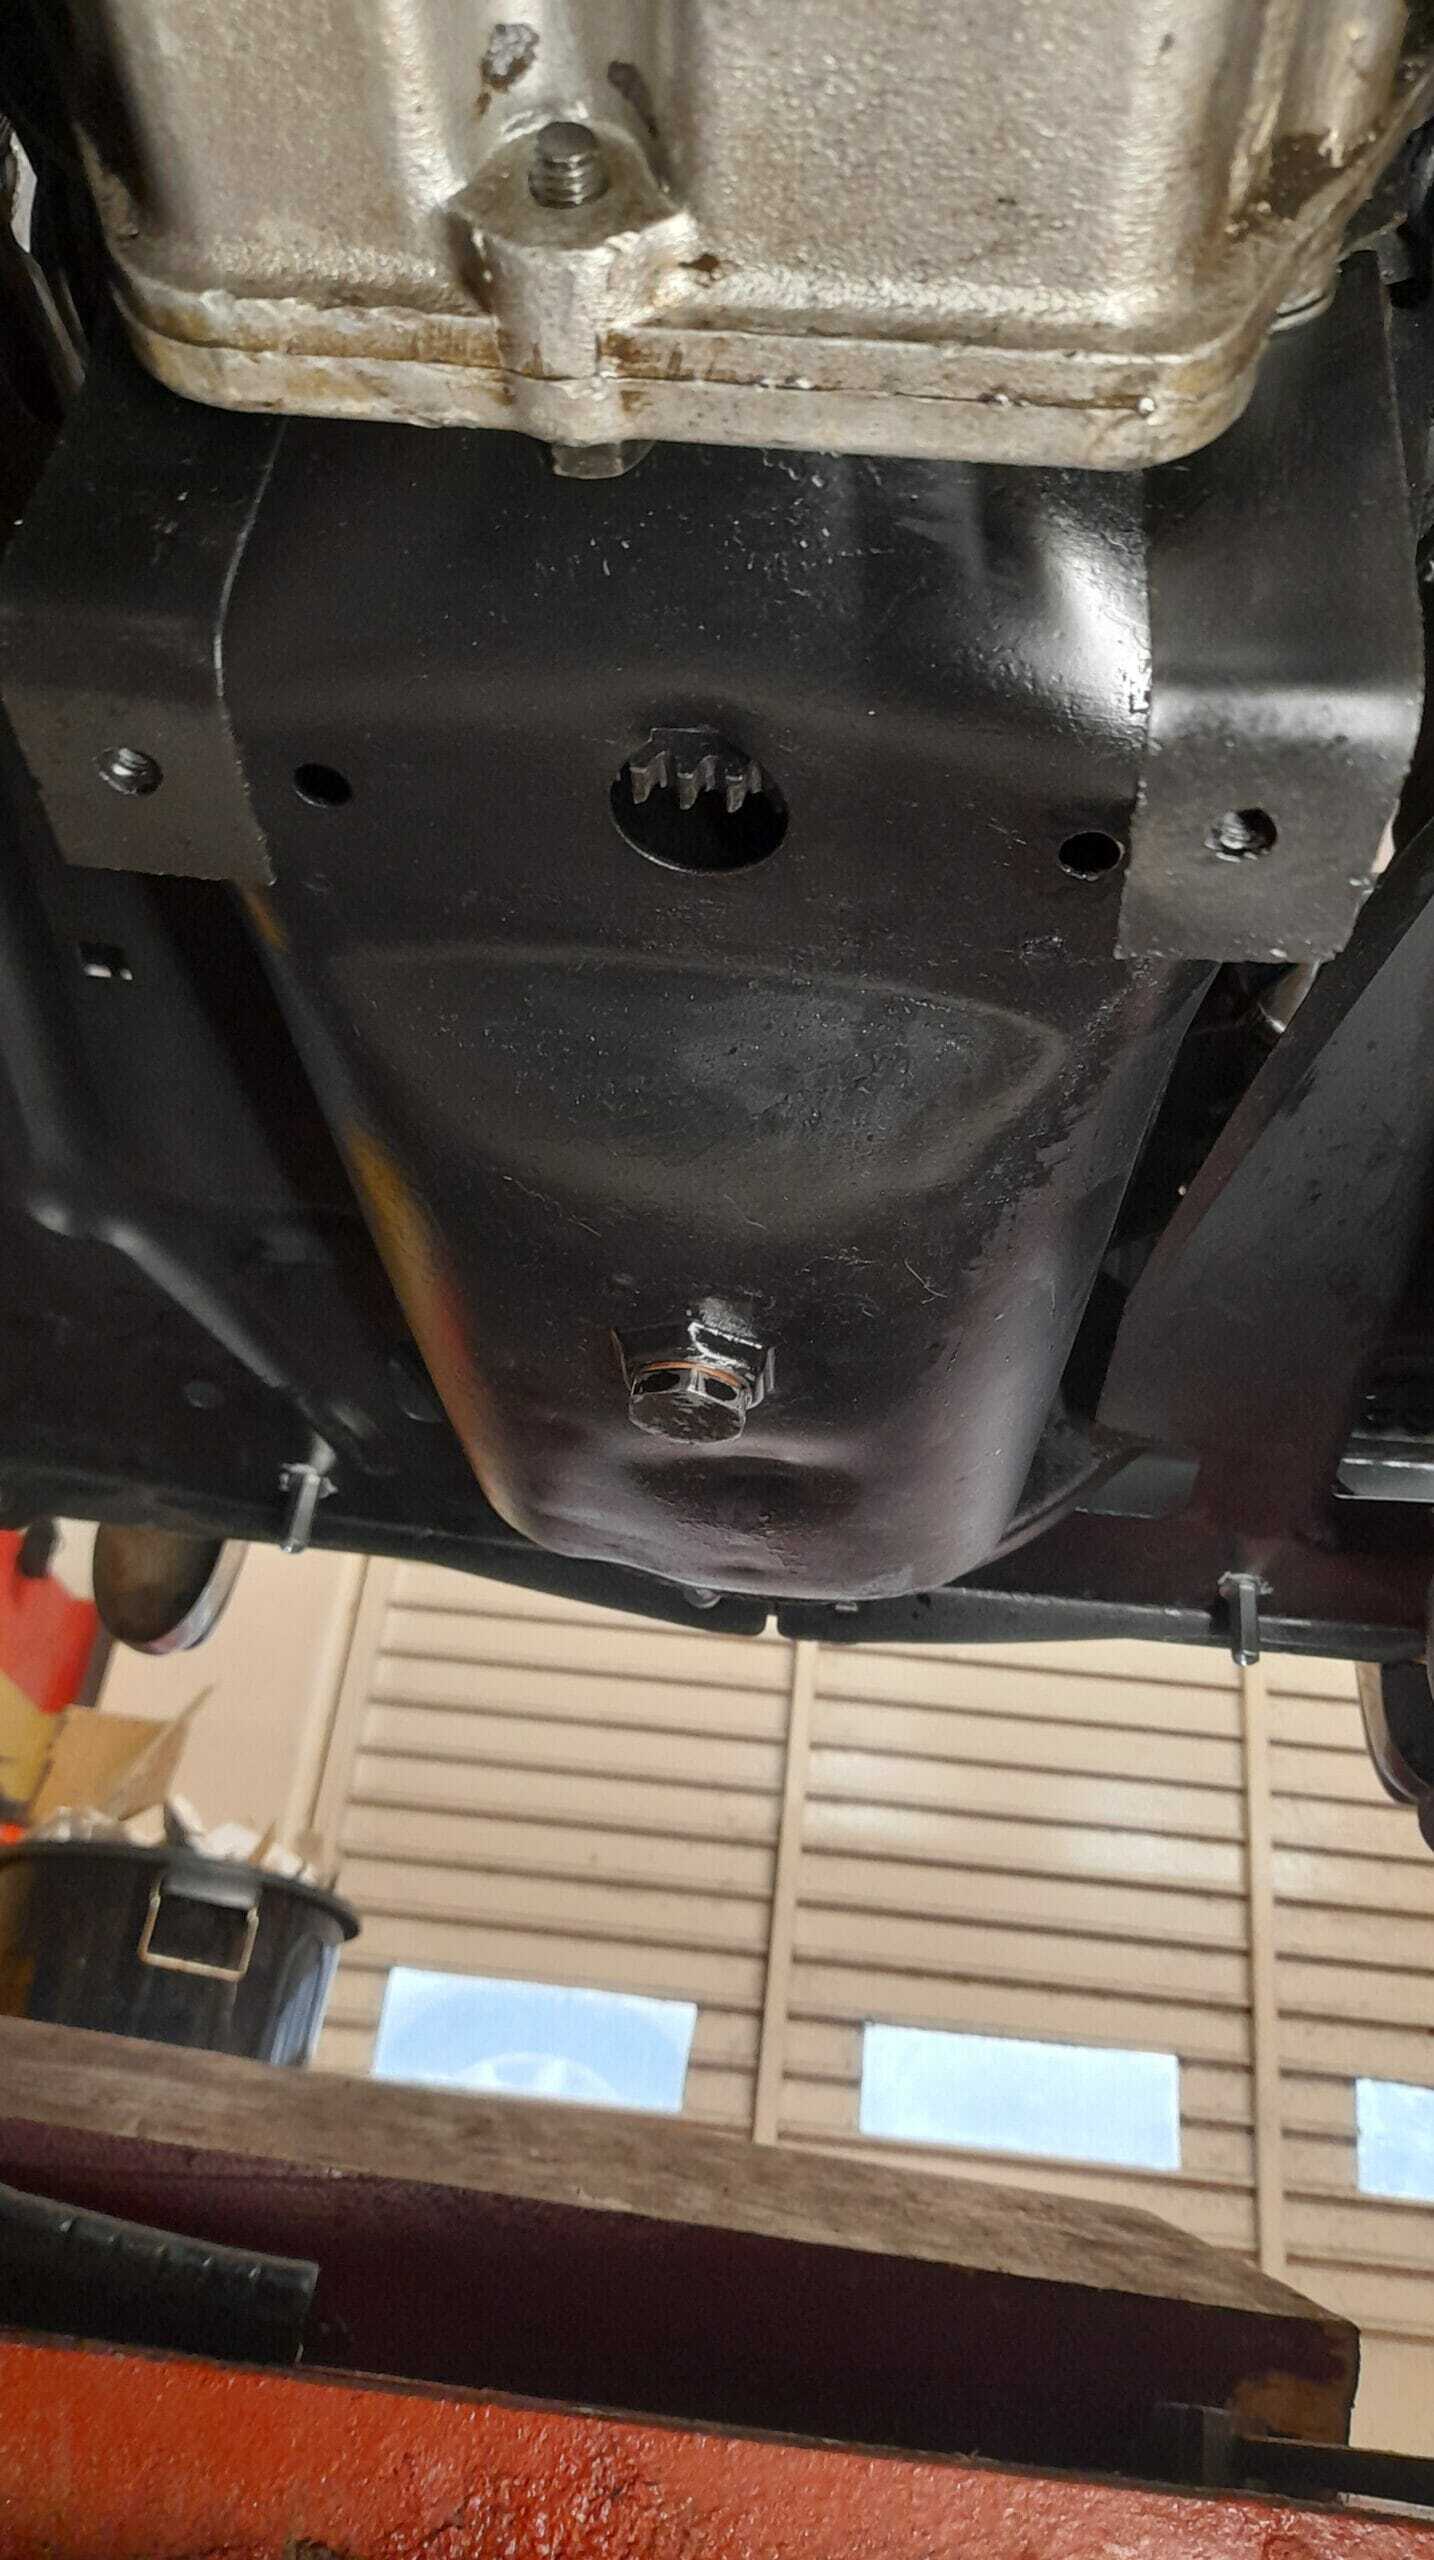
- Two at the front by means of two brackets. These are made of 1.5mm sheet metal and have a welded M6 nut to which the bolt is screwed. You can see in the “phase zero” page the schematic and measurements of the same. These brackets are attached to two of the bolts that connect the crankcase to the differential.
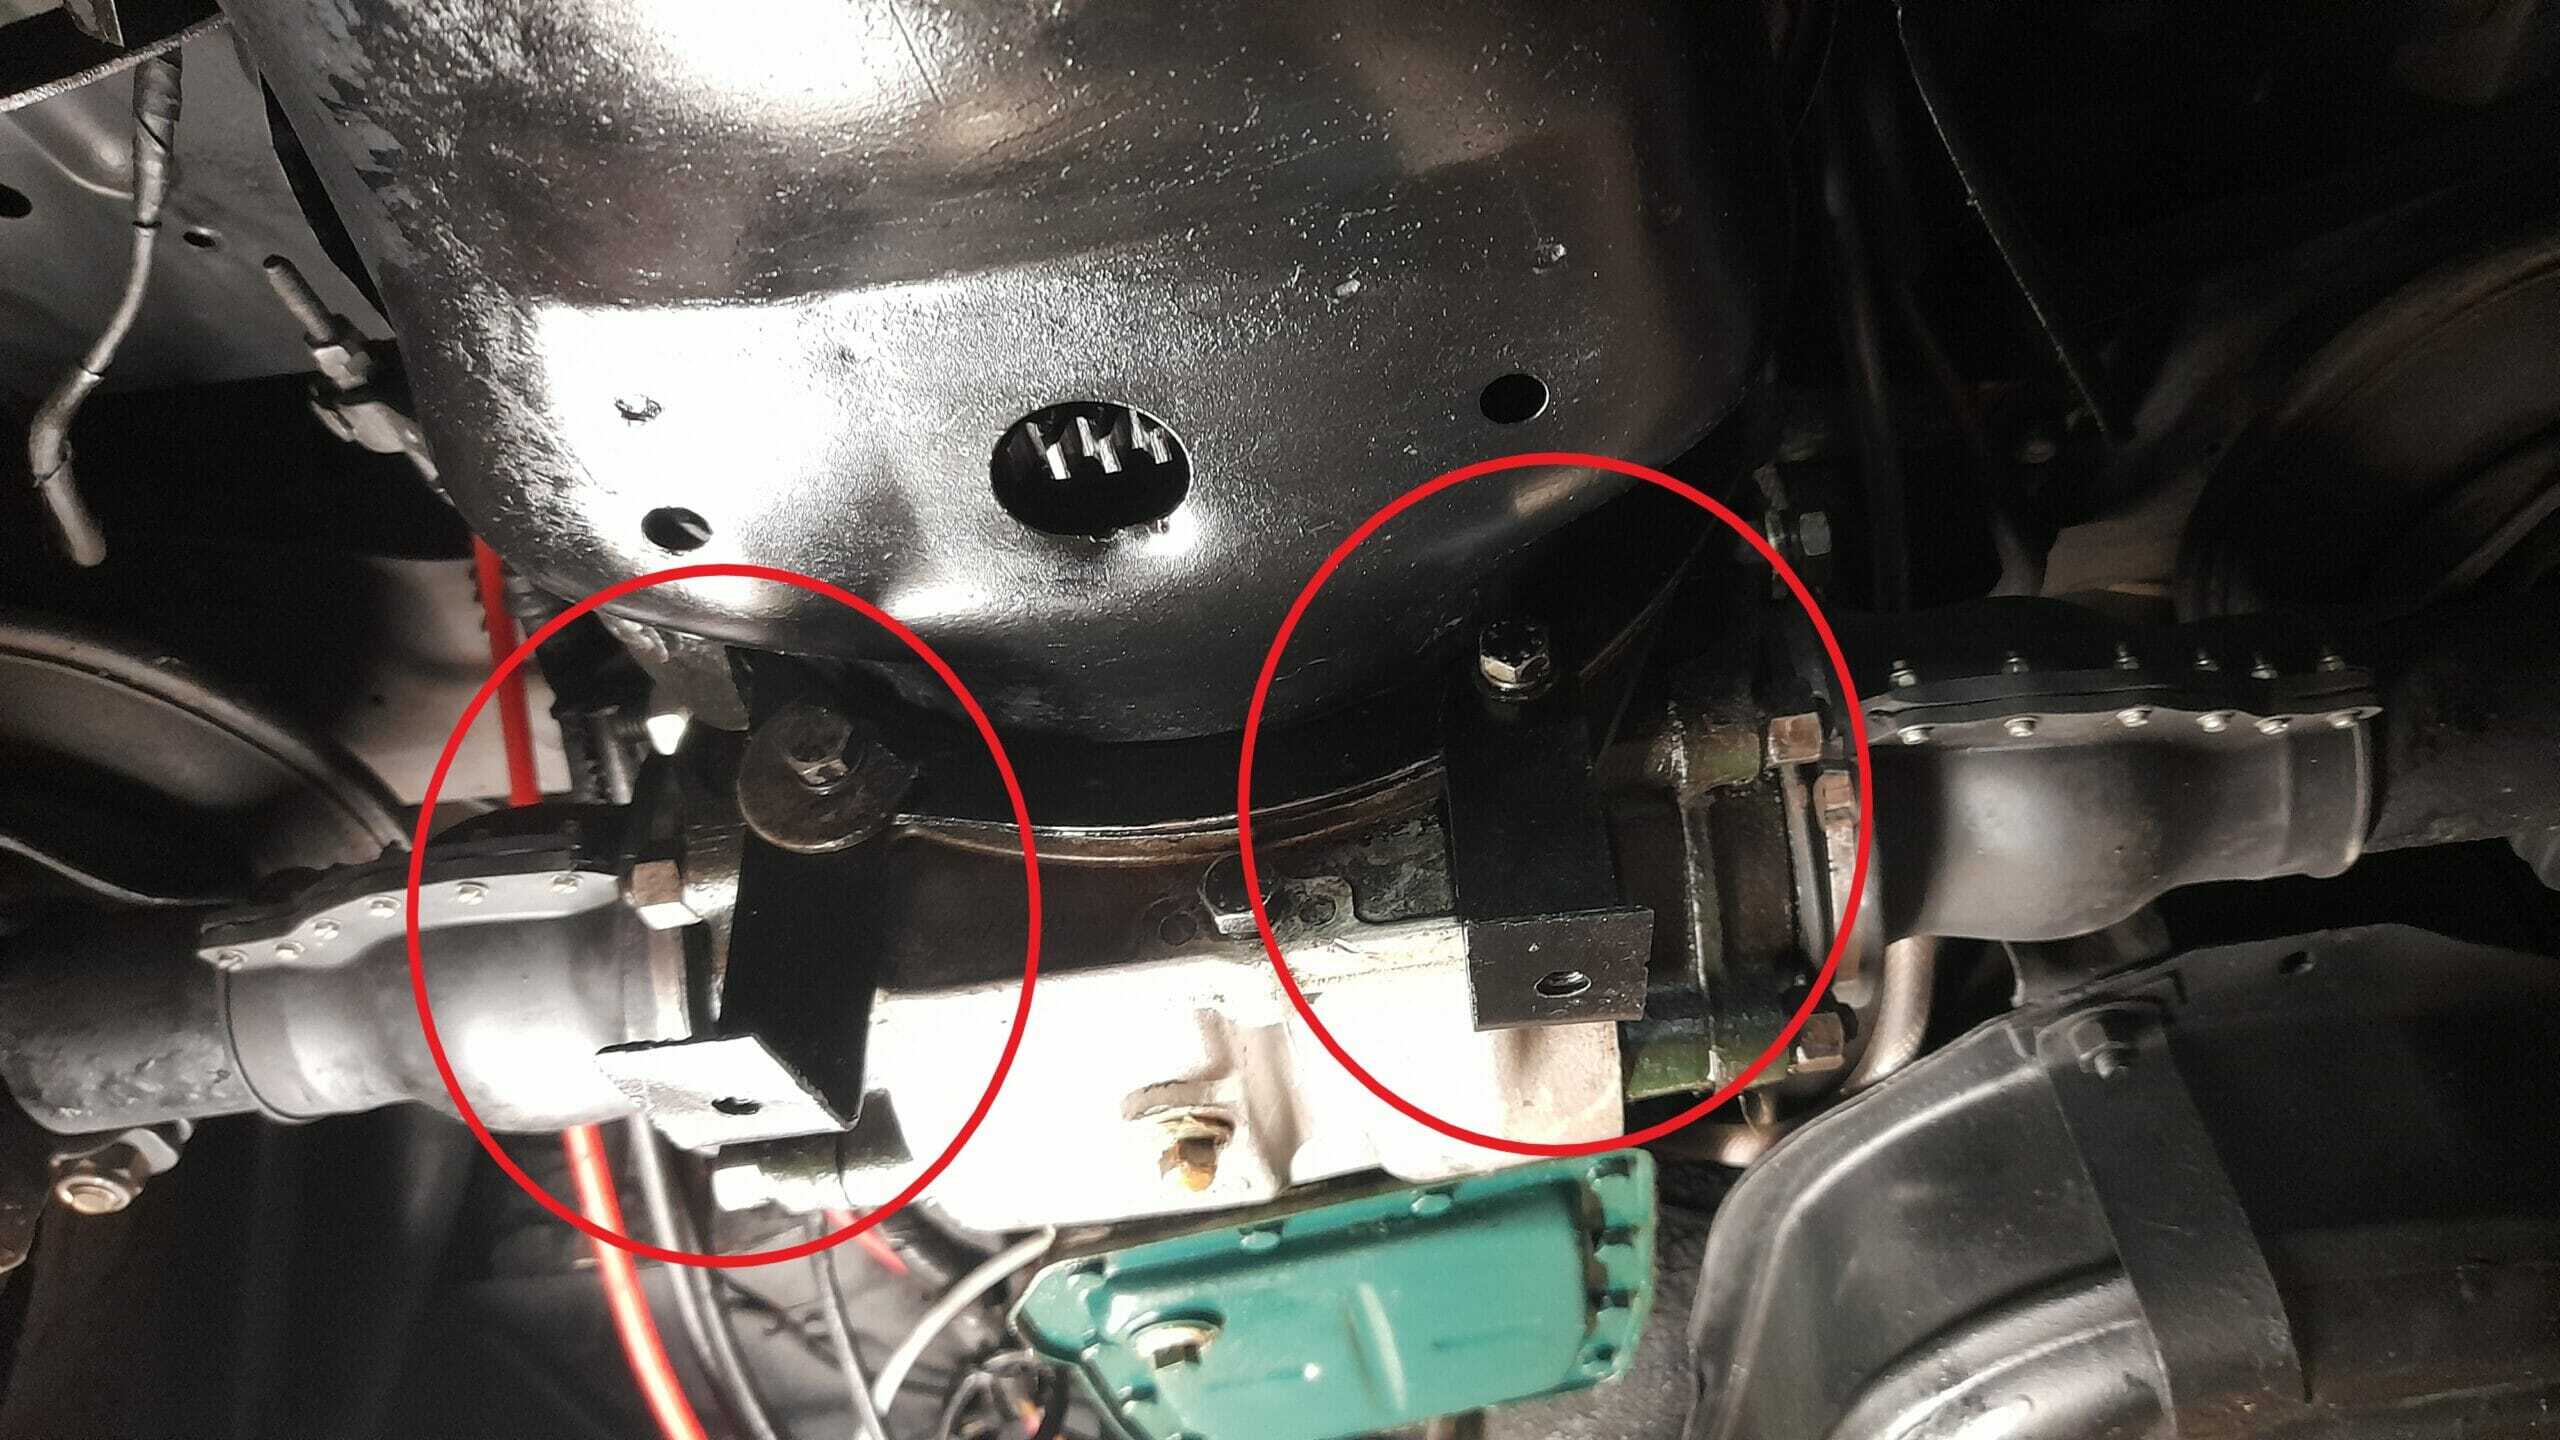
In the pictures of the gallery you can see the compilation of images that I have made to give you the clearest possible view of the assembly. Some of the images have the main element (squares, drills) marked with a red circle.
Photo gallery phase 6
This is the image gallery of the under-vehicle anchoring phase. You can click on each of the photos to see the description. As always, if you have any questions or doubts, you can contact us and we will be happy to answer and help you.
Some additional details of the anchors
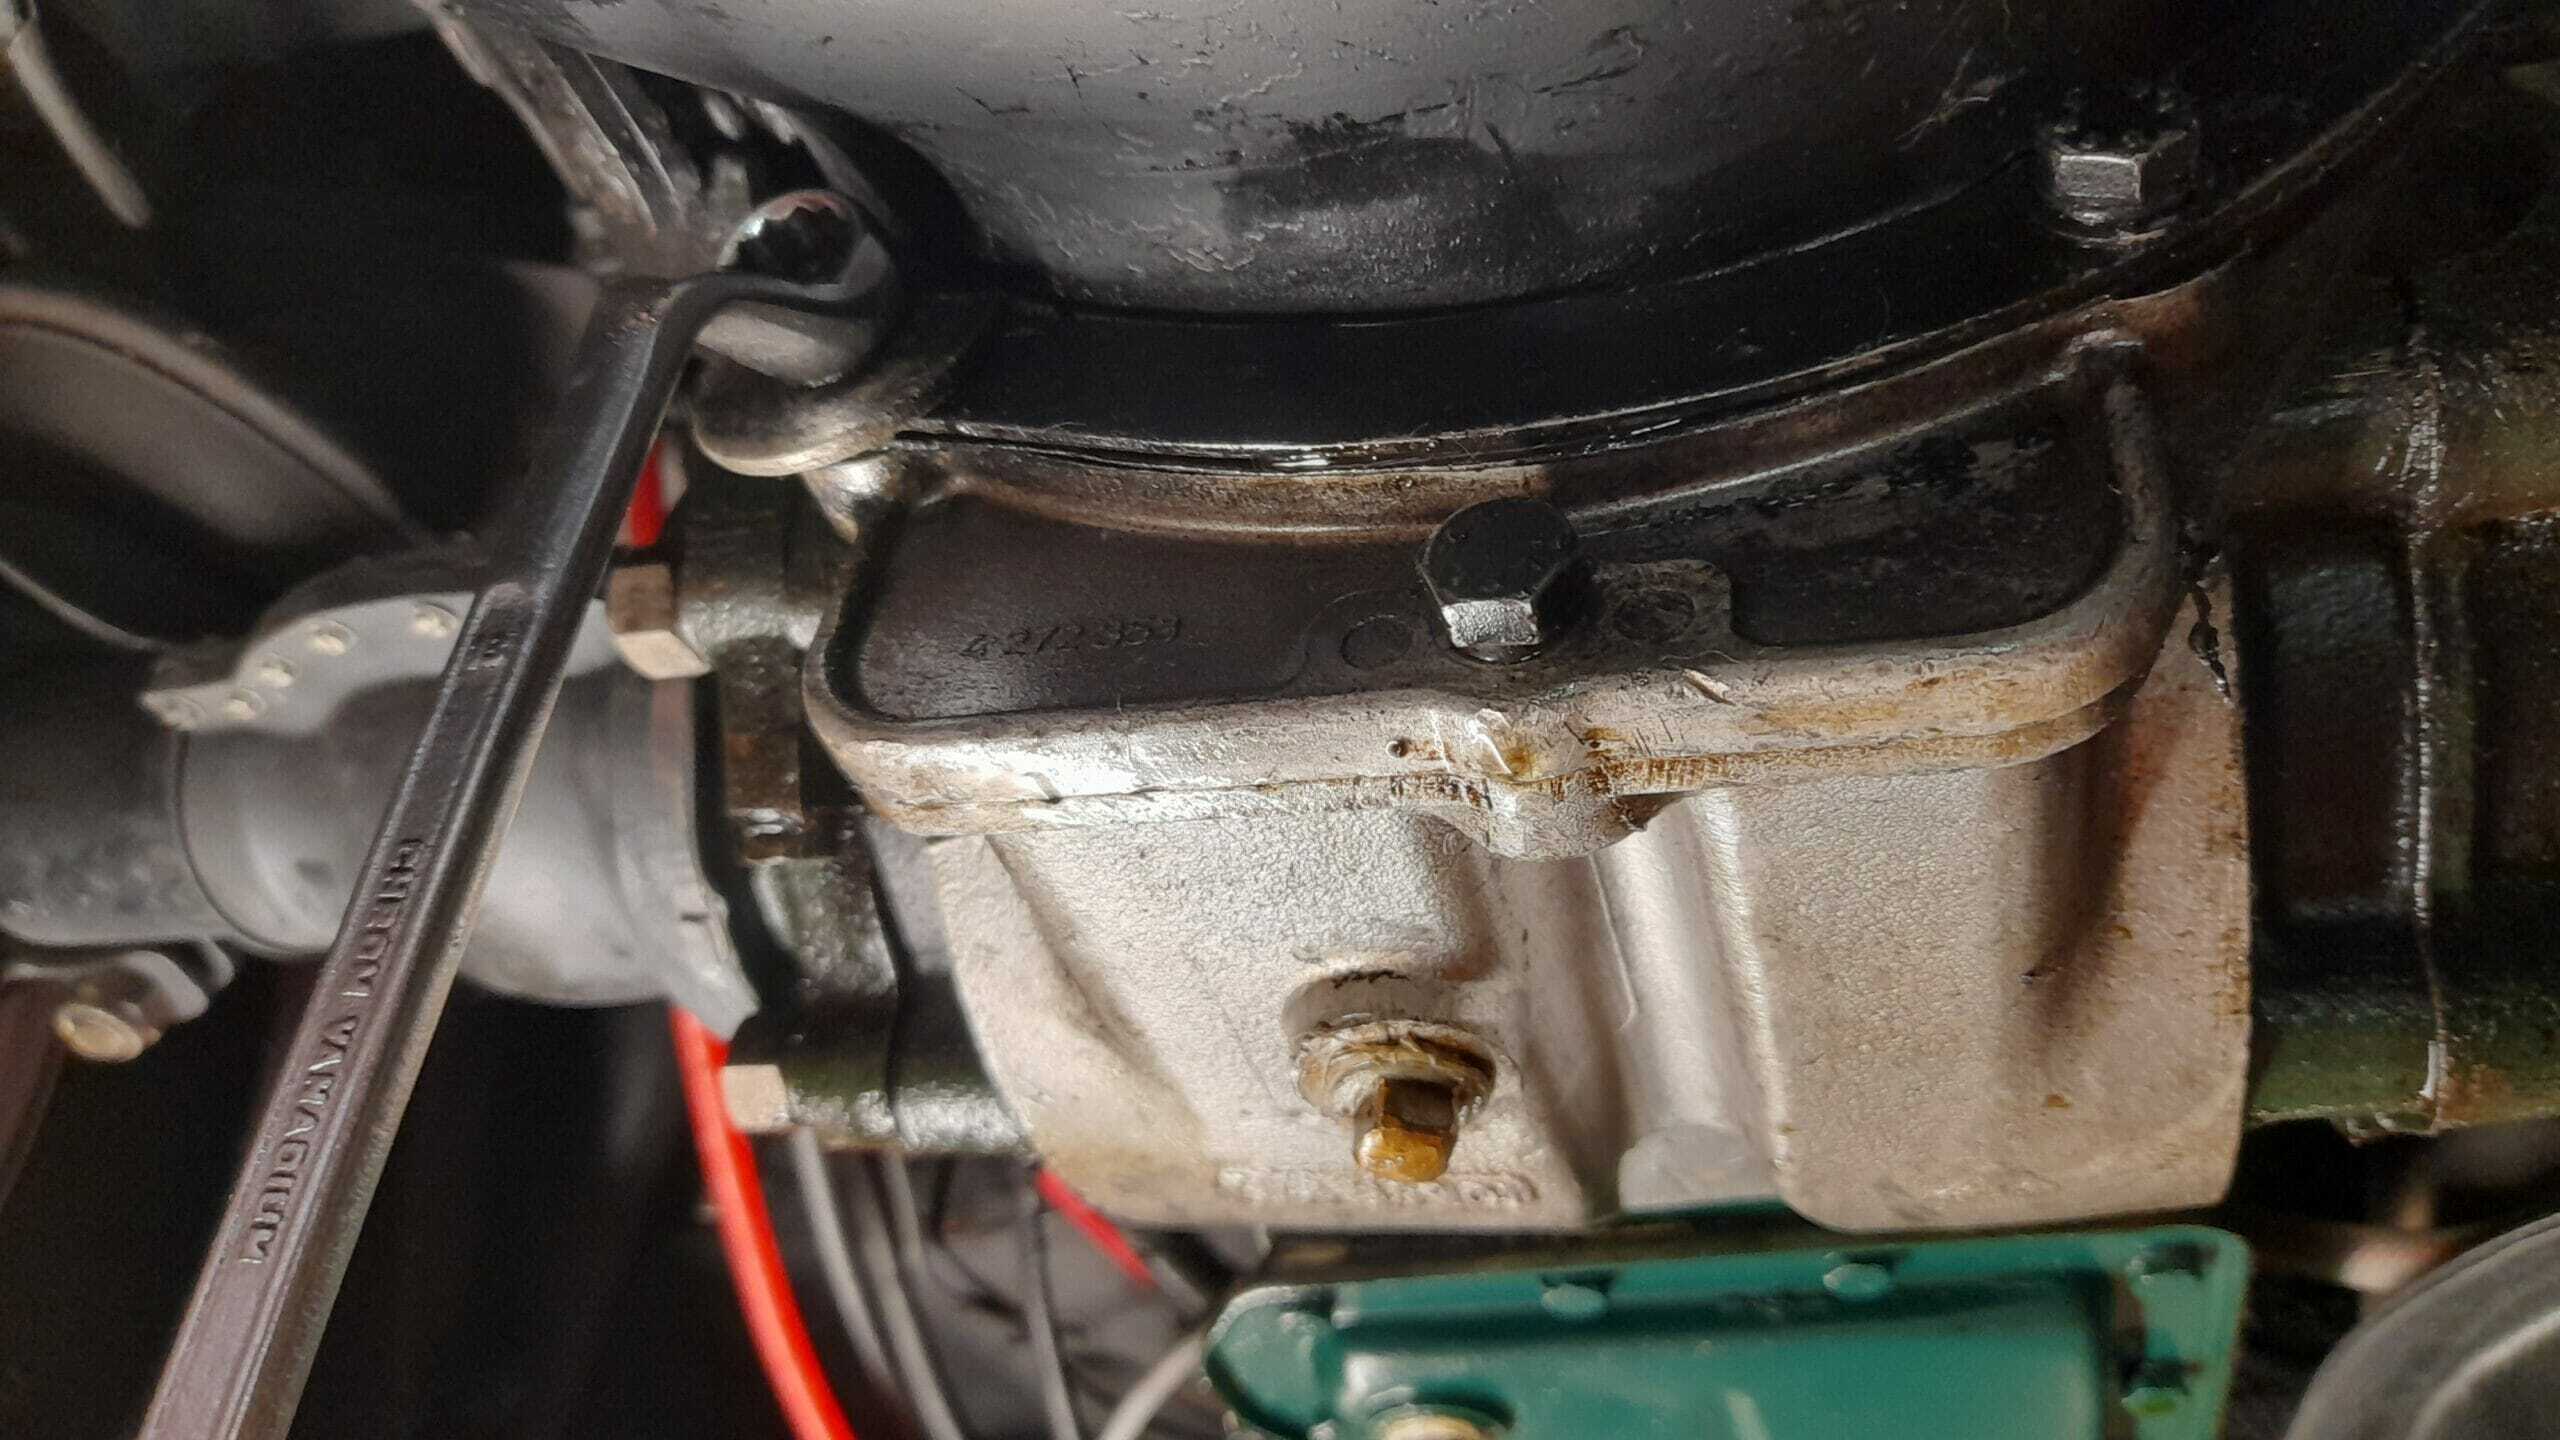
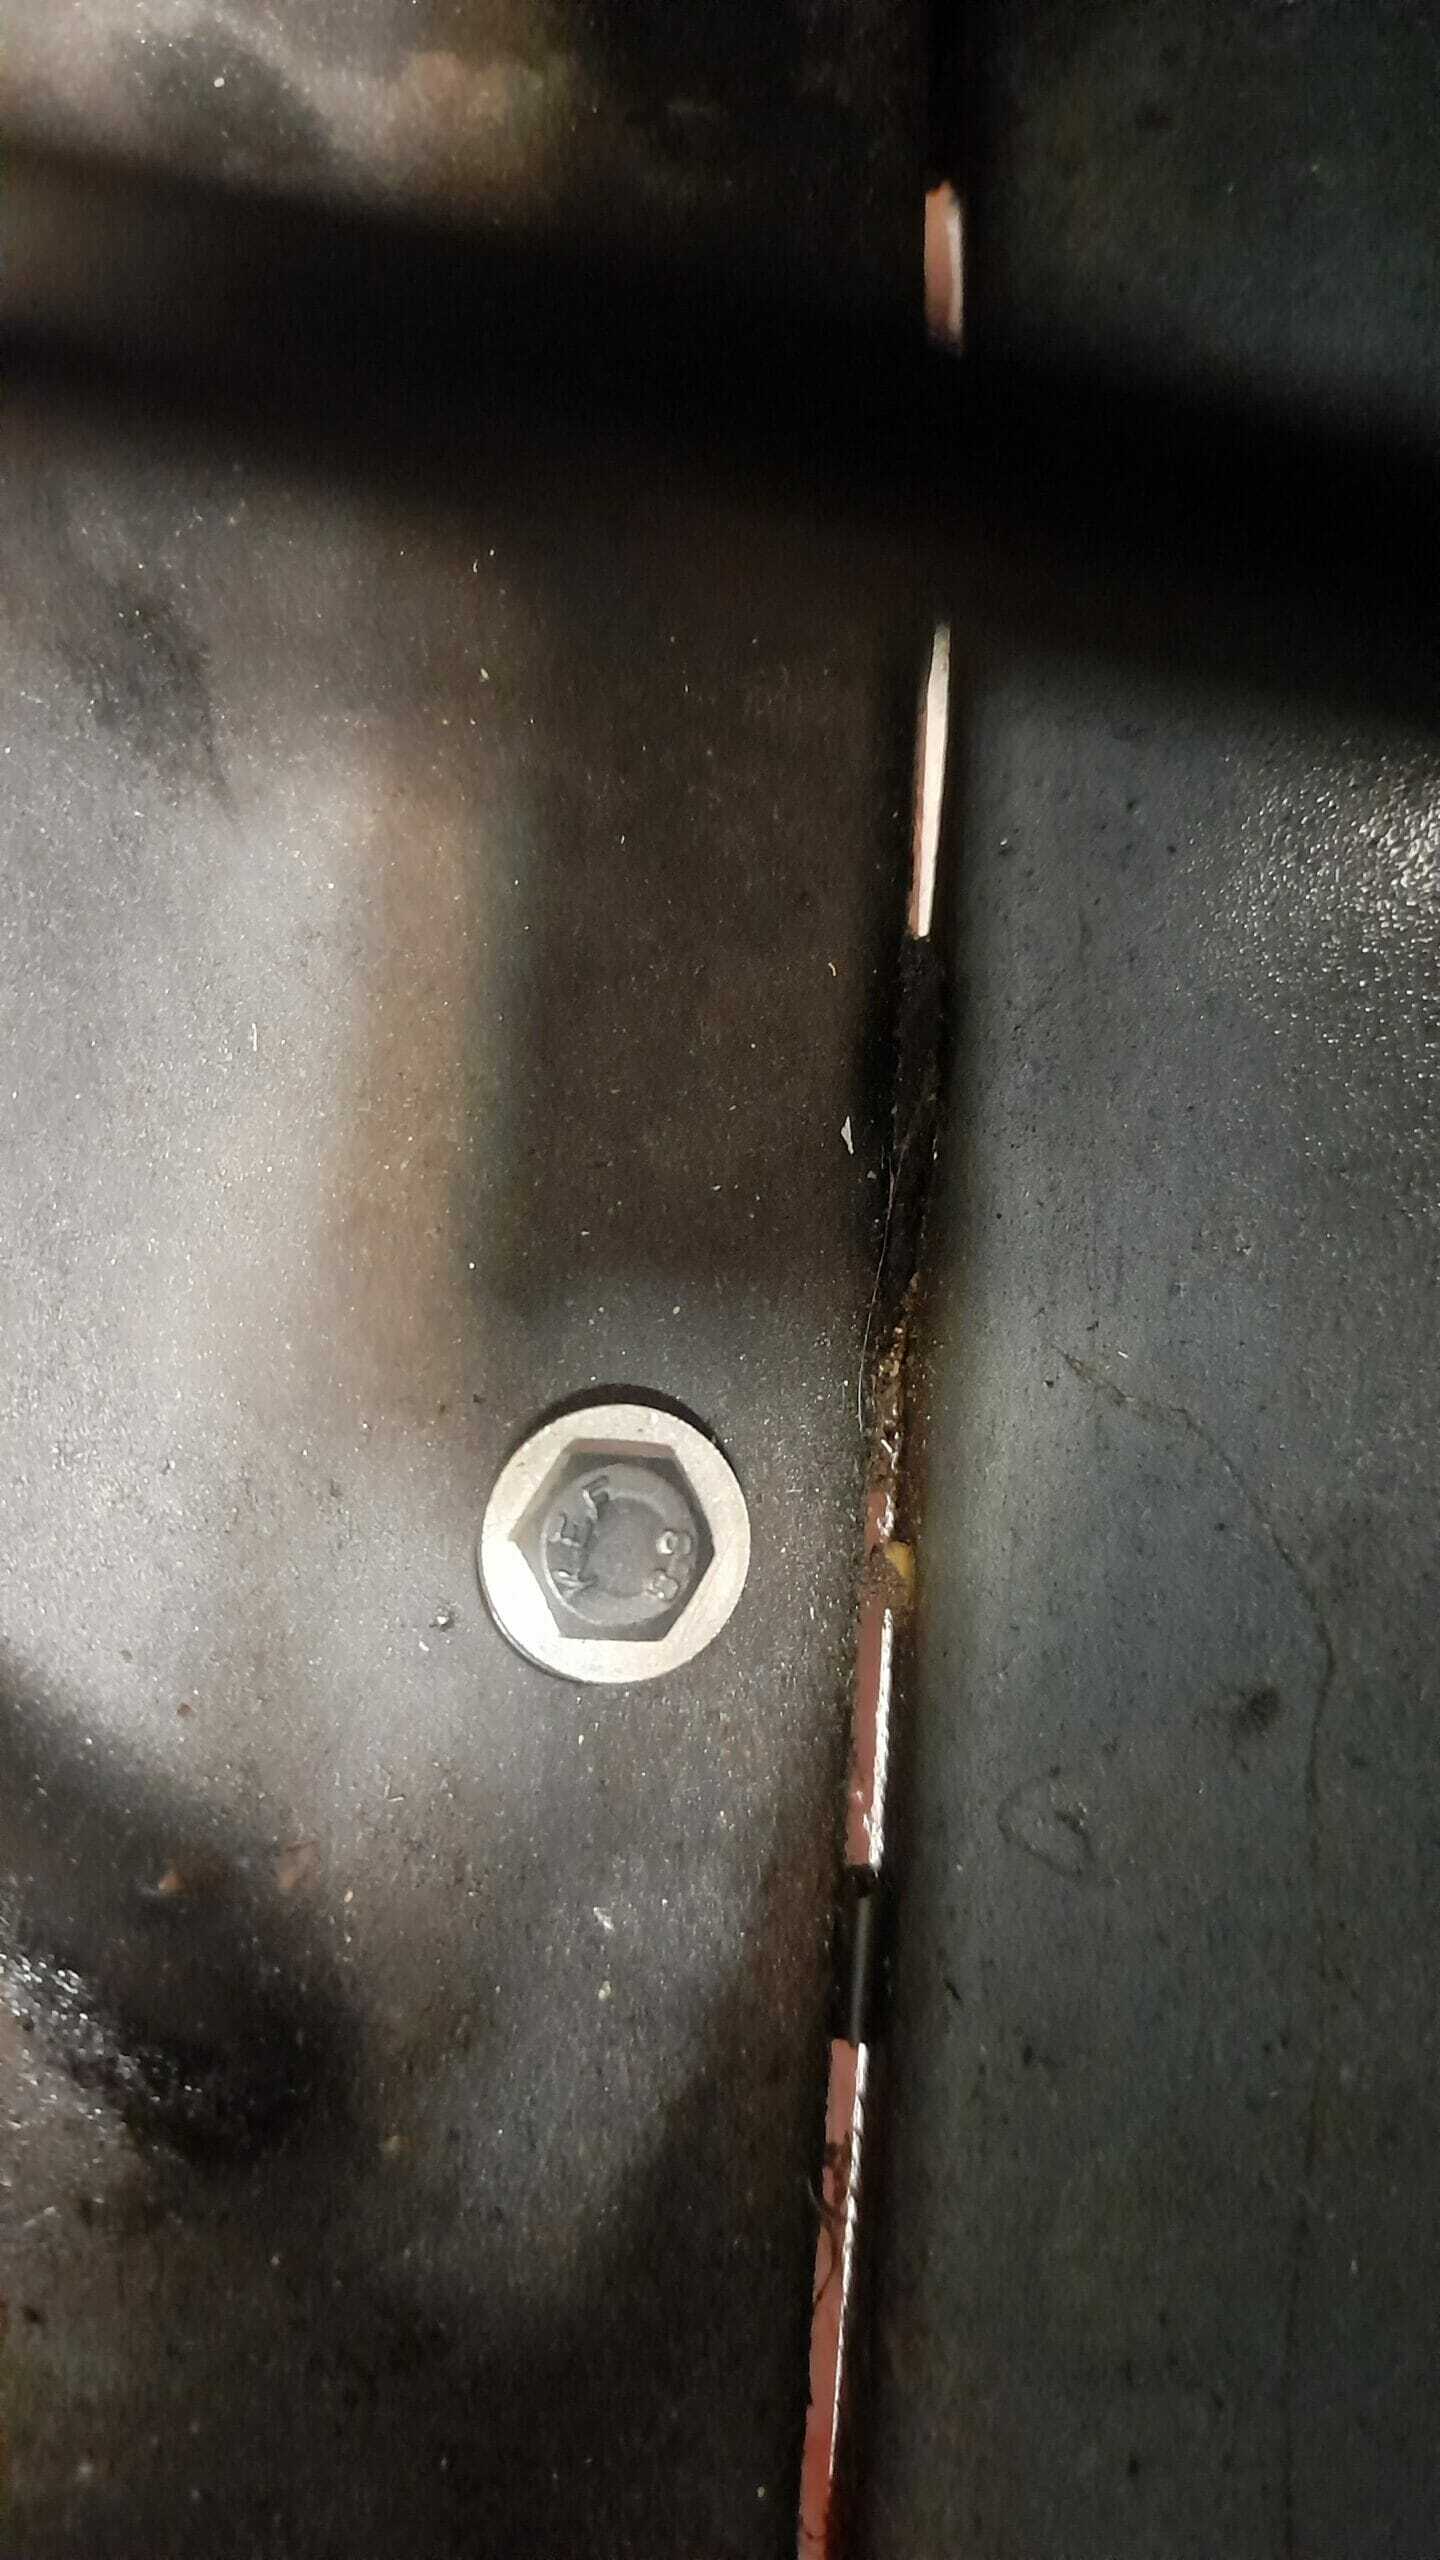
- In the second photo of the gallery you can see how we loosen the screws that join the crankcase with the differential. To attach the bracket you have to completely remove the screws. You can do it without any problem because that area of the crankcase has NO oil, since it is the clutch area. What we certainly did do was to remove the screws one by one and not both at the same time in order to prevent the crankcase tray from moving from its original position (a simple precaution, perhaps unnecessary but costing very little).
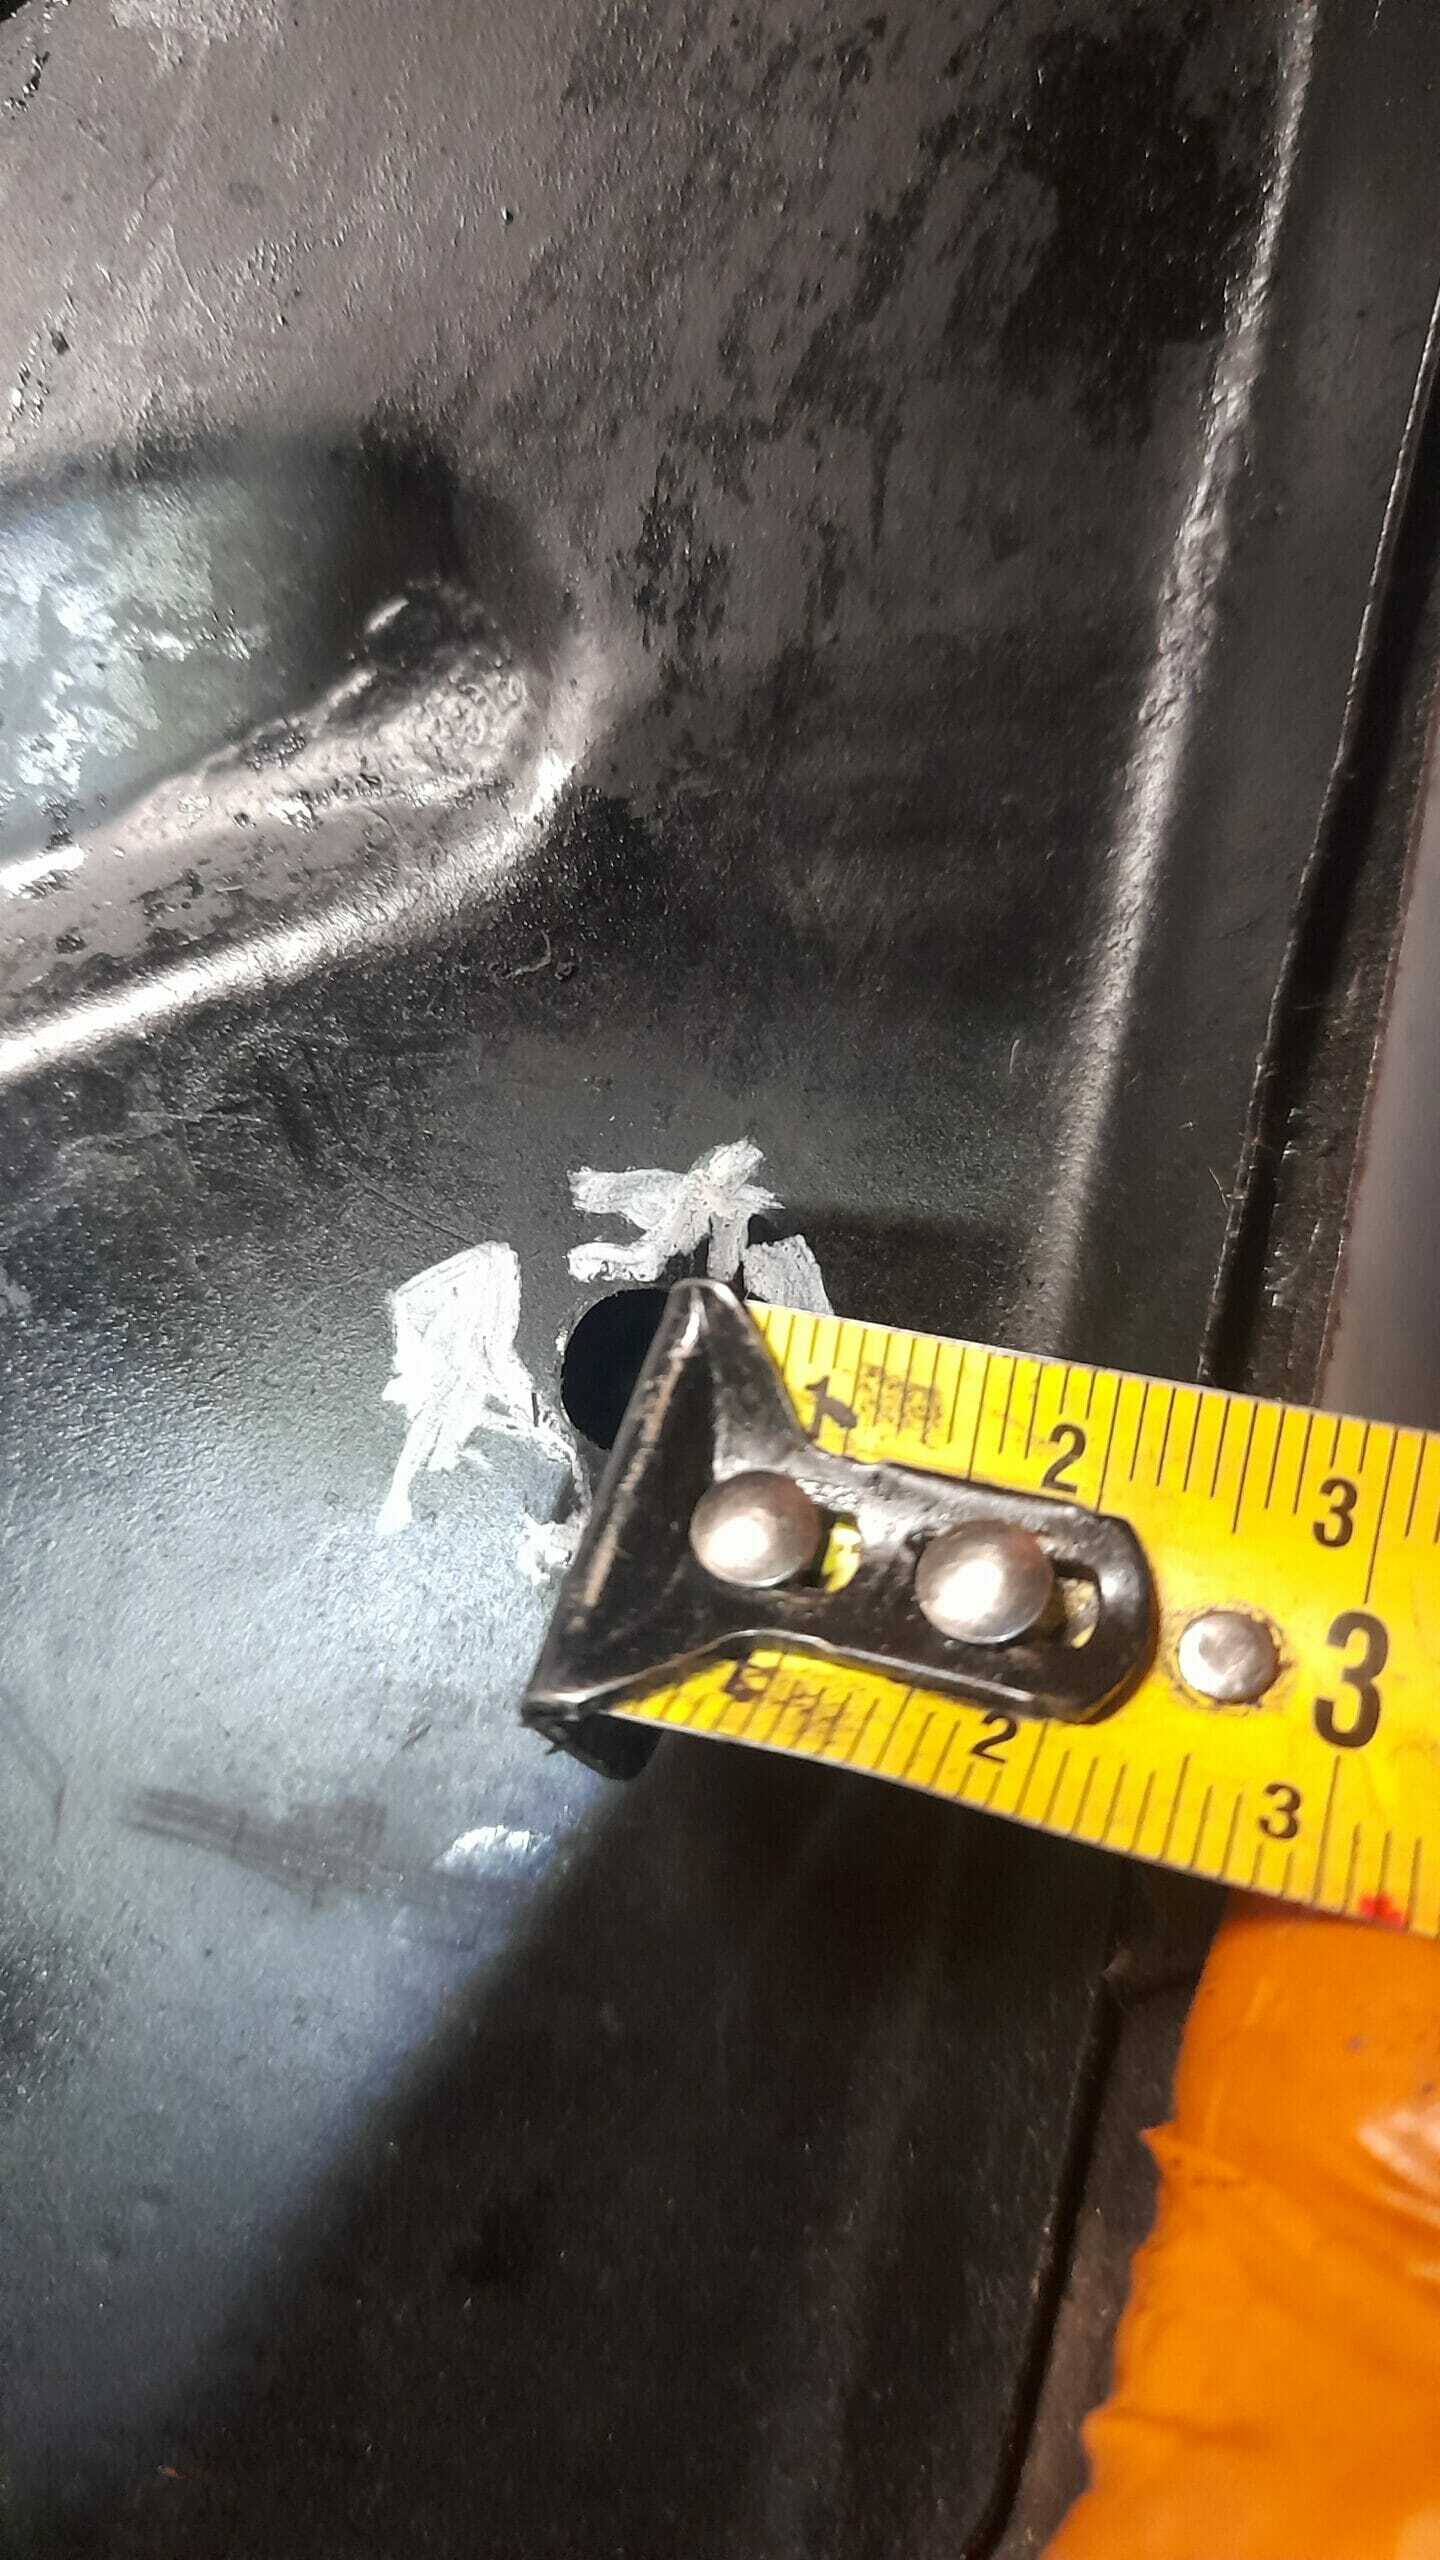
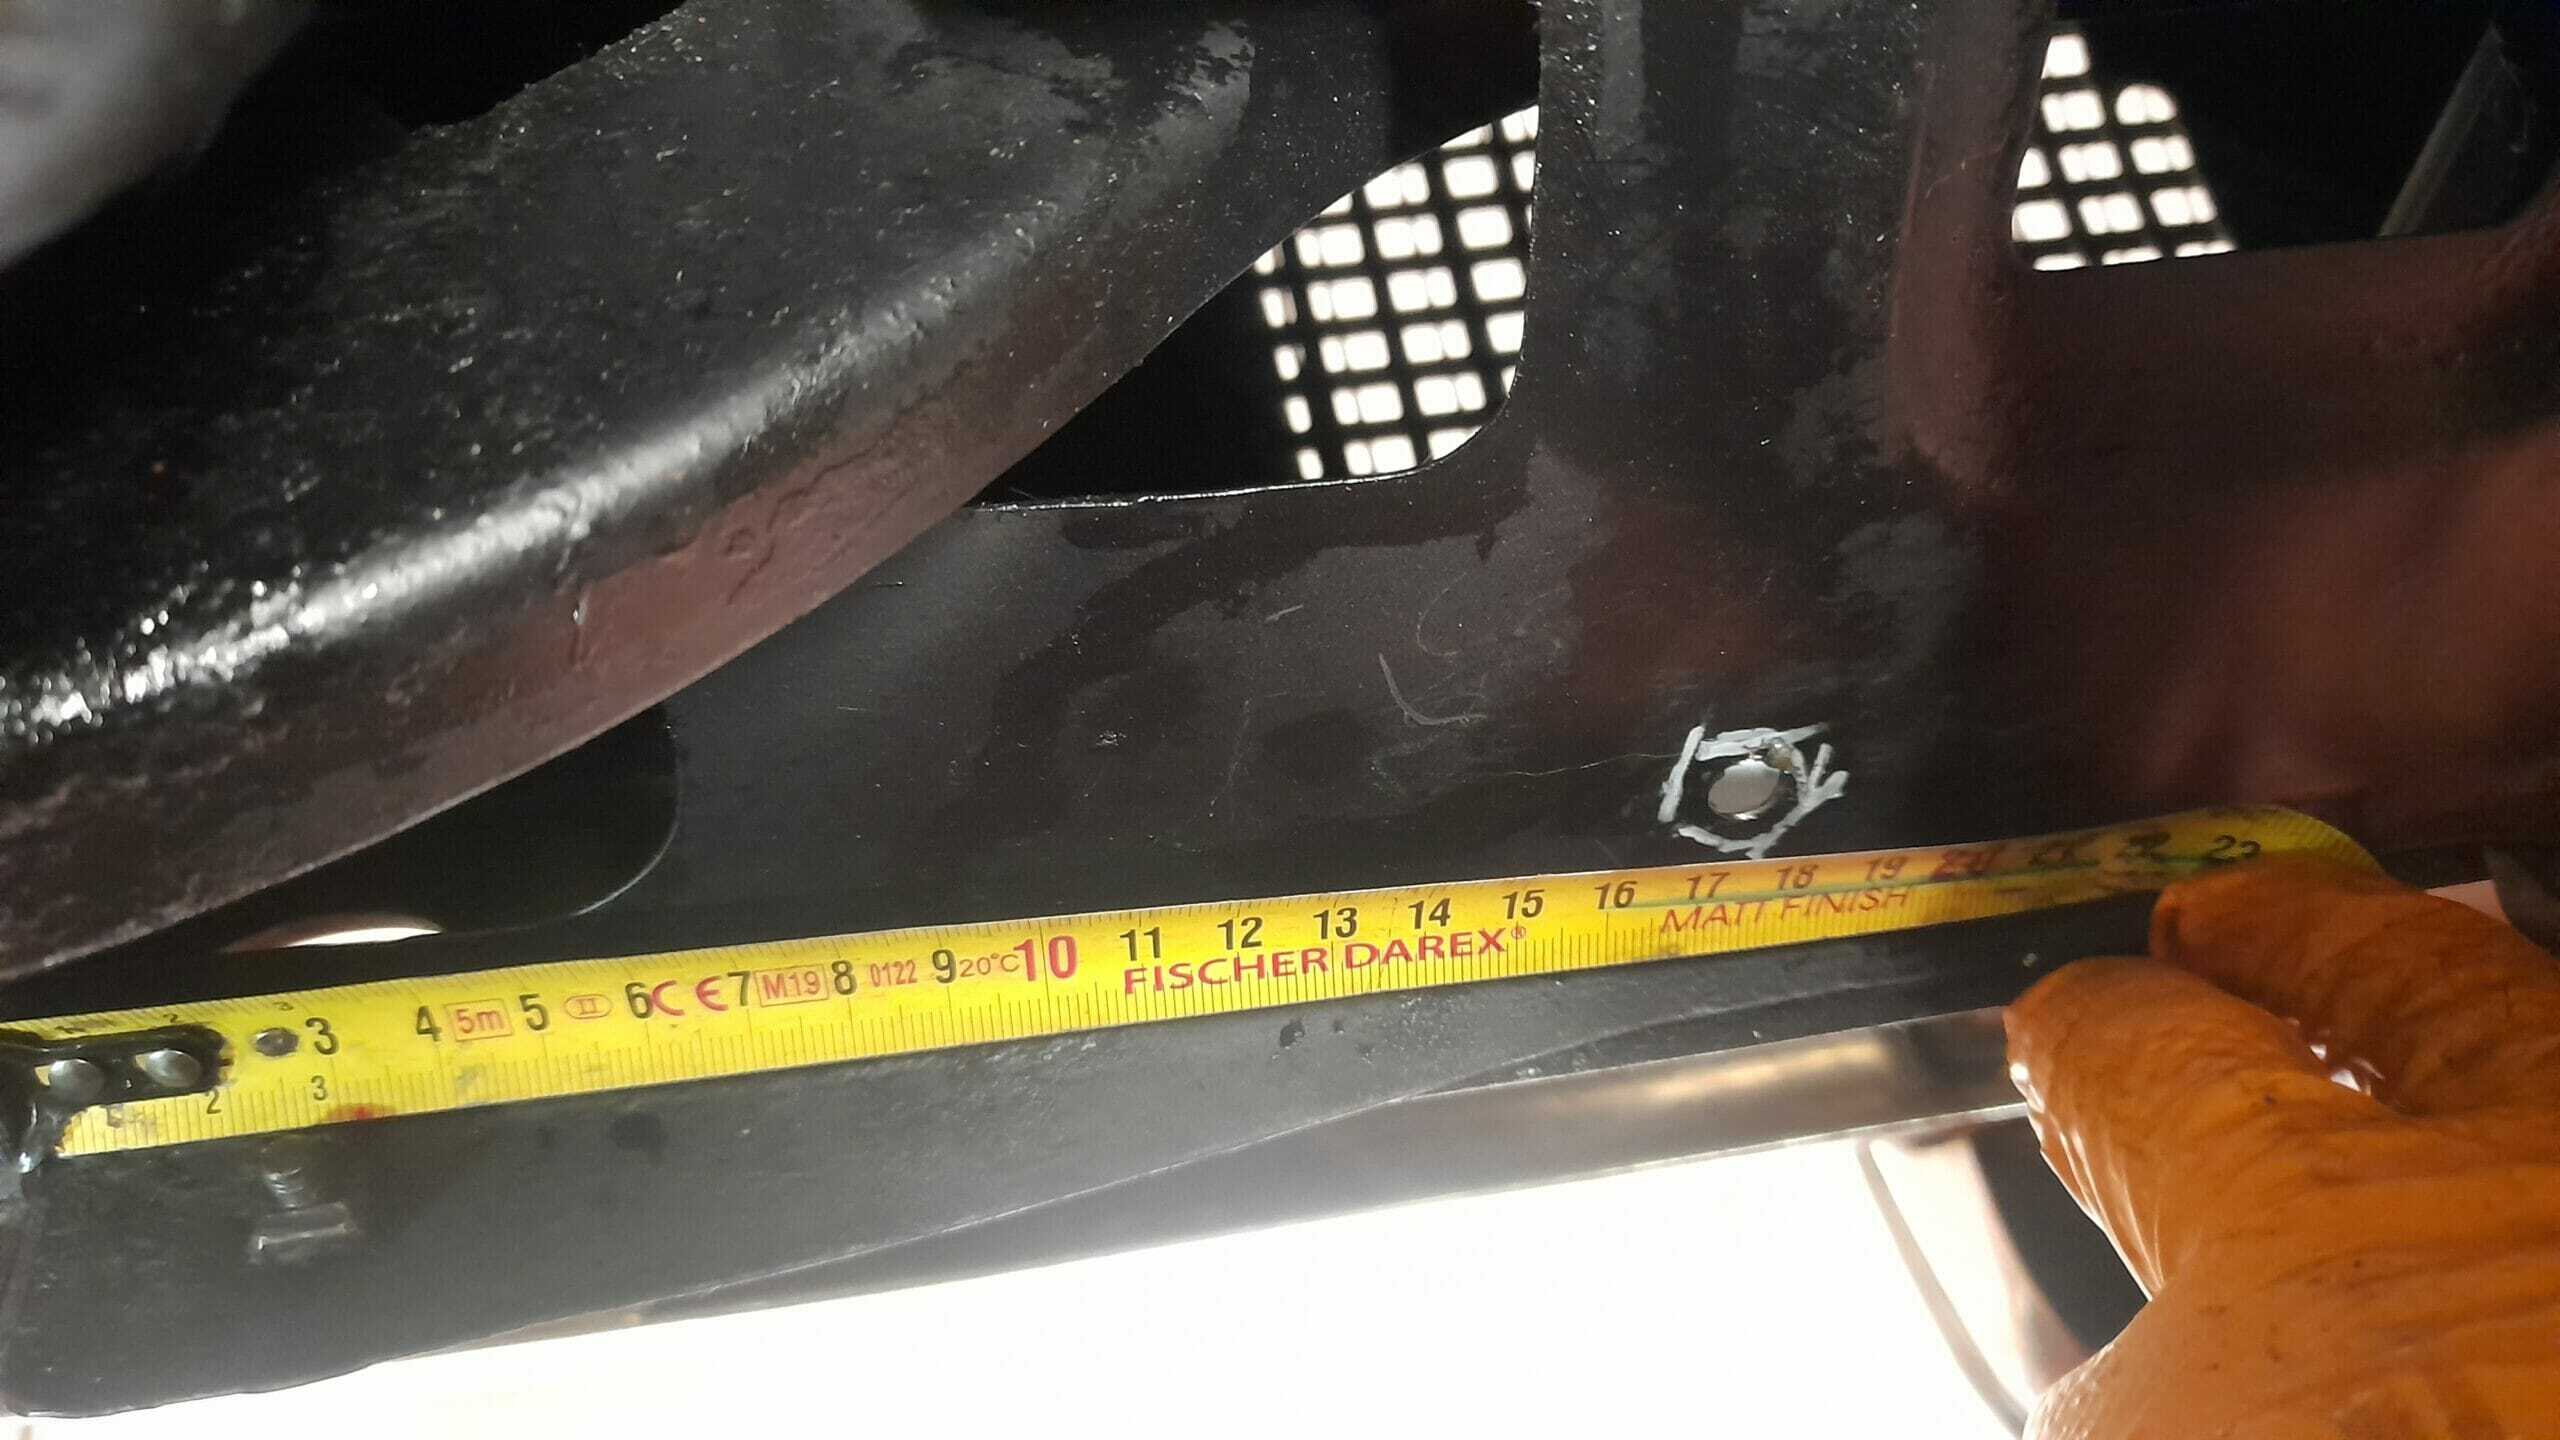
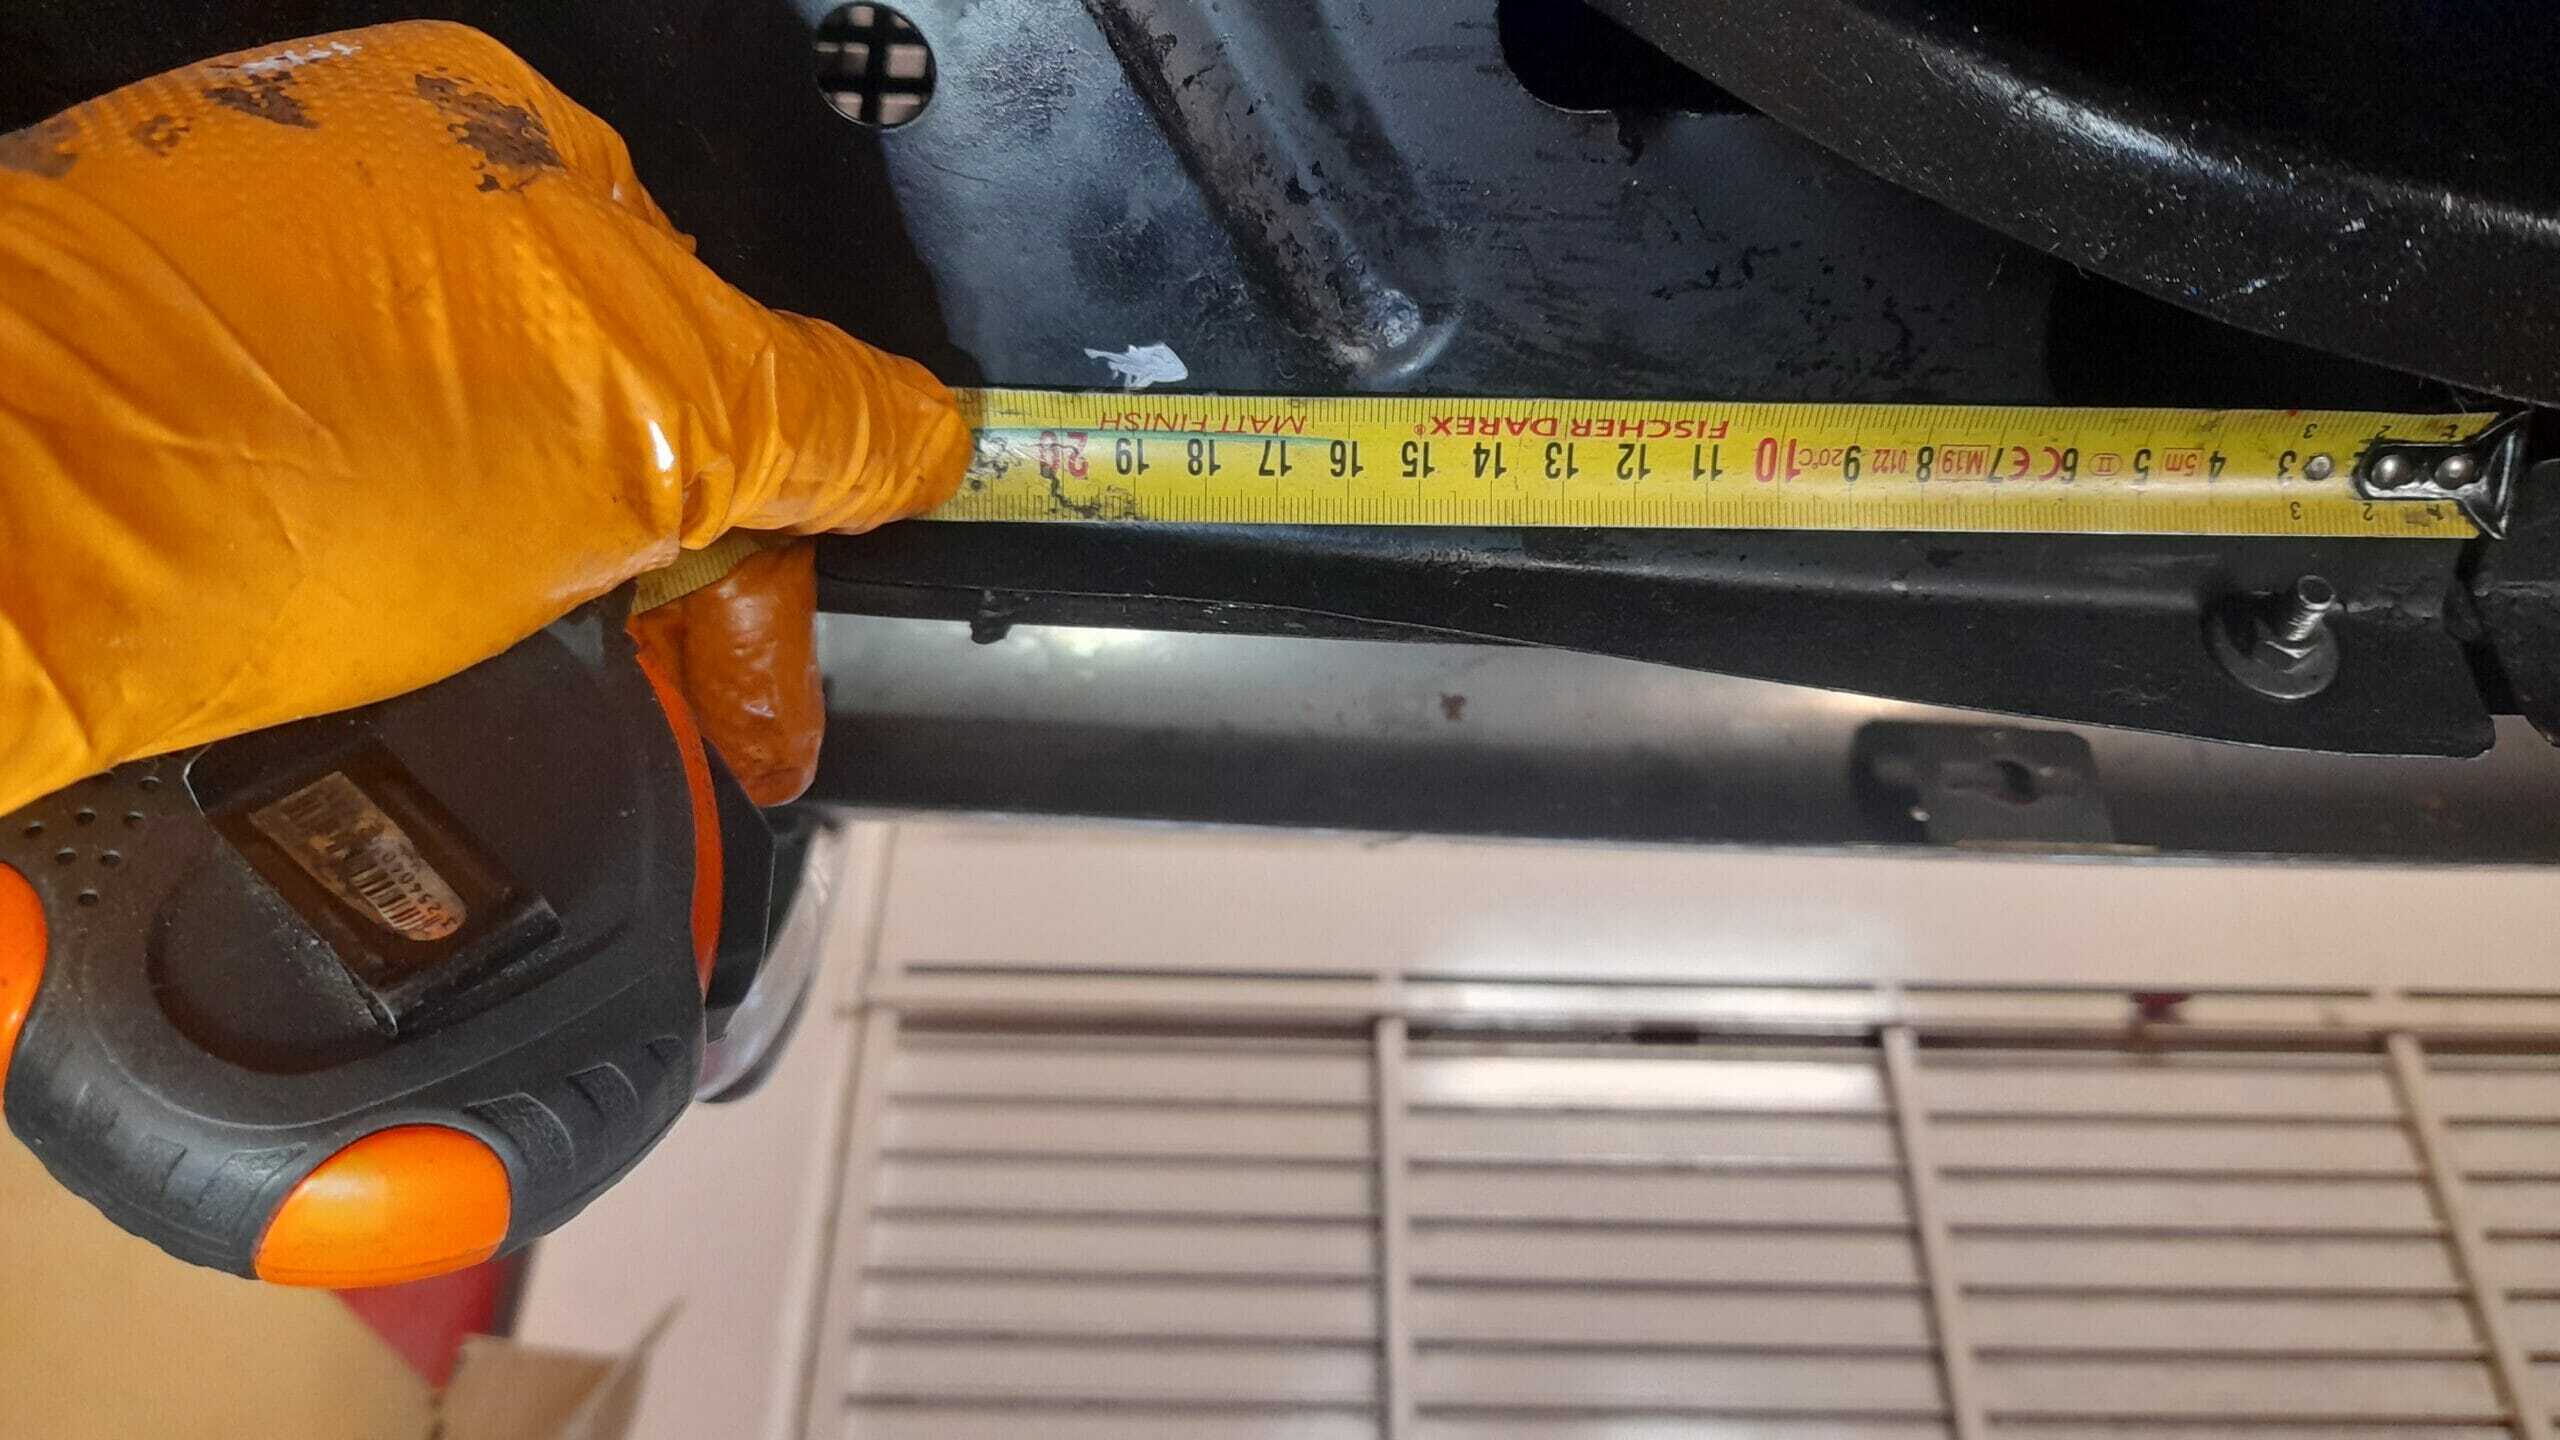
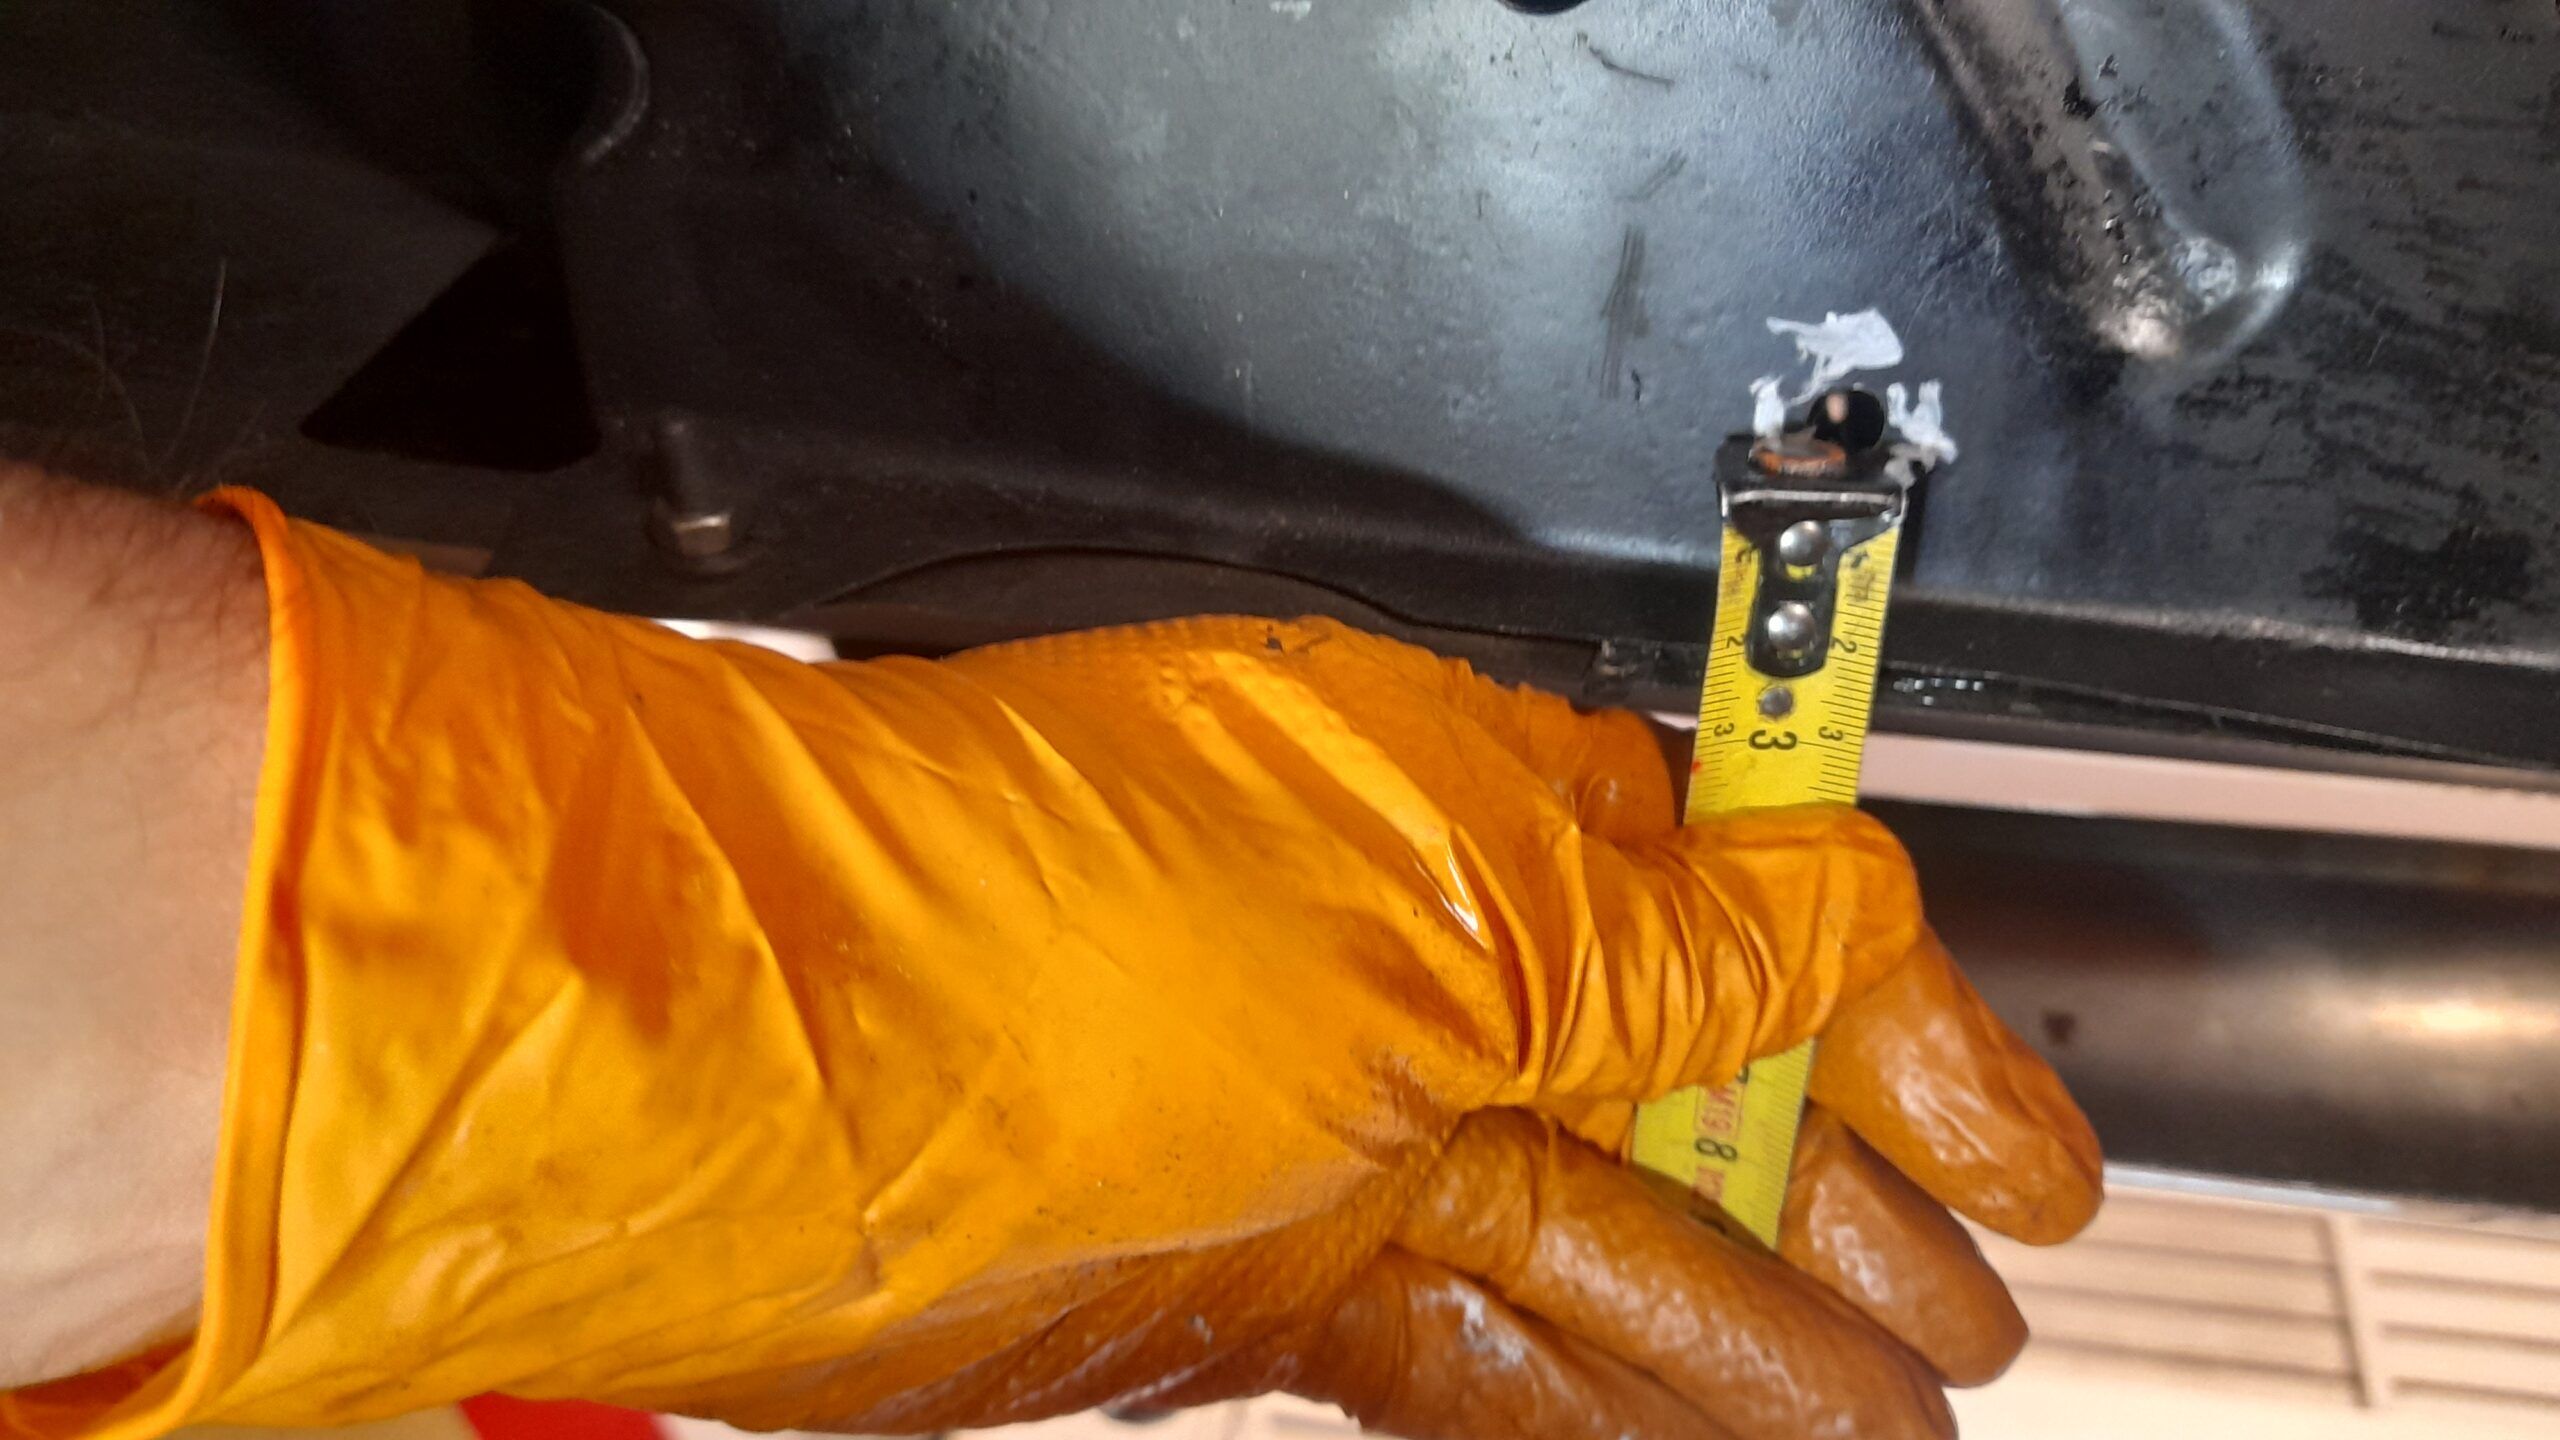
- The measurements shown for the holes to be drilled in the plates on each side of the motor (photos 9, 10, 11 and 12 of the gallery) are the dimensions resulting from our machining. But as I mentioned in previous phases, this mechanization is manual, so there may be small variations. Use a cardboard template if necessary to adjust your own measurements (or use the plate you have made as a template for your drills).
- For fixing the turrets, I recommend that you use glover washers so that when you unscrew the plate, the turret does not come loose. That is, get the turret much tighter than you will tighten the plate screws later.
- In general, we recommend that you use glover washers or self-locking nuts. Keep in mind that the sheet metal is in an area where vibrations may occur and you don’t want the bolts to loosen.
- IMPORTANTIf you decide to mount the second plate (the one that goes from the differential to the cross member in the center of the chassis), remember that the two plates share the bracket fixings (i.e. the front fixings of the rear plate are the rear fixings of the front plate). So get slightly longer screws because the same screw will have to pass through two plates.
Vistas: 38