No drip: but we want to protect the underbody
We continue with the saga of the usual struggle of classic car owners with small oil leaks that are not serious but annoying and lead to regular debates in the technical car inspections (ITV in Spain). And besides, protecting the underbody of the car is always an option to consider.
We did a part I and a part II of “my classic car leaks oil”. At the time of publishing part II, we did not have in perspective more actions of this type, but finally we have created this part III in which we share with you the improvement works done on our Renault Dauphine Gordini. Basically, two reasons:
- It is a 60-year-old car. And the oil plugs always ooze some moisture (I’ll explain why now). And we don’t want that moisture to mix with the dust in the environment making that typical accumulation of dirt so unpleasant.
- It is an “all back” car, so there are a lot of wires, electrical and mechanical that “travel” along the underbody of the car. On the Renault Dauphine/Gordini, from the middle to the back it is all uncovered. And we do not want them to be permanently exposed to the elements (they have already spent many years in that situation and we do not want to prolong it any longer :-)).
Many oil “leakage” problems can come from engine breather problems. Especially prone to happen in engines that are several tens of years old. I invite you to additionally see this article where I talk about the problem and share with you our own experience. .
It leaks oil no matter how hard you tighten the plug. One of the problems in older cars: the surface of the crankcase is "pitted".
I tighten the crankcase cap and it oozes: I change the gasket and tighten it more. It continues to ooze. What is happening?
This is one of the typical situations of old cars depending on the condition of the crankcase and/or plug: you change the oil, put a new copper washer-gasket, tighten it, everything seems to be OK, but after a few hours the plug is wet with oil. Reappraise a little. You think you have solved the problem, but after a few more hours the plug appears wet again. There comes a point where -whether or not you have the plug’s tightening specifications- your common sense tells you that you can’t tighten it any more, under penalty of damaging the plug’s thread, or even worse, the crankcase thread. What is happening to you? It is quite possible that the plug seat in the crankcase is “pitted”. Read on and I’ll tell you more.
As I was saying, our Renault Dauphine is a 60-year-old car (it will be 60 years old this year 2023, since it was built in 1963). The two drain plugs on the engine crankcase and gearbox appear slightly “sweaty”. Not dripping, but moist.
In this type of cars (not only in the Renault Dauphine we are talking about), crankcase and plug are parts with many years, so the flatness of the screw support (or of the plug screw itself) is not guaranteed at all. If the seat is conical, the situation is somewhat better, but not perfect. This is what many mechanics call “pitted metal”. The small animation above, which shows the correct state and the “chopped” state, can show you what I mean
In these plugs it is usual to use copper (or sometimes brass) gaskets. These base their tightness on the fact that when tightened and being made of a soft metal, they deform sufficiently to adapt to irregularities and seal the outlet. Both surfaces (plug and seat) are assumed to be flat and regular. So when tightened, the copper gasket deforms, filling the micro voids left in the contact between the plug-screw and its seat in the crankcase, ensuring the seal.
But if the plug (for which sometimes it is not obvious to find a spare part) or the crankcase seat are pitted, it happens that from a certain level of irregularity, the theoretical tightening to get the copper gasket to adapt to “seal”, is higher than what the thread can withstand: The plug has a maximum tightening and what we do not want is to “pass” the crankcase thread. The reasons are obvious because the costs in money, hours or difficulty to repair such a disaster are quite conceivable.

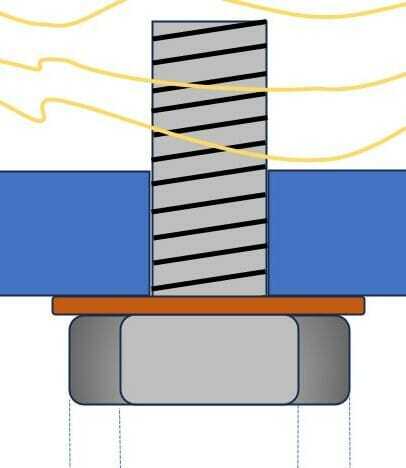
The two images I show you are the detail view of the previous animation. Here you will have been able to see better what I mean.
Teflon: Does it work? What about Loctite 55?
In the oil pan plugs, you can use – technically speaking, whether you like it or not :-)- plumbing Teflon. Teflon is a material that melts at a minimum of 200 degrees Celsius, and there are varieties that withstand up to 300 degrees Celsius. No car engine oil reaches that temperature, much less at the base of the crankcase where the oil temperature is no more than a few tens of degrees (60, 70, 80 degrees on average, or if you want to round up, to take a conservative estimate, consider 100 as a maximum). But me personally, there are times when in the case of oil, plumbing Teflon (which in fact is really designed for water) doesn’t quite work 100% – and I have to say that I have known mechanics who used it. In any case, the fact that the plumbing Teflon does not work is probably because the problem may be that it is designed to seal water and not oil. I have yet to try the Loctite 55 which ensures tightness in threads for various fluids. Someday I will try it and share the result with you. In any case, if you are interested, click here and you will find product information.
Other option: Semi-rigid nitrile rubber seals
You have yet another option: You can try (if you find the right size, which you almost certainly will) a type of semi-rigid flat gasket found in the industry. They are made of nitrile rubber, as I said, semi-rigid, which means that their deformation is controlled (more than the copper ones but less than the rubber ones) and they are impermeable to hydrocarbons, oils and even gases. As they are semi-rigid but not as hard as a copper plug, they can better adapt to deformities or roughness that may have appeared on the plug seat without having to tighten the plug screw so much. So with or without a copper gasket combination, you can still save the situation for a very economical price. I show you a link of one of them with your supplier .

Protecting the underbody: reasons to do it
As a good “all back” car that it is, there are many cables, electrical and mechanical that “travel” along the underbody of the car. The speedometer line, electrical cables from the dynamo/regulator to the battery and frame. The throttle cable, the manual starter cable, in the case of our Dauphine, the vacuum hose for the fuel gauge, the clutch cable, the heating air hose, the handbrake cable, the shift rod, ….. And I’m sure I’m still missing some elements. In the particular case of the Renault Dauphine, these cables/rods are protected from the middle of the car forward. But from the middle to the back, they are uncovered. And it is not the best option: dust, dirt, water, mechanical aggressions (stones, curbs…).
As I already mentioned here: if in modern cars the underbody (and all its elements) are carefully protected and faired, why not do it in our classic cars, as far as possible?
Protecting the underbody of a classic car: Yes or no?
At this point we can enter again into the debate around purism/fidelity to the originals versus functionality. And once again, our opinion is that there are no “red lines” or absolute truths here. Everyone has their own point of view, and all are more than respectable. In my personal case, as I said in an entry on this WEB site, I prefer a reliable result to a result that is 100% true to reality. It is true that fairings on a bass can detract from the “authenticity” of the car. But on the one hand they are not visible, and on the other hand they are removable if properly installed. Moreover, following a similar logic, many cars of the 1960s ended their days literally devoured by corrosion and rust, but today anyone restoring a bodywork will not forego an anti-corrosion primer – the latest generation in paints – even if it does not belong to the original material of the car.
Protecting the underbody: implementation
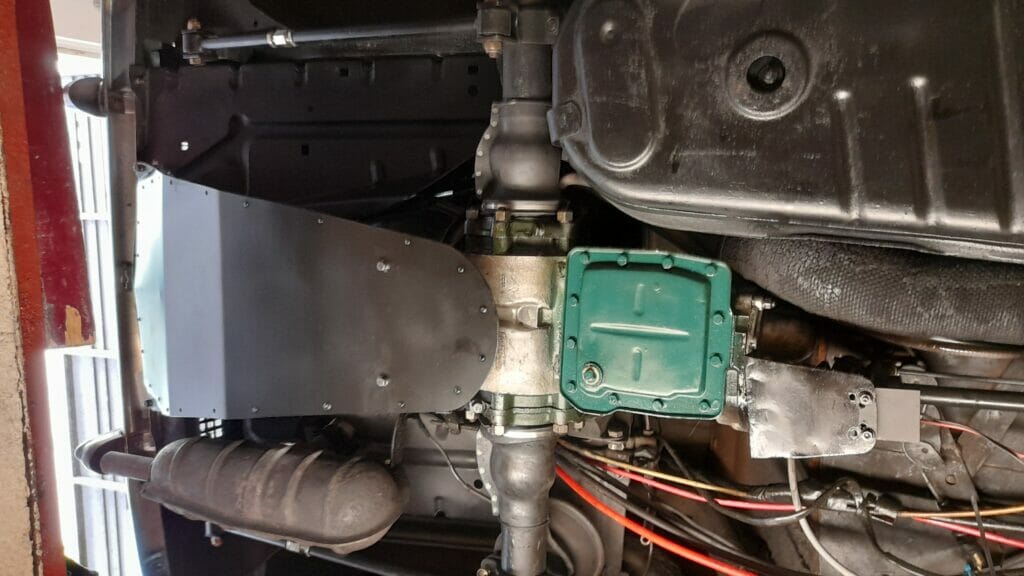
With the Renault Dauphine we have produced two plates that go – describing it from the back to the front of the vehicle:
- First plate: From the rear to the middle of the differential (a little before reaching the gearbox).
- Second plate: from the gearbox to the front half of the car, just where the sheet metal plate starts, which is the car’s central protection series.
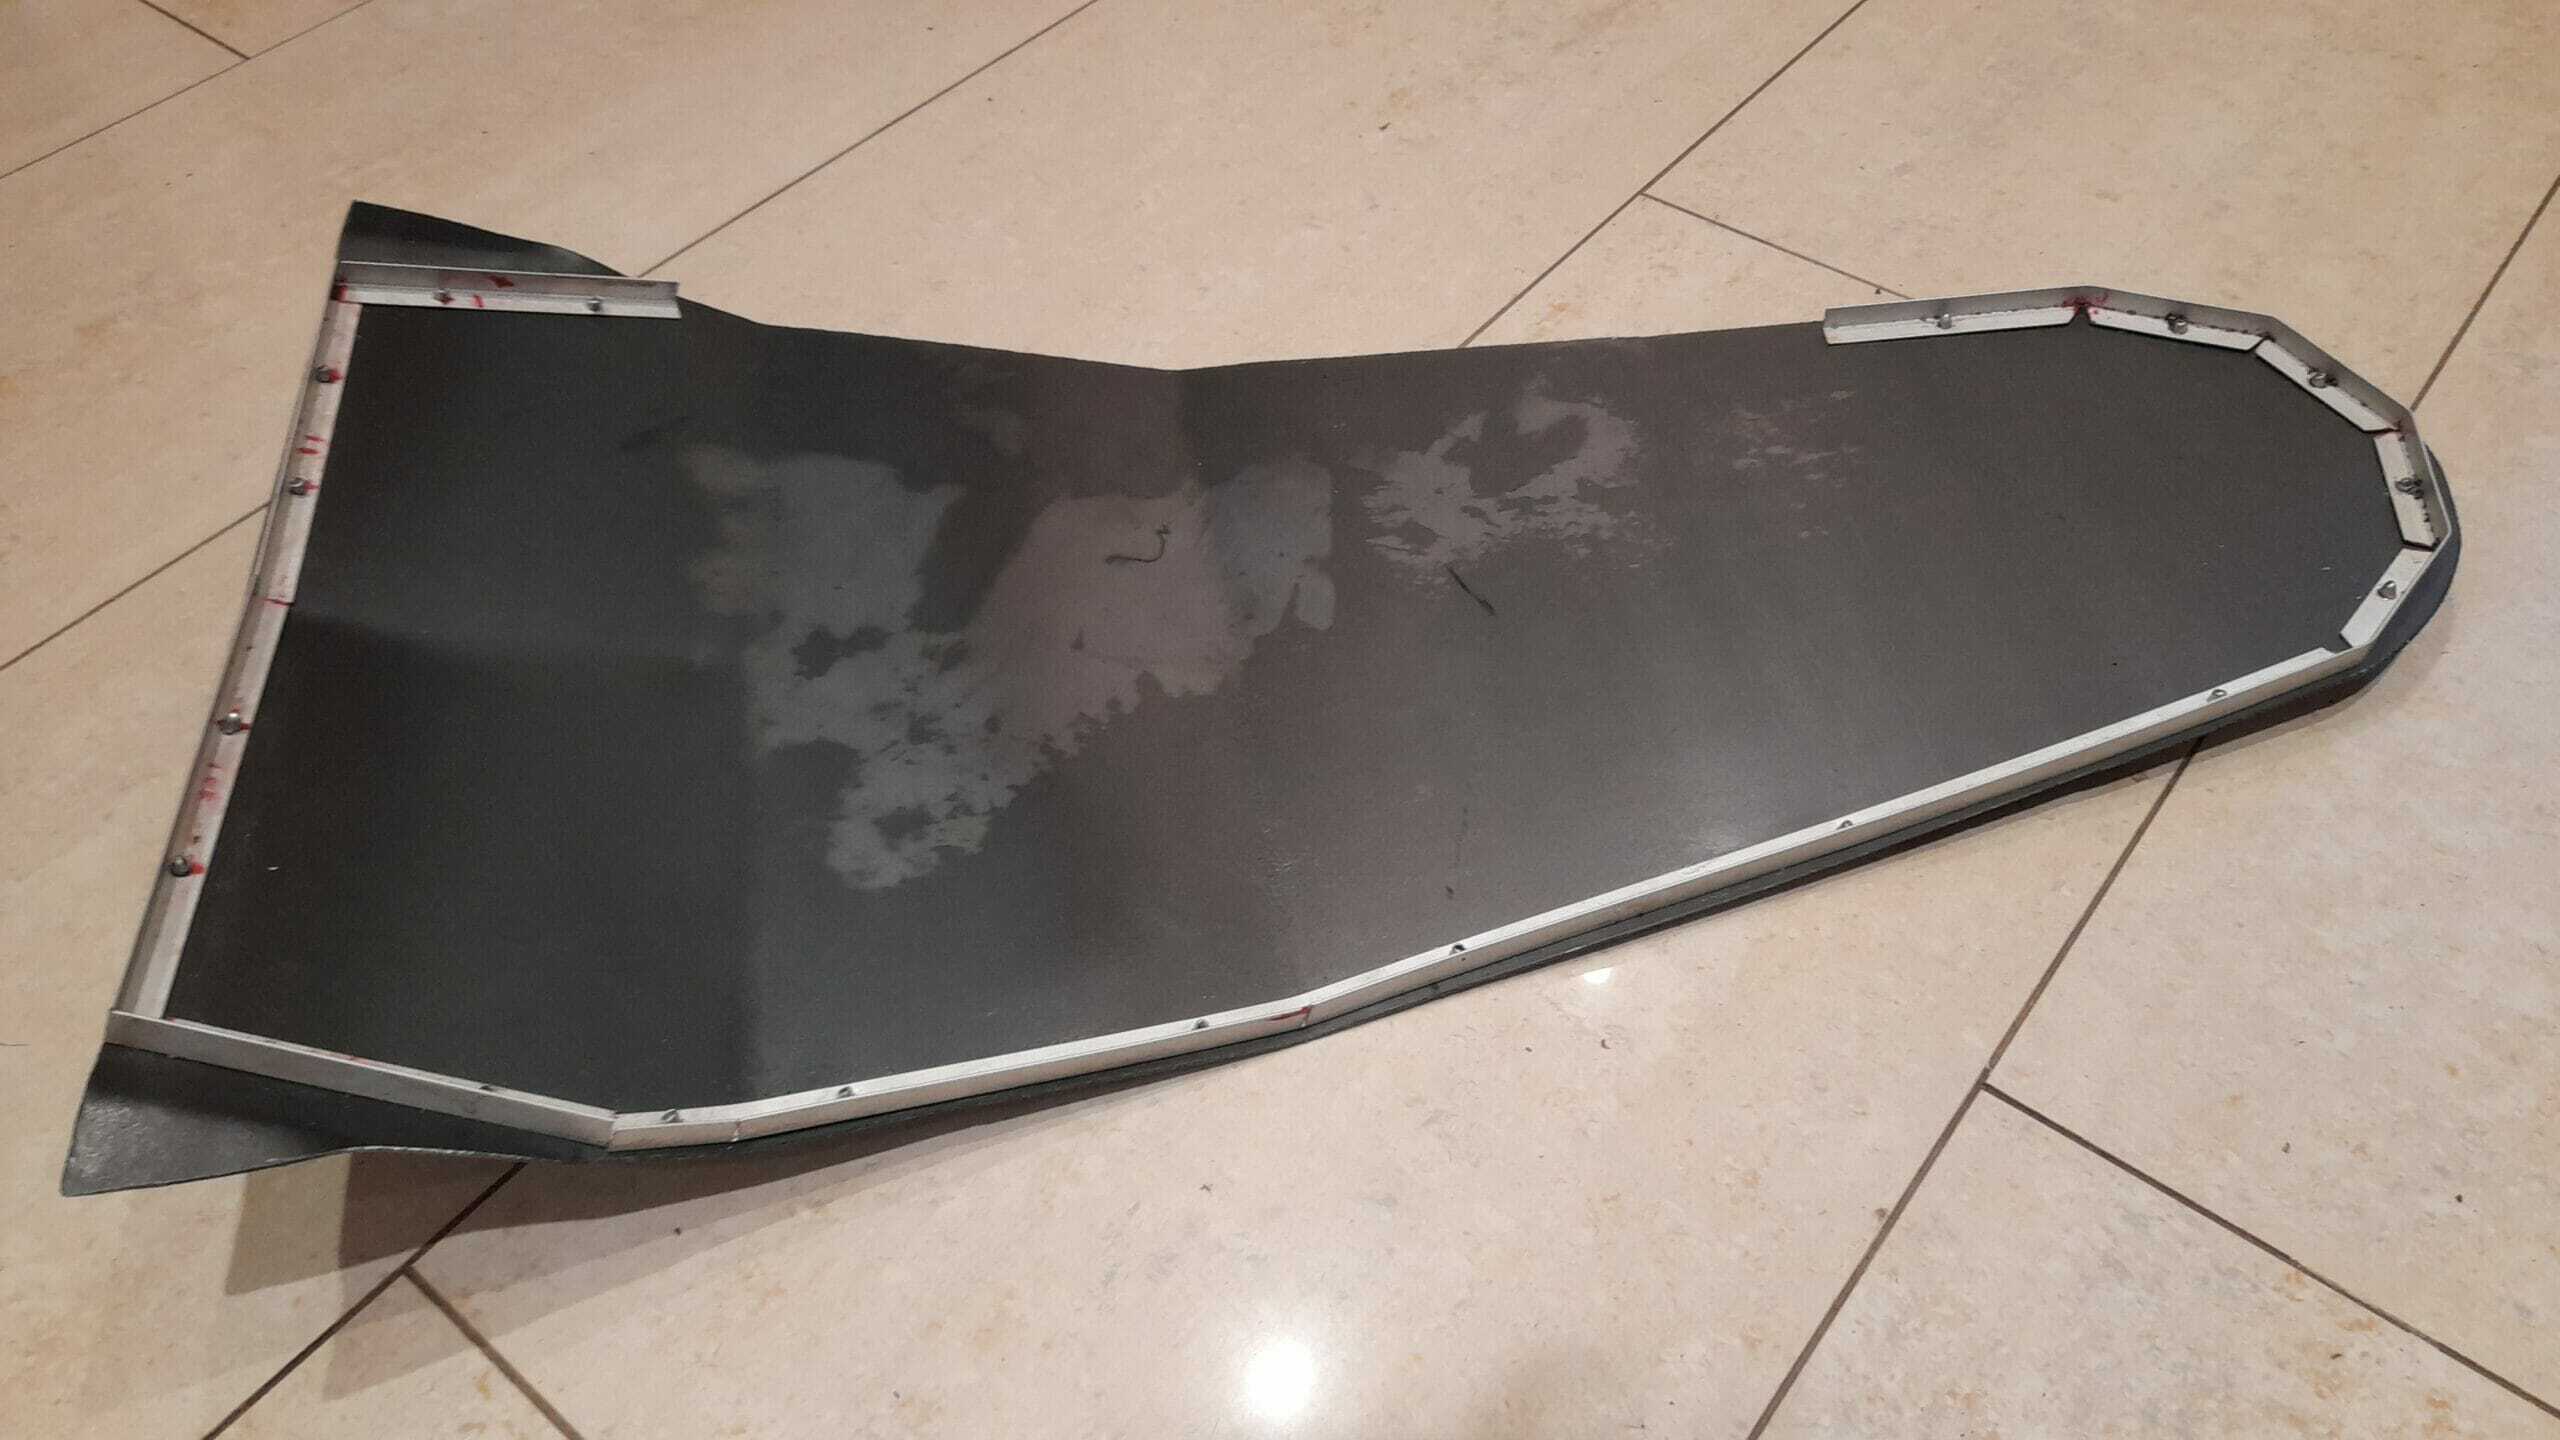
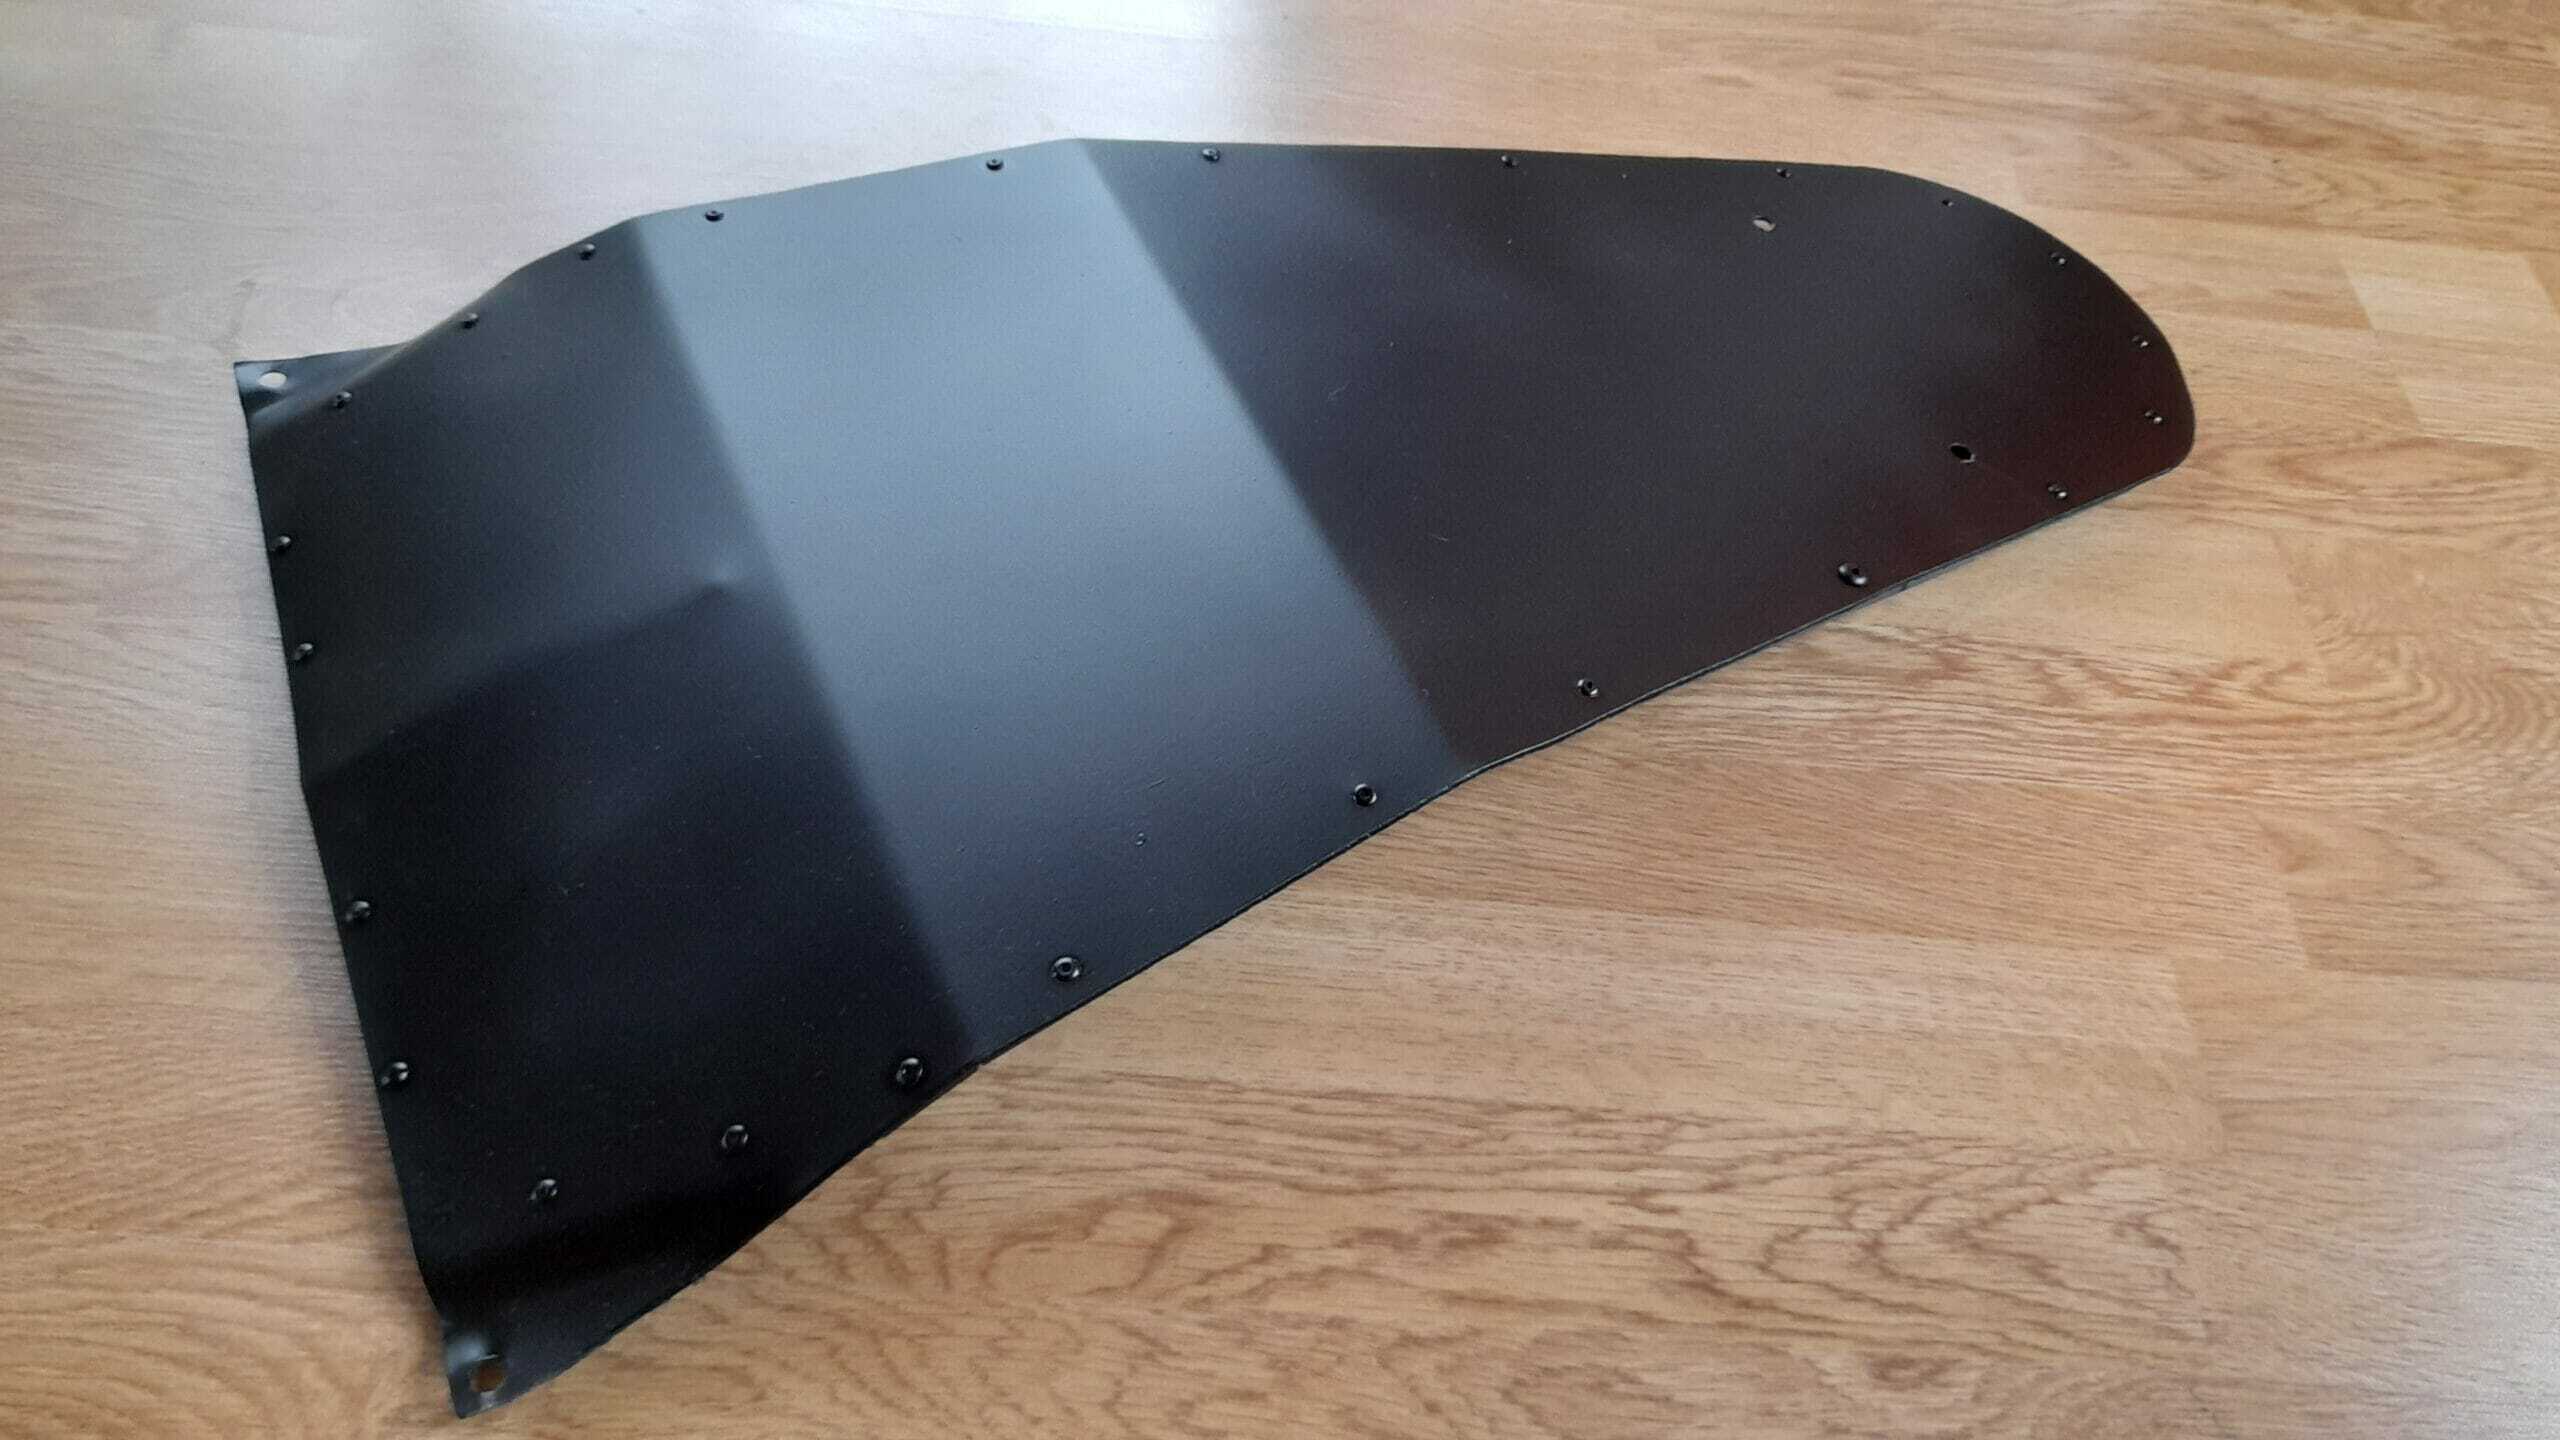
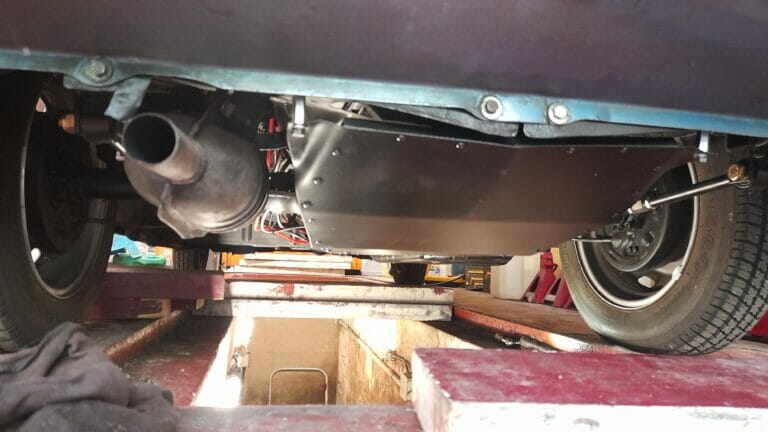
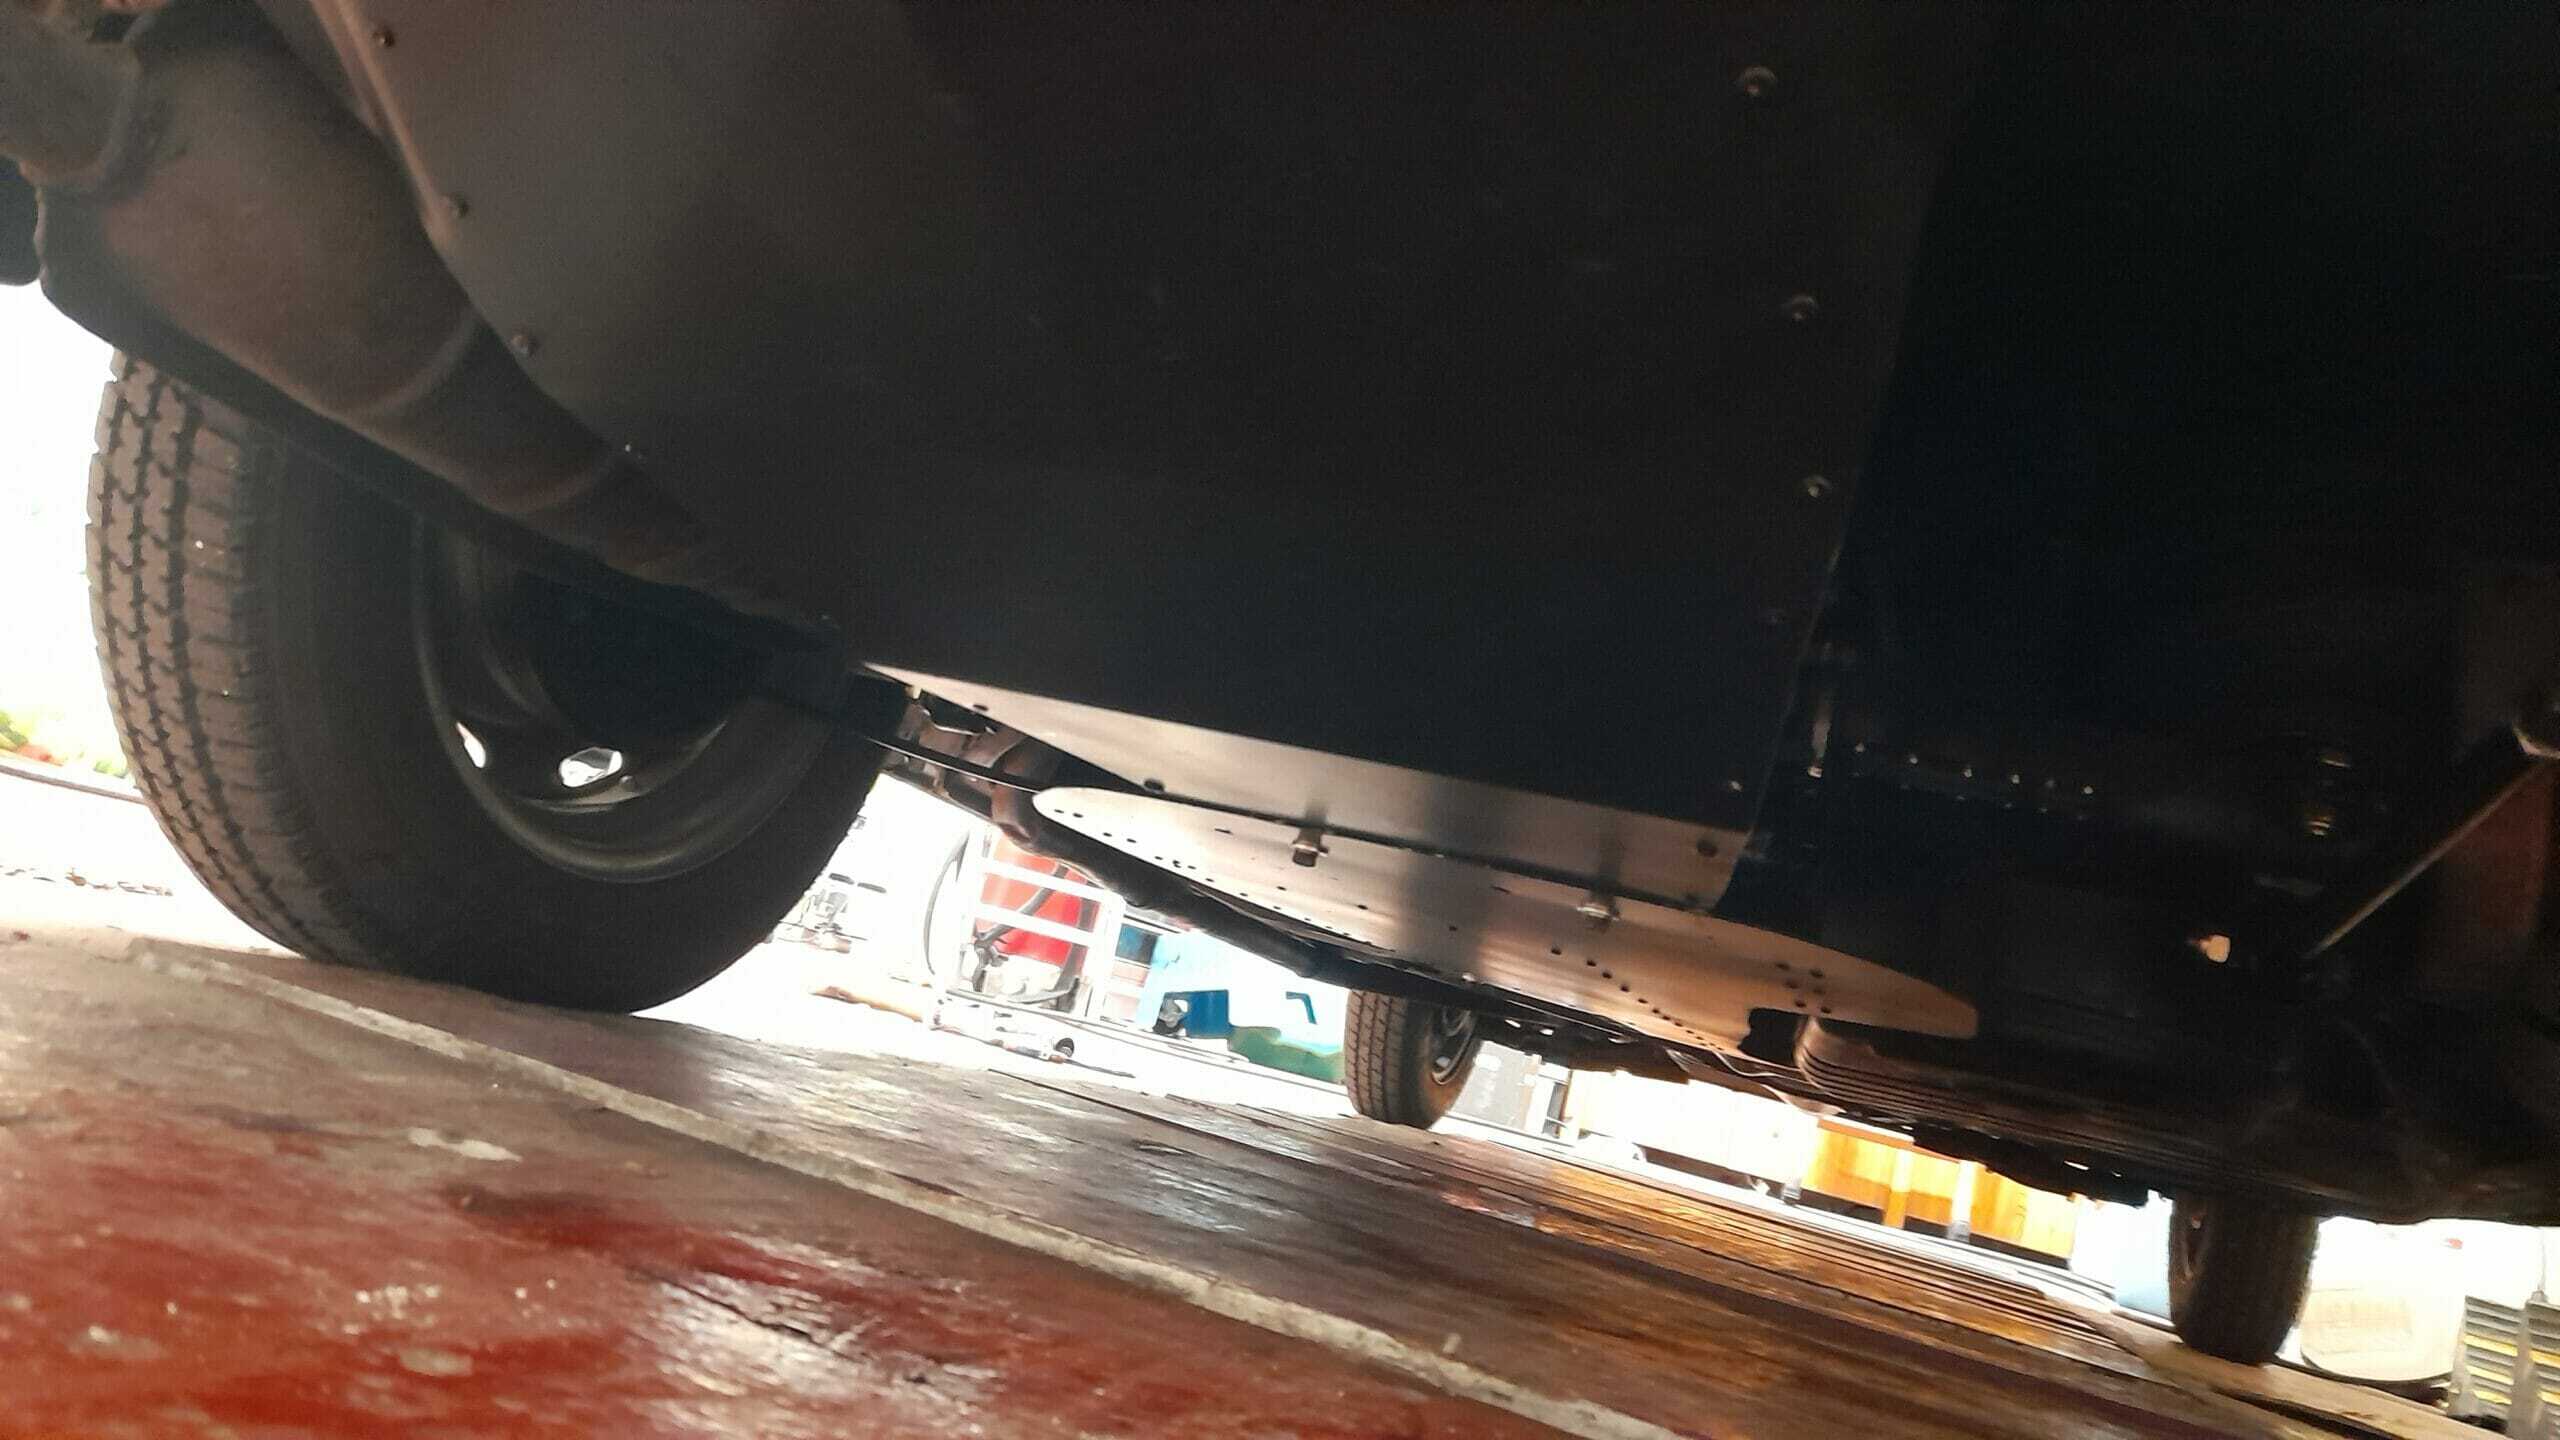
You can see later, in 9 commented image galleries, the details of the elaboration and installation, but I show you here some general views of the final aspect:

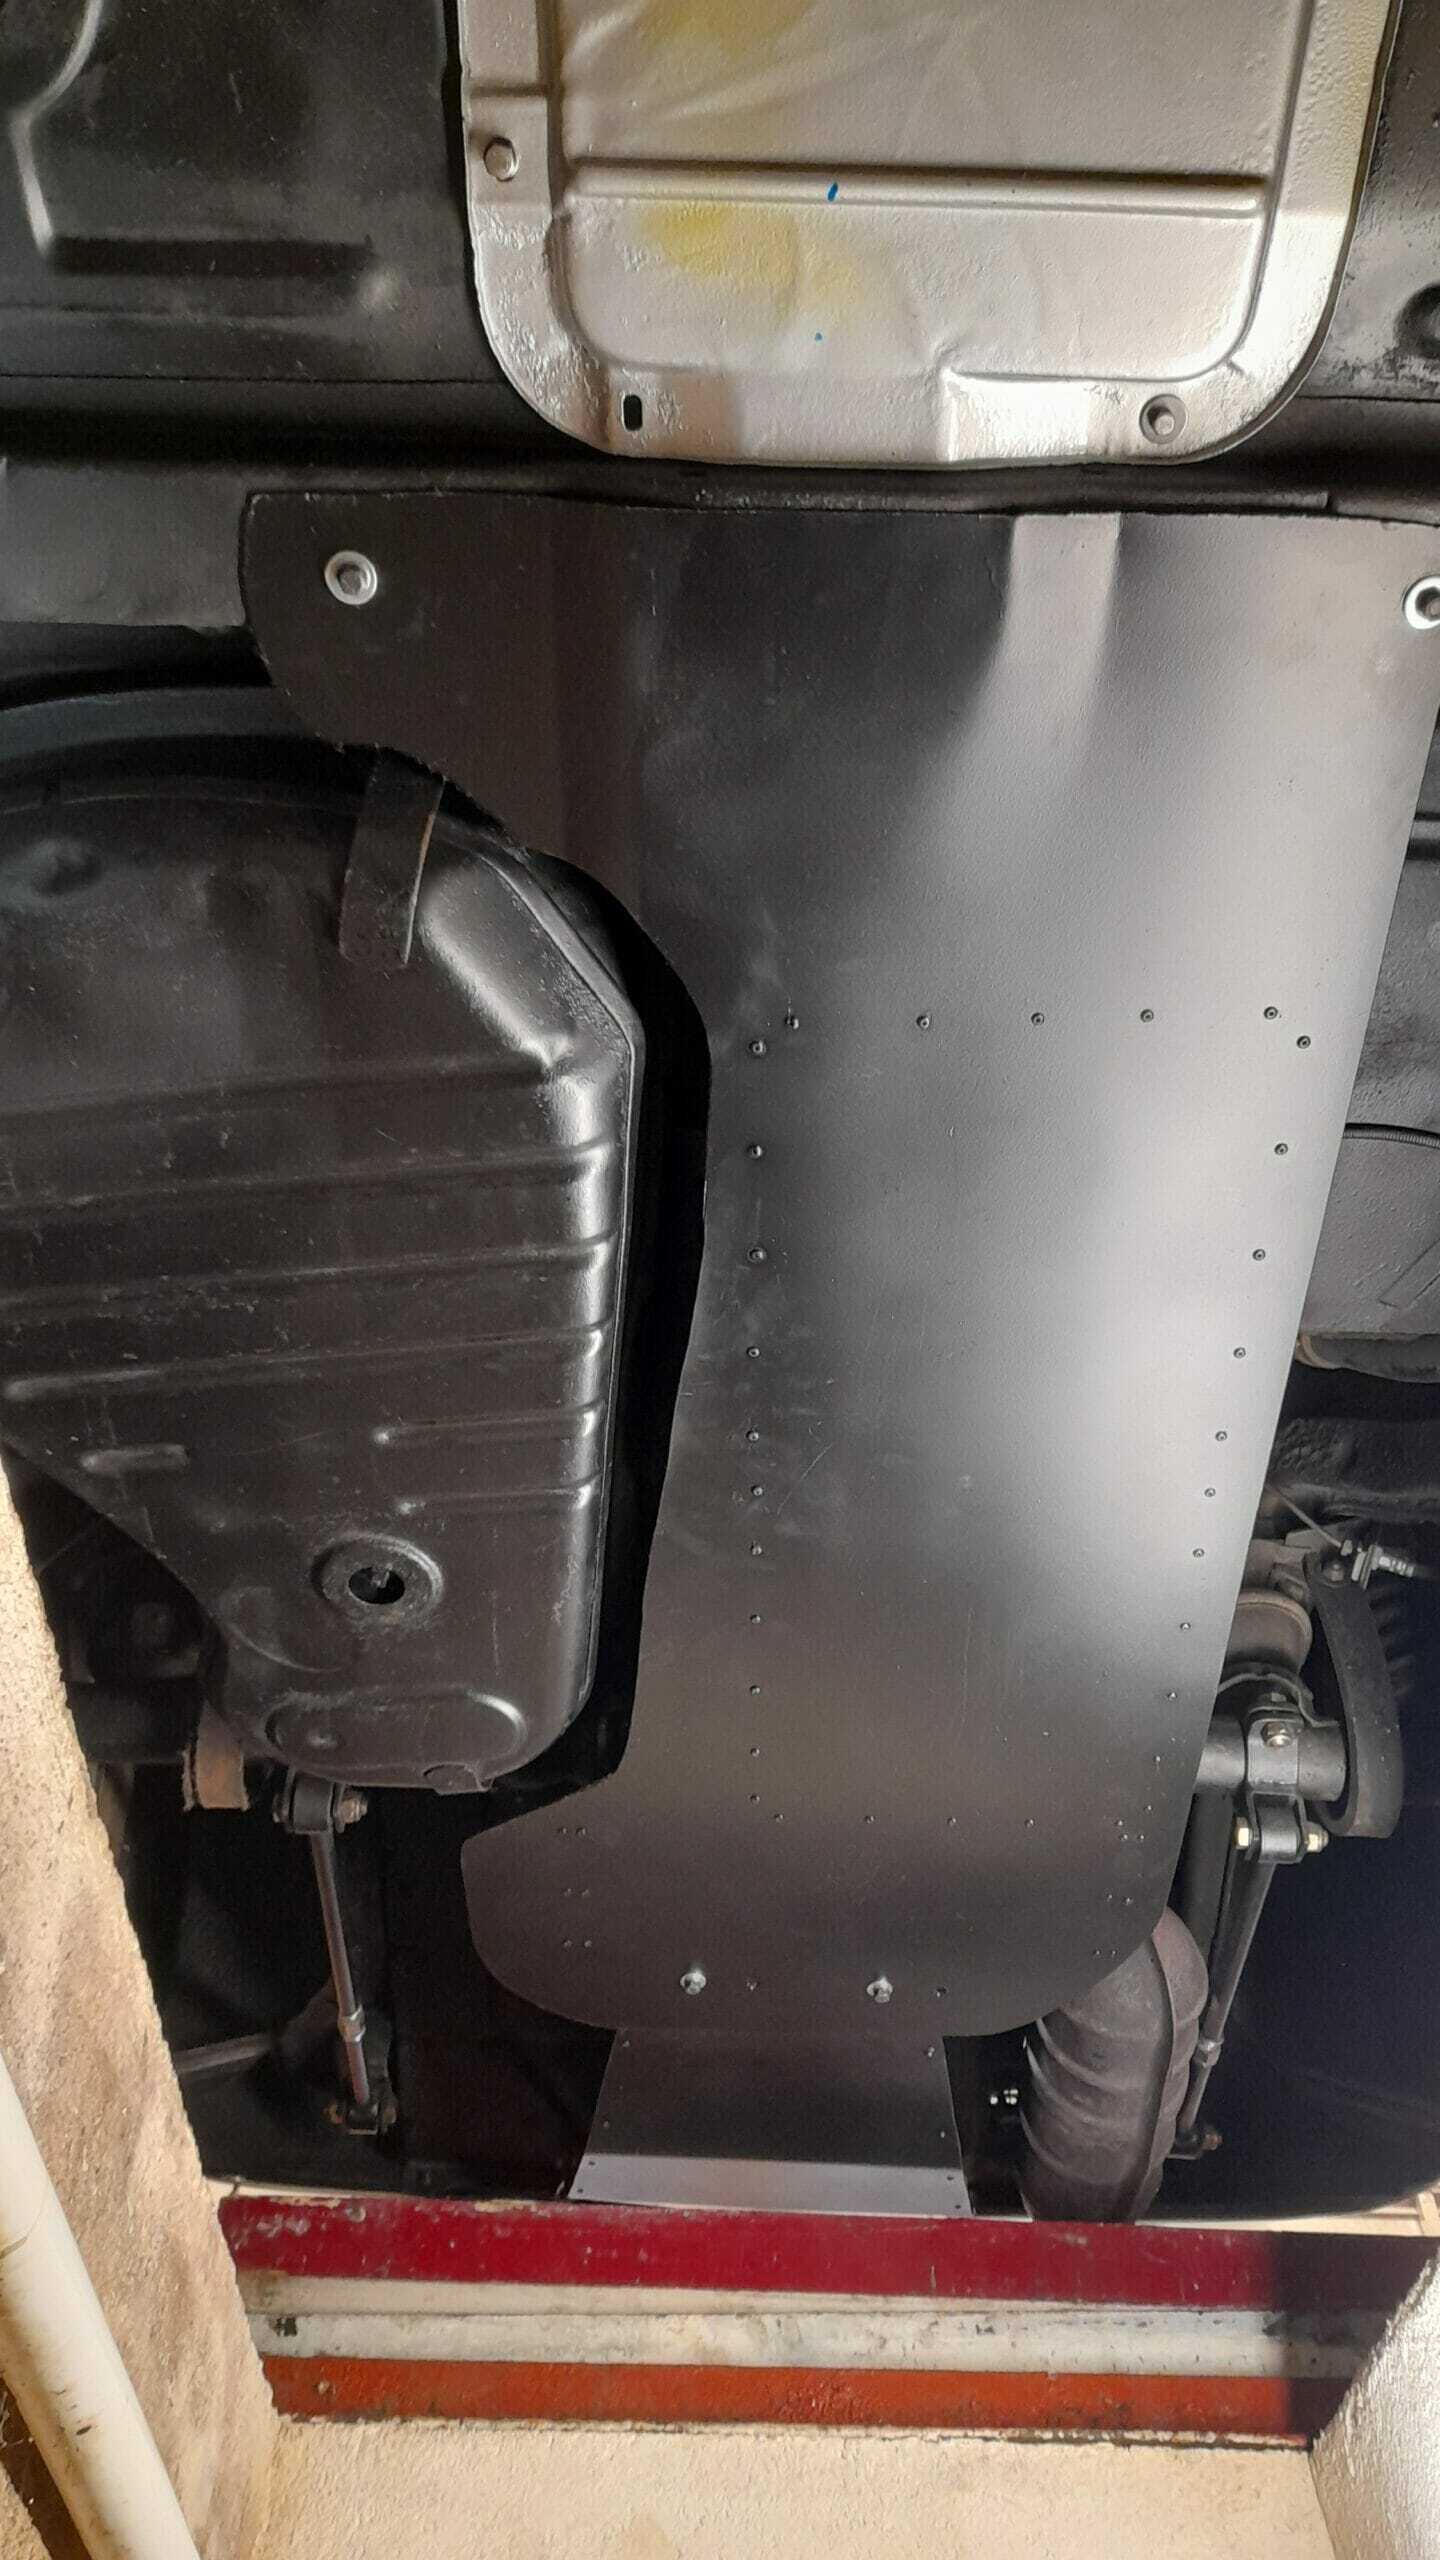
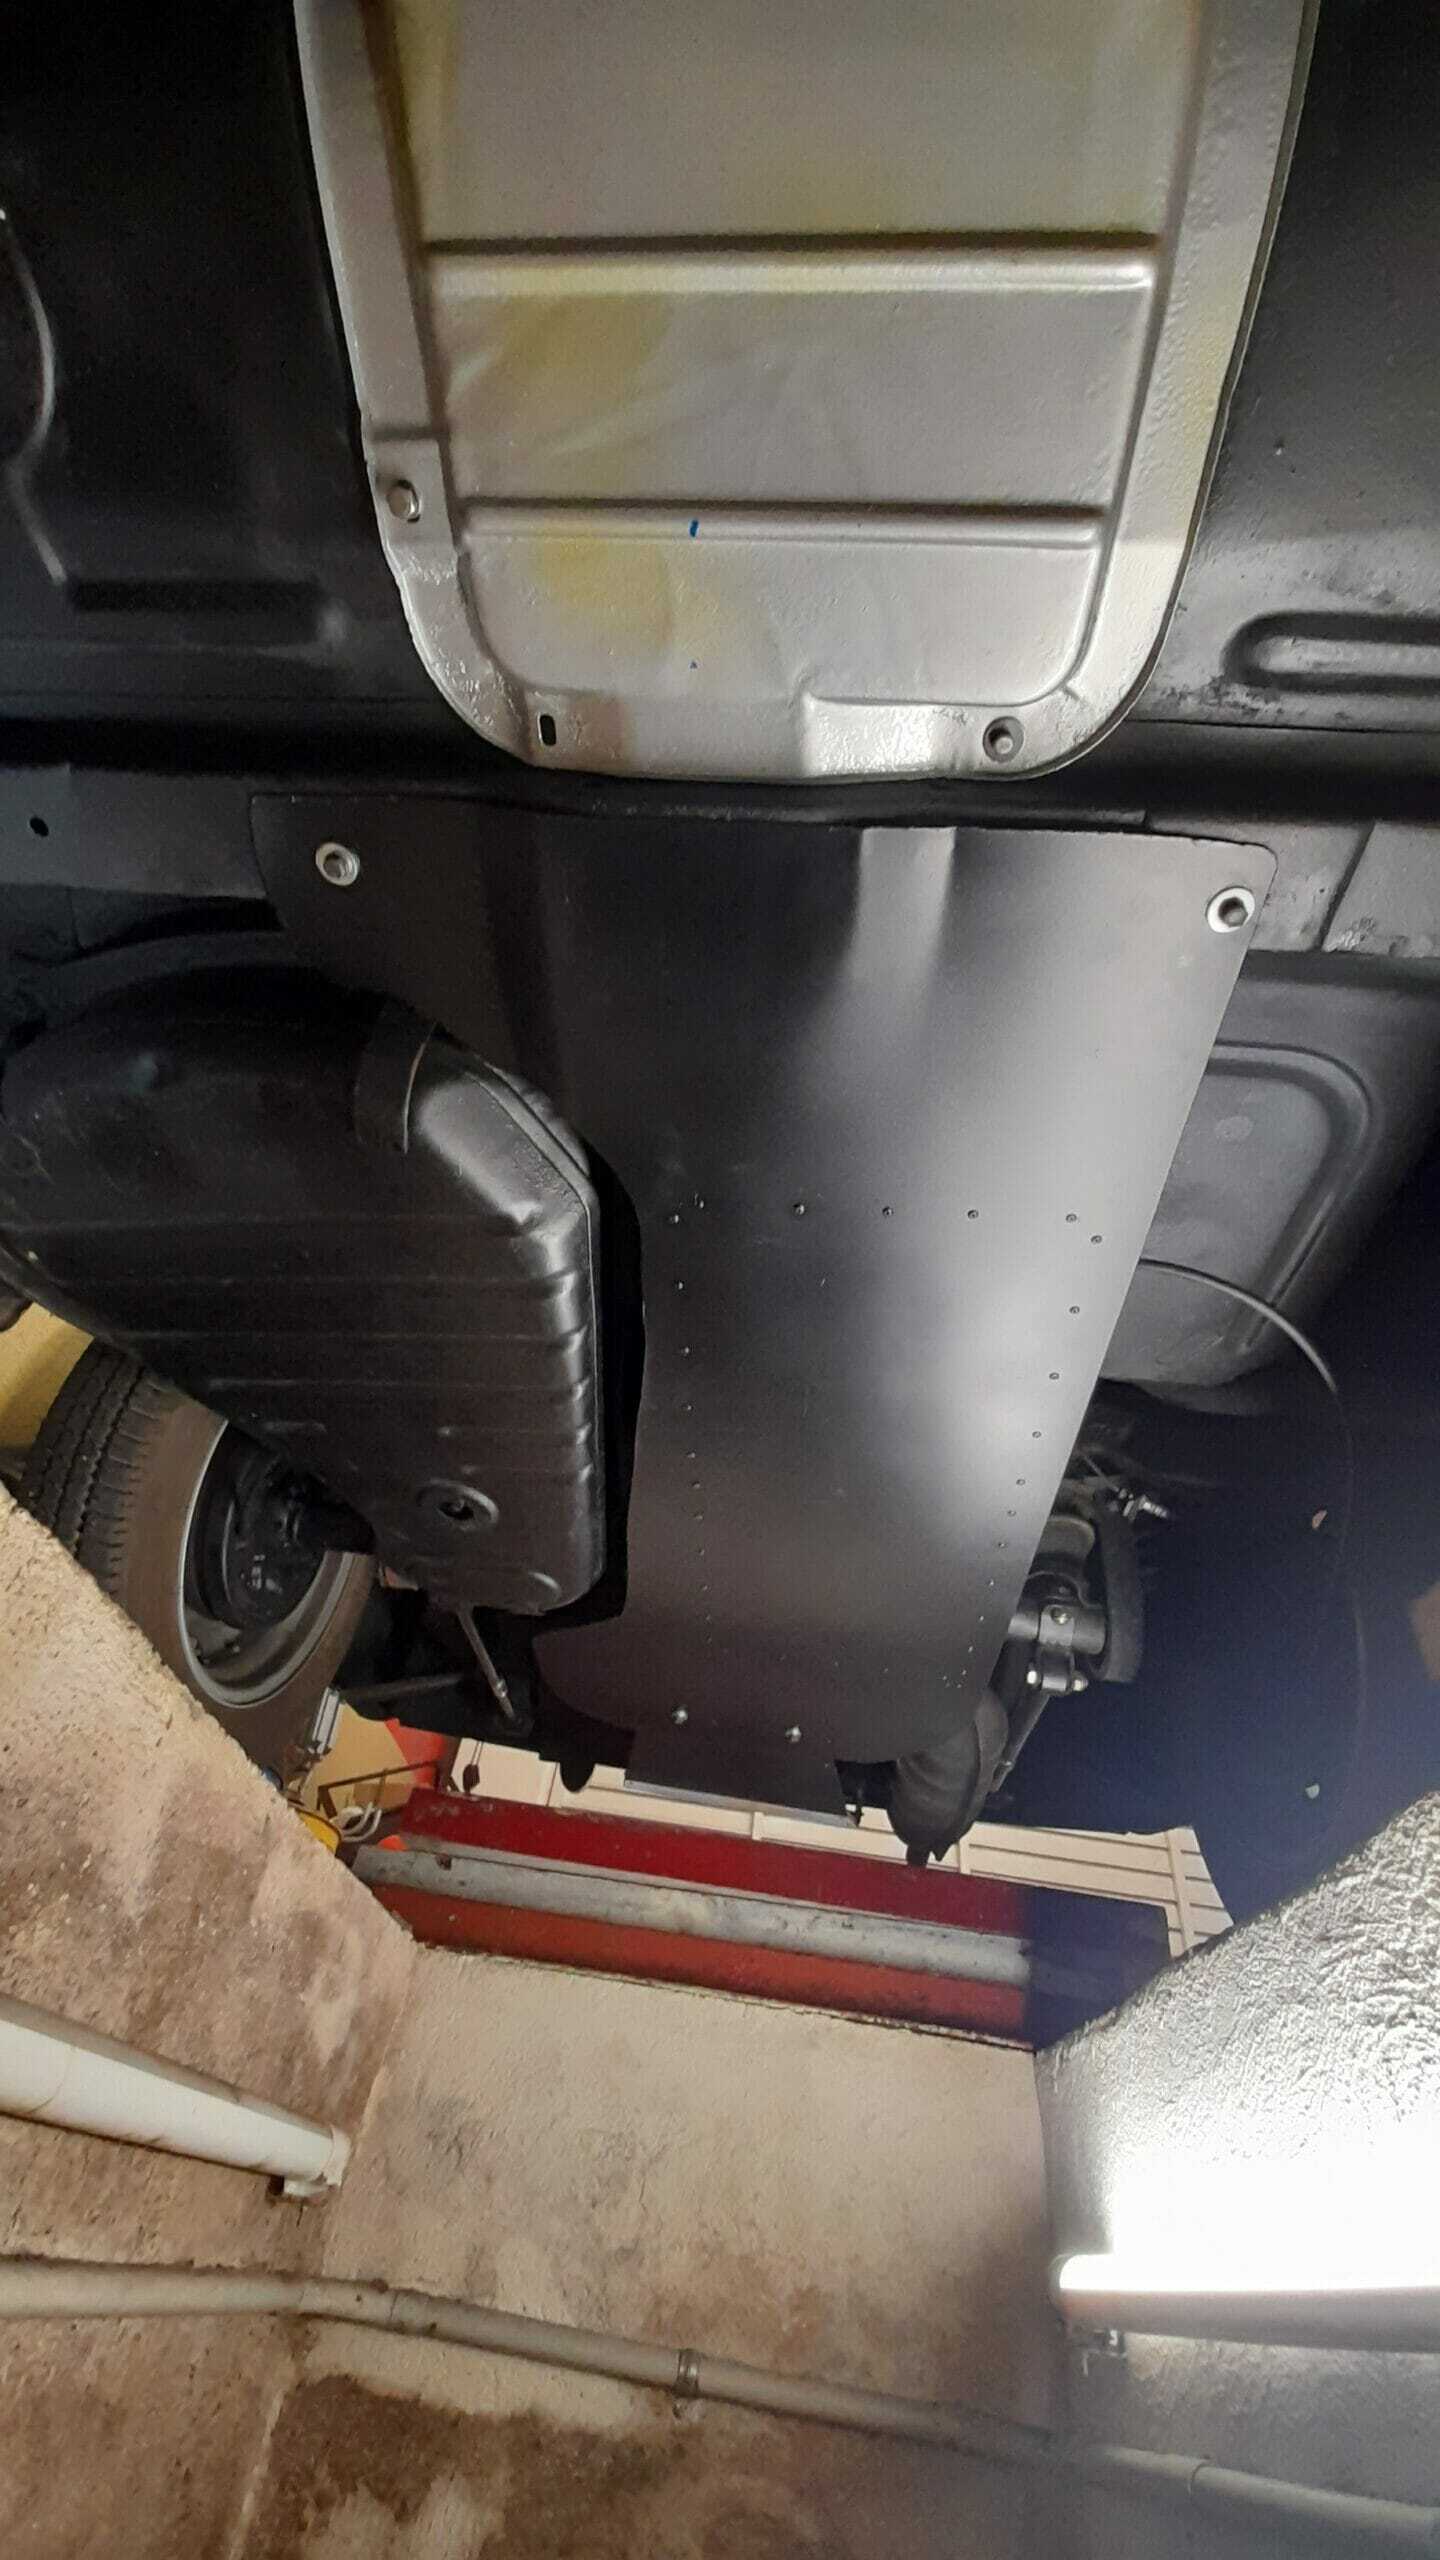
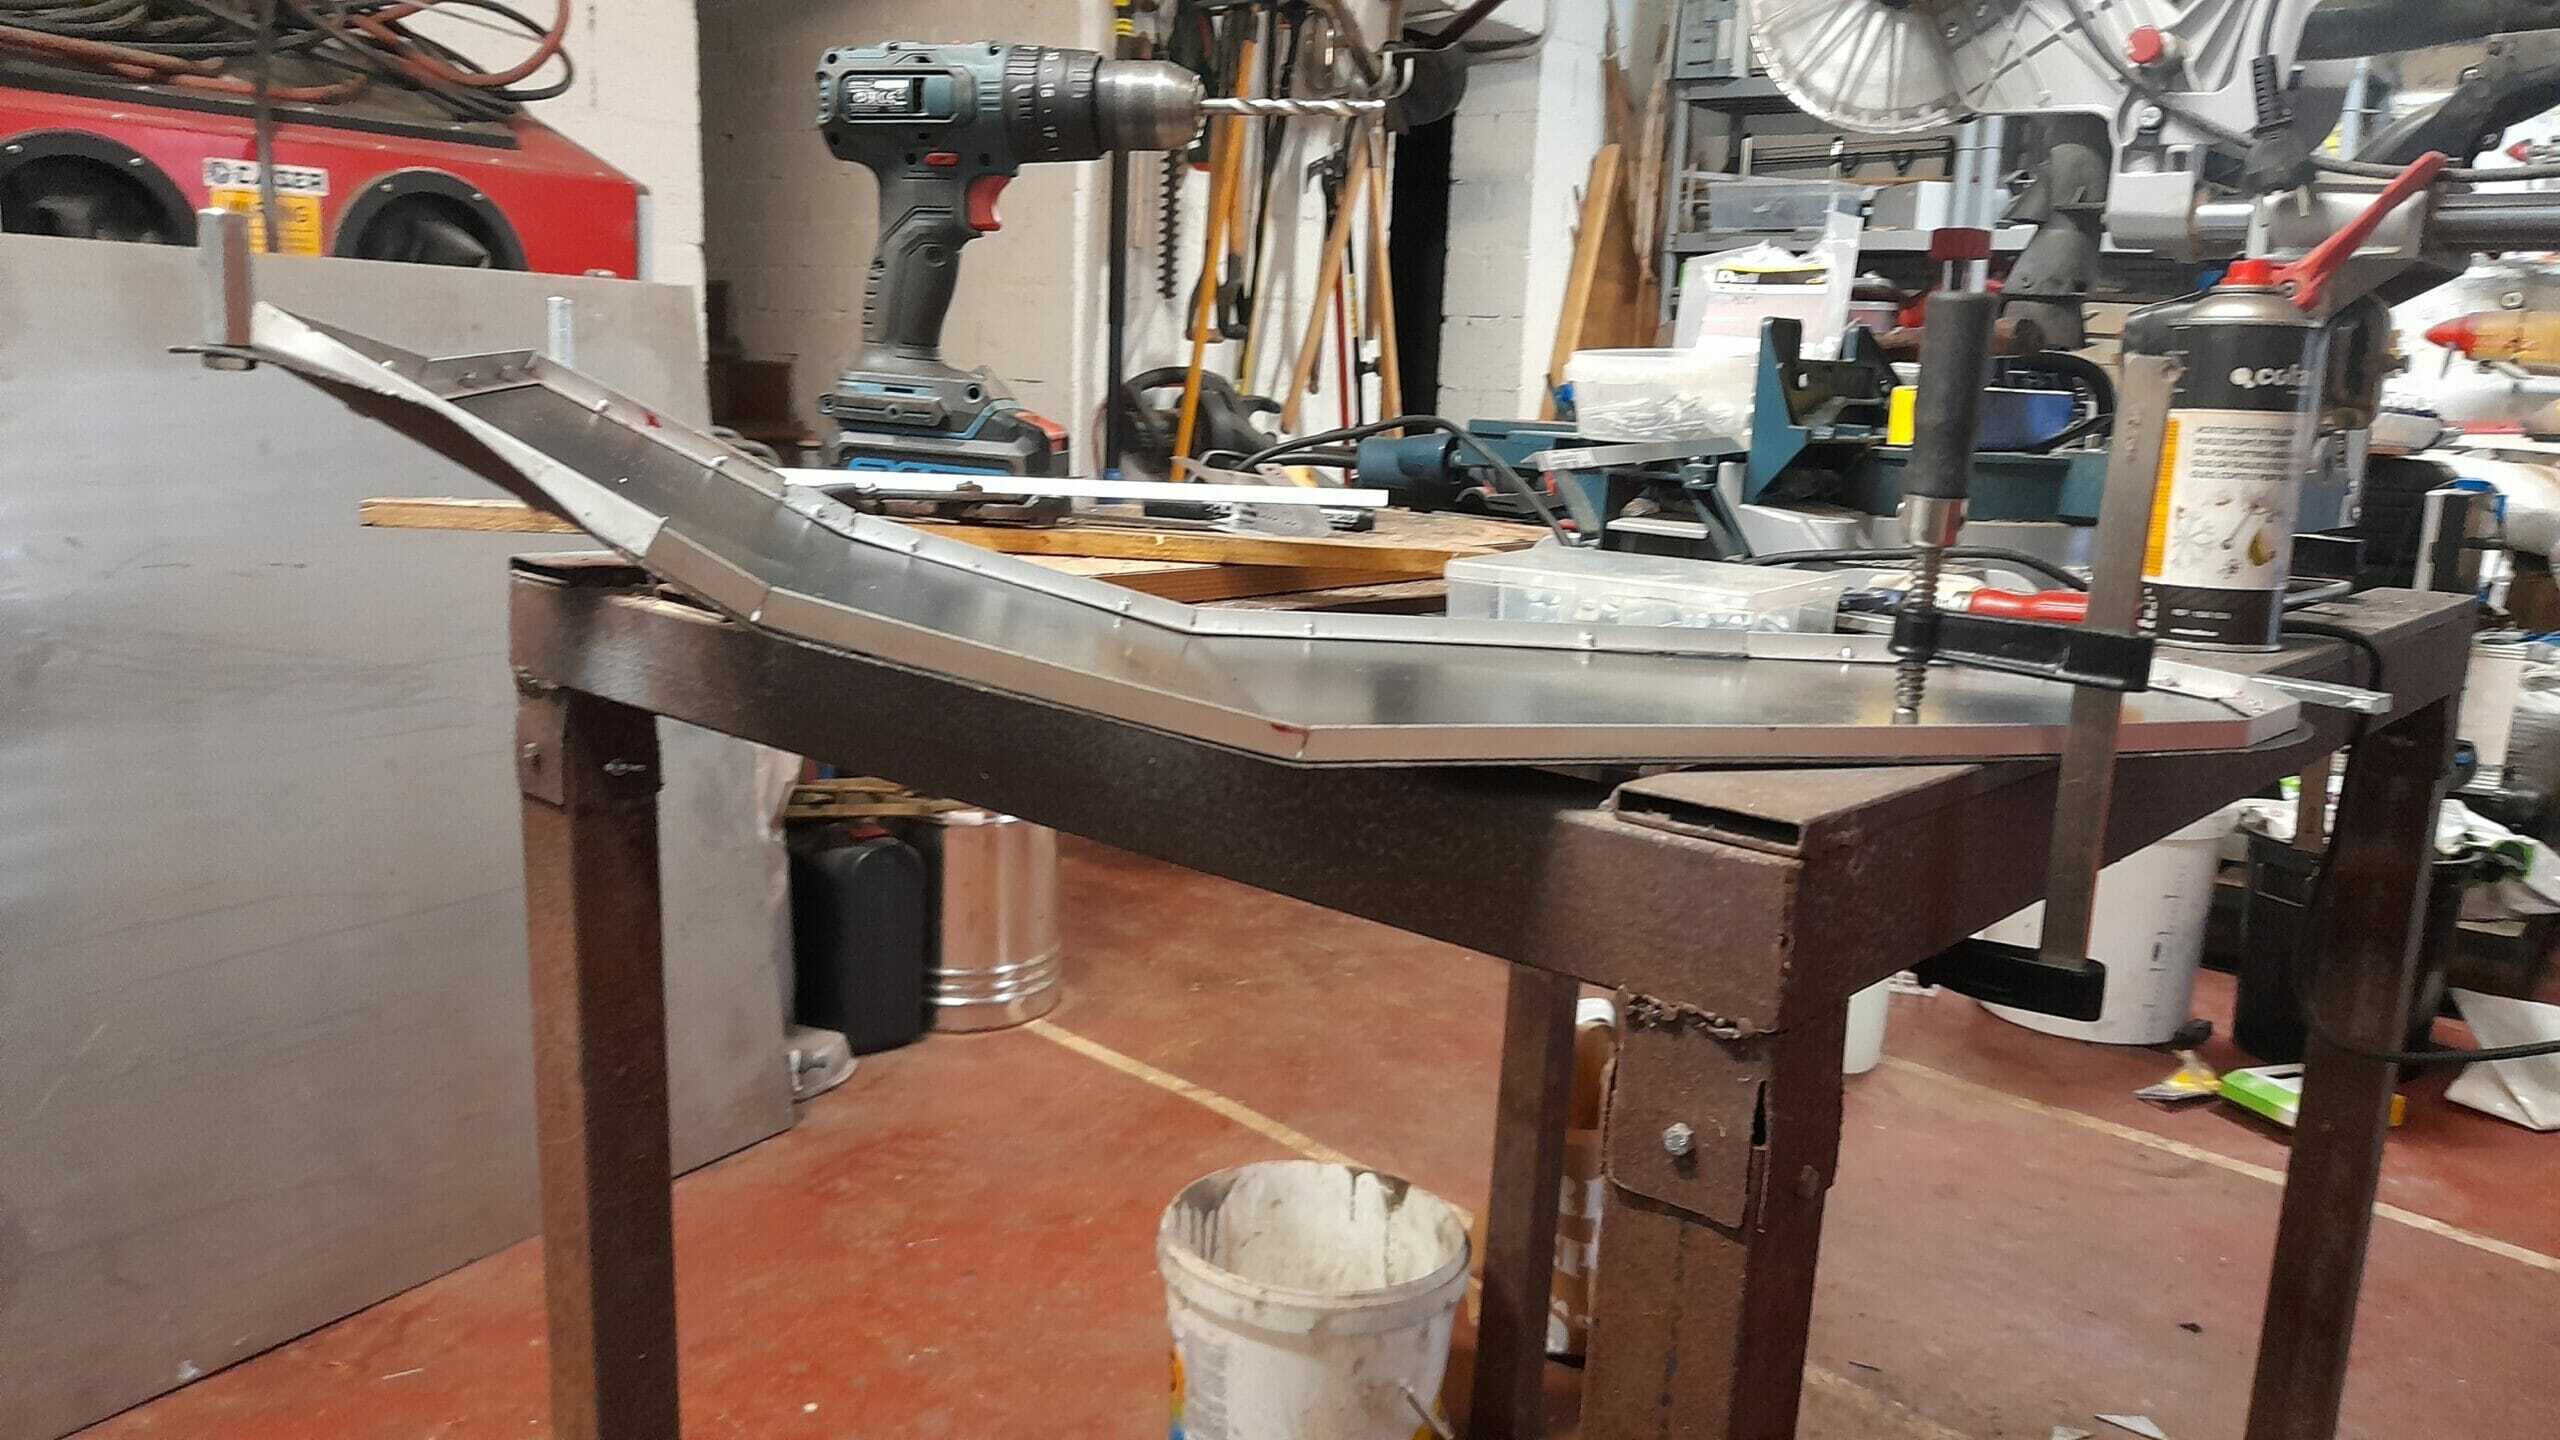
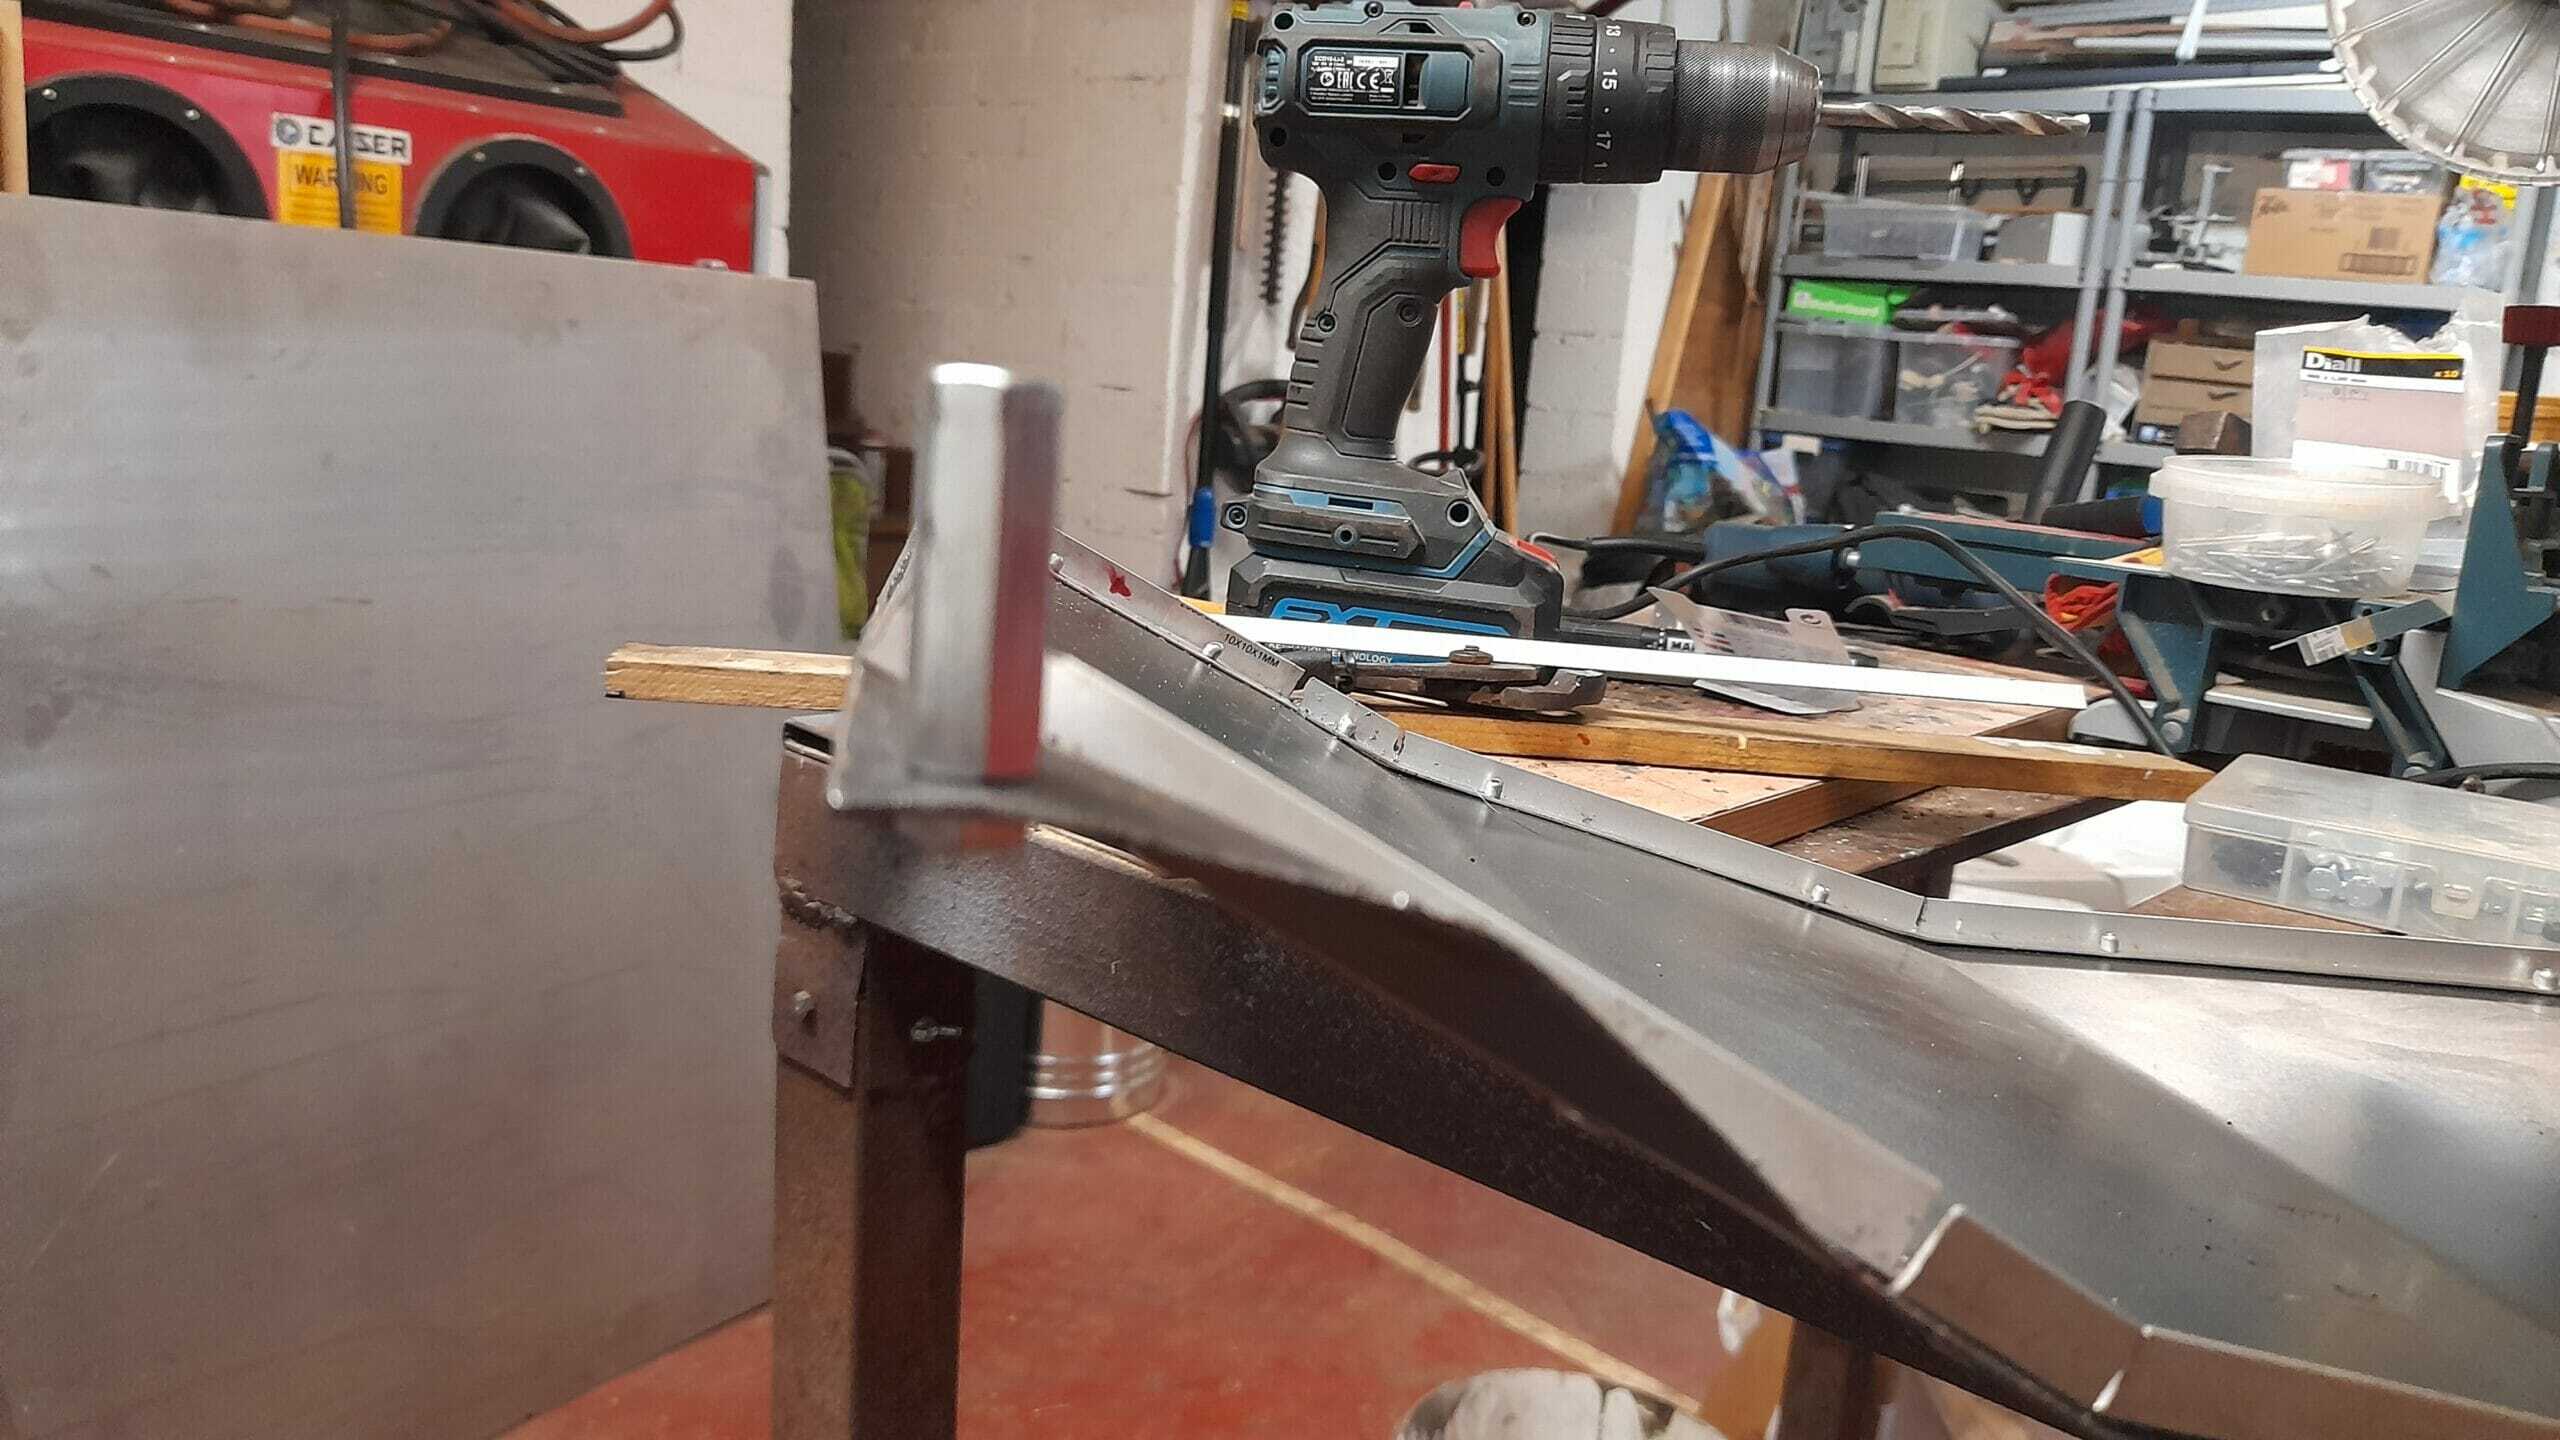
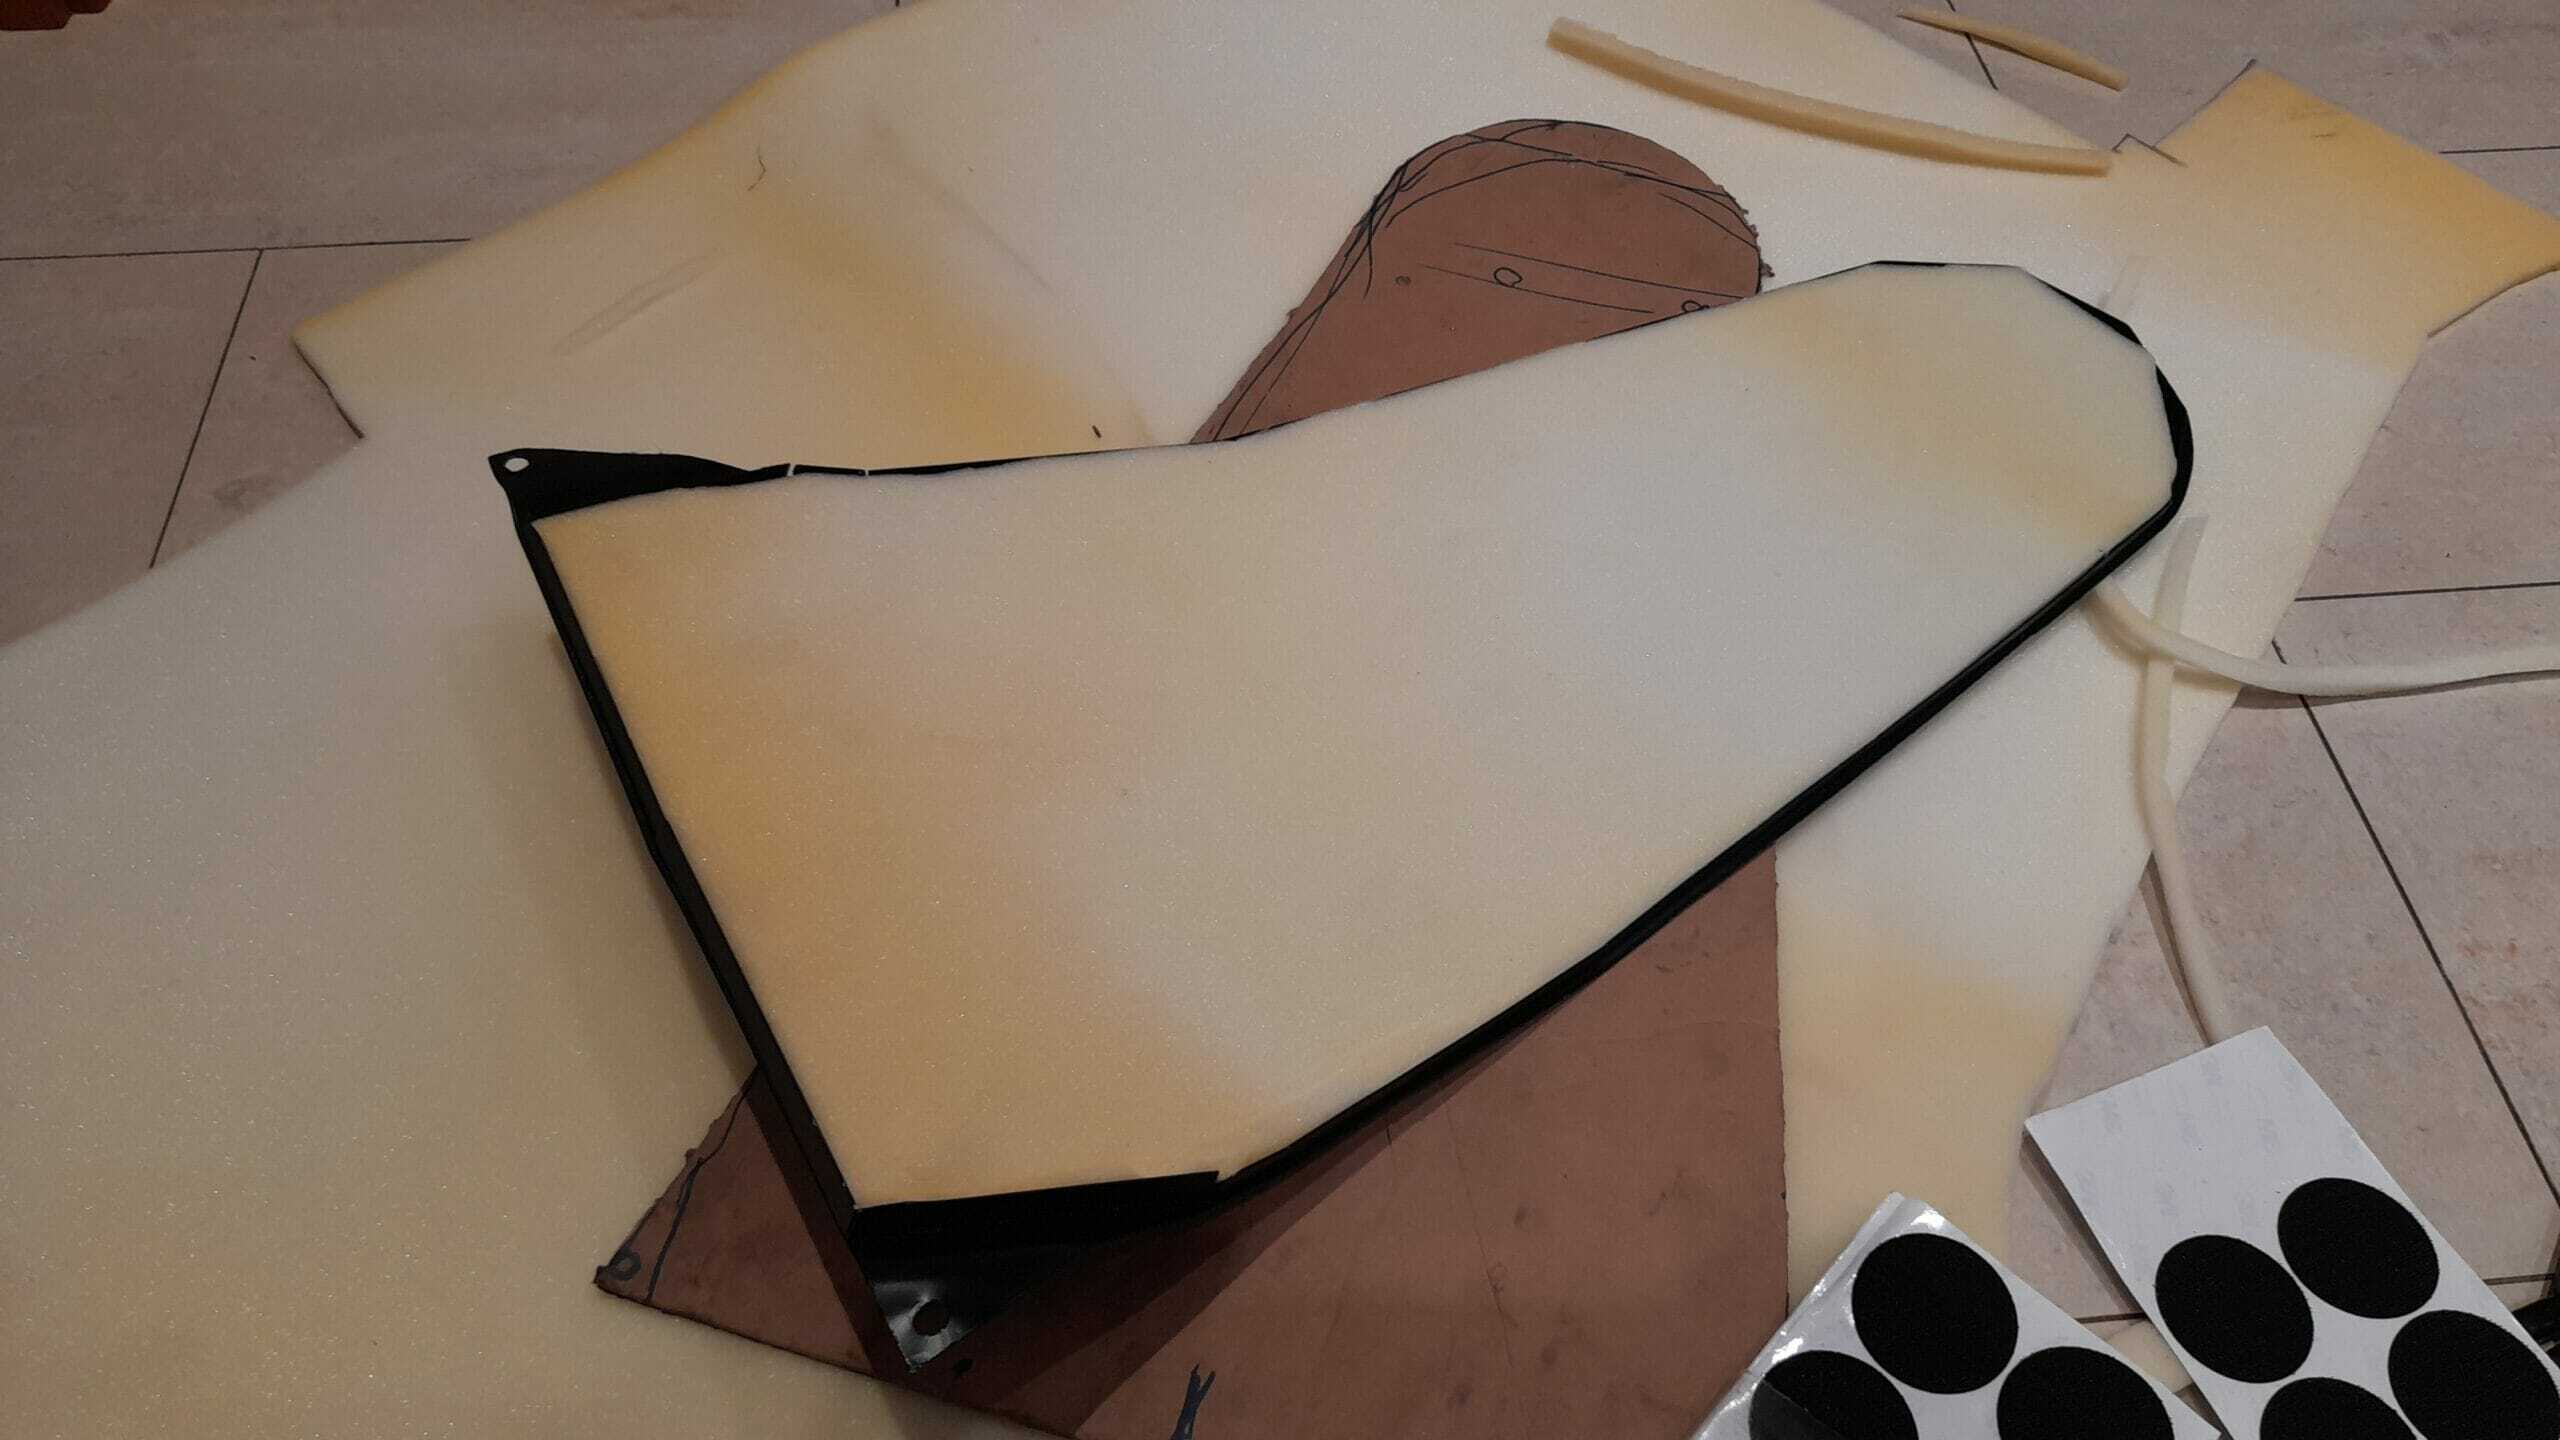
The plates, as in the other occasions, are structurally reinforced with riveted aluminum angle, which gives them rigidity (especially for the central plate which is considerably long) and provides a frame to house a foam to retain any liquid that may fall.
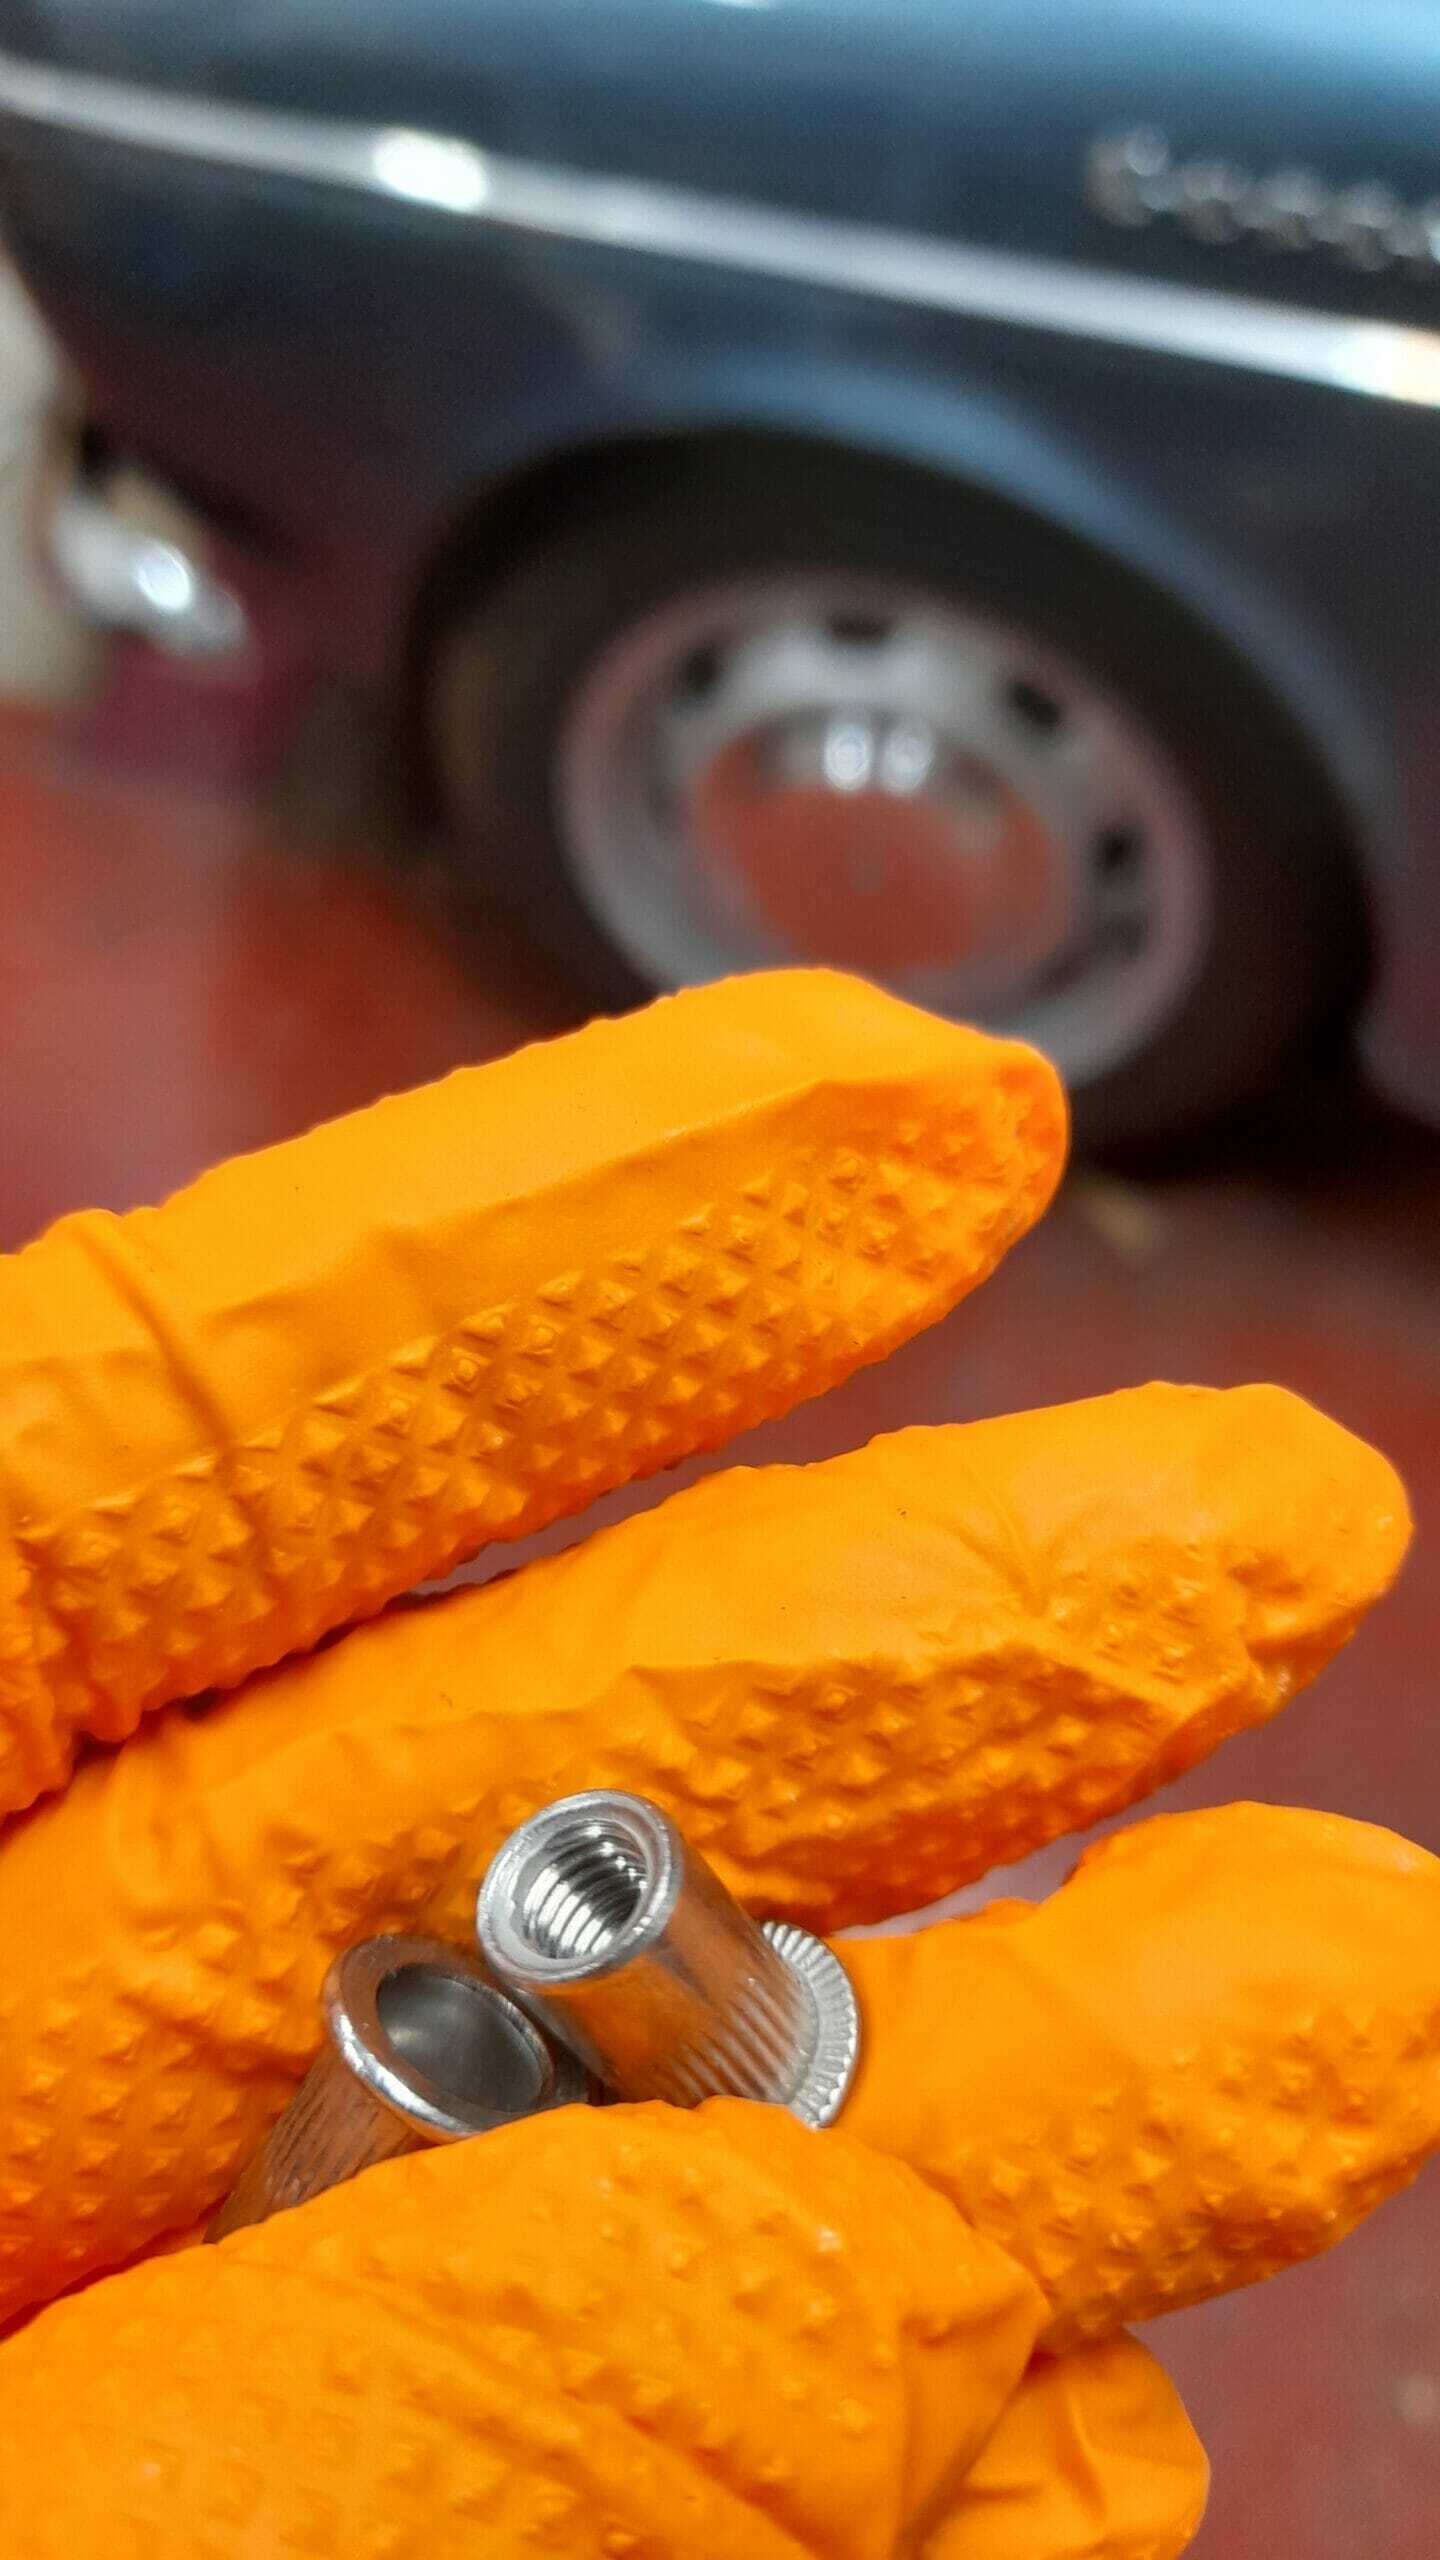
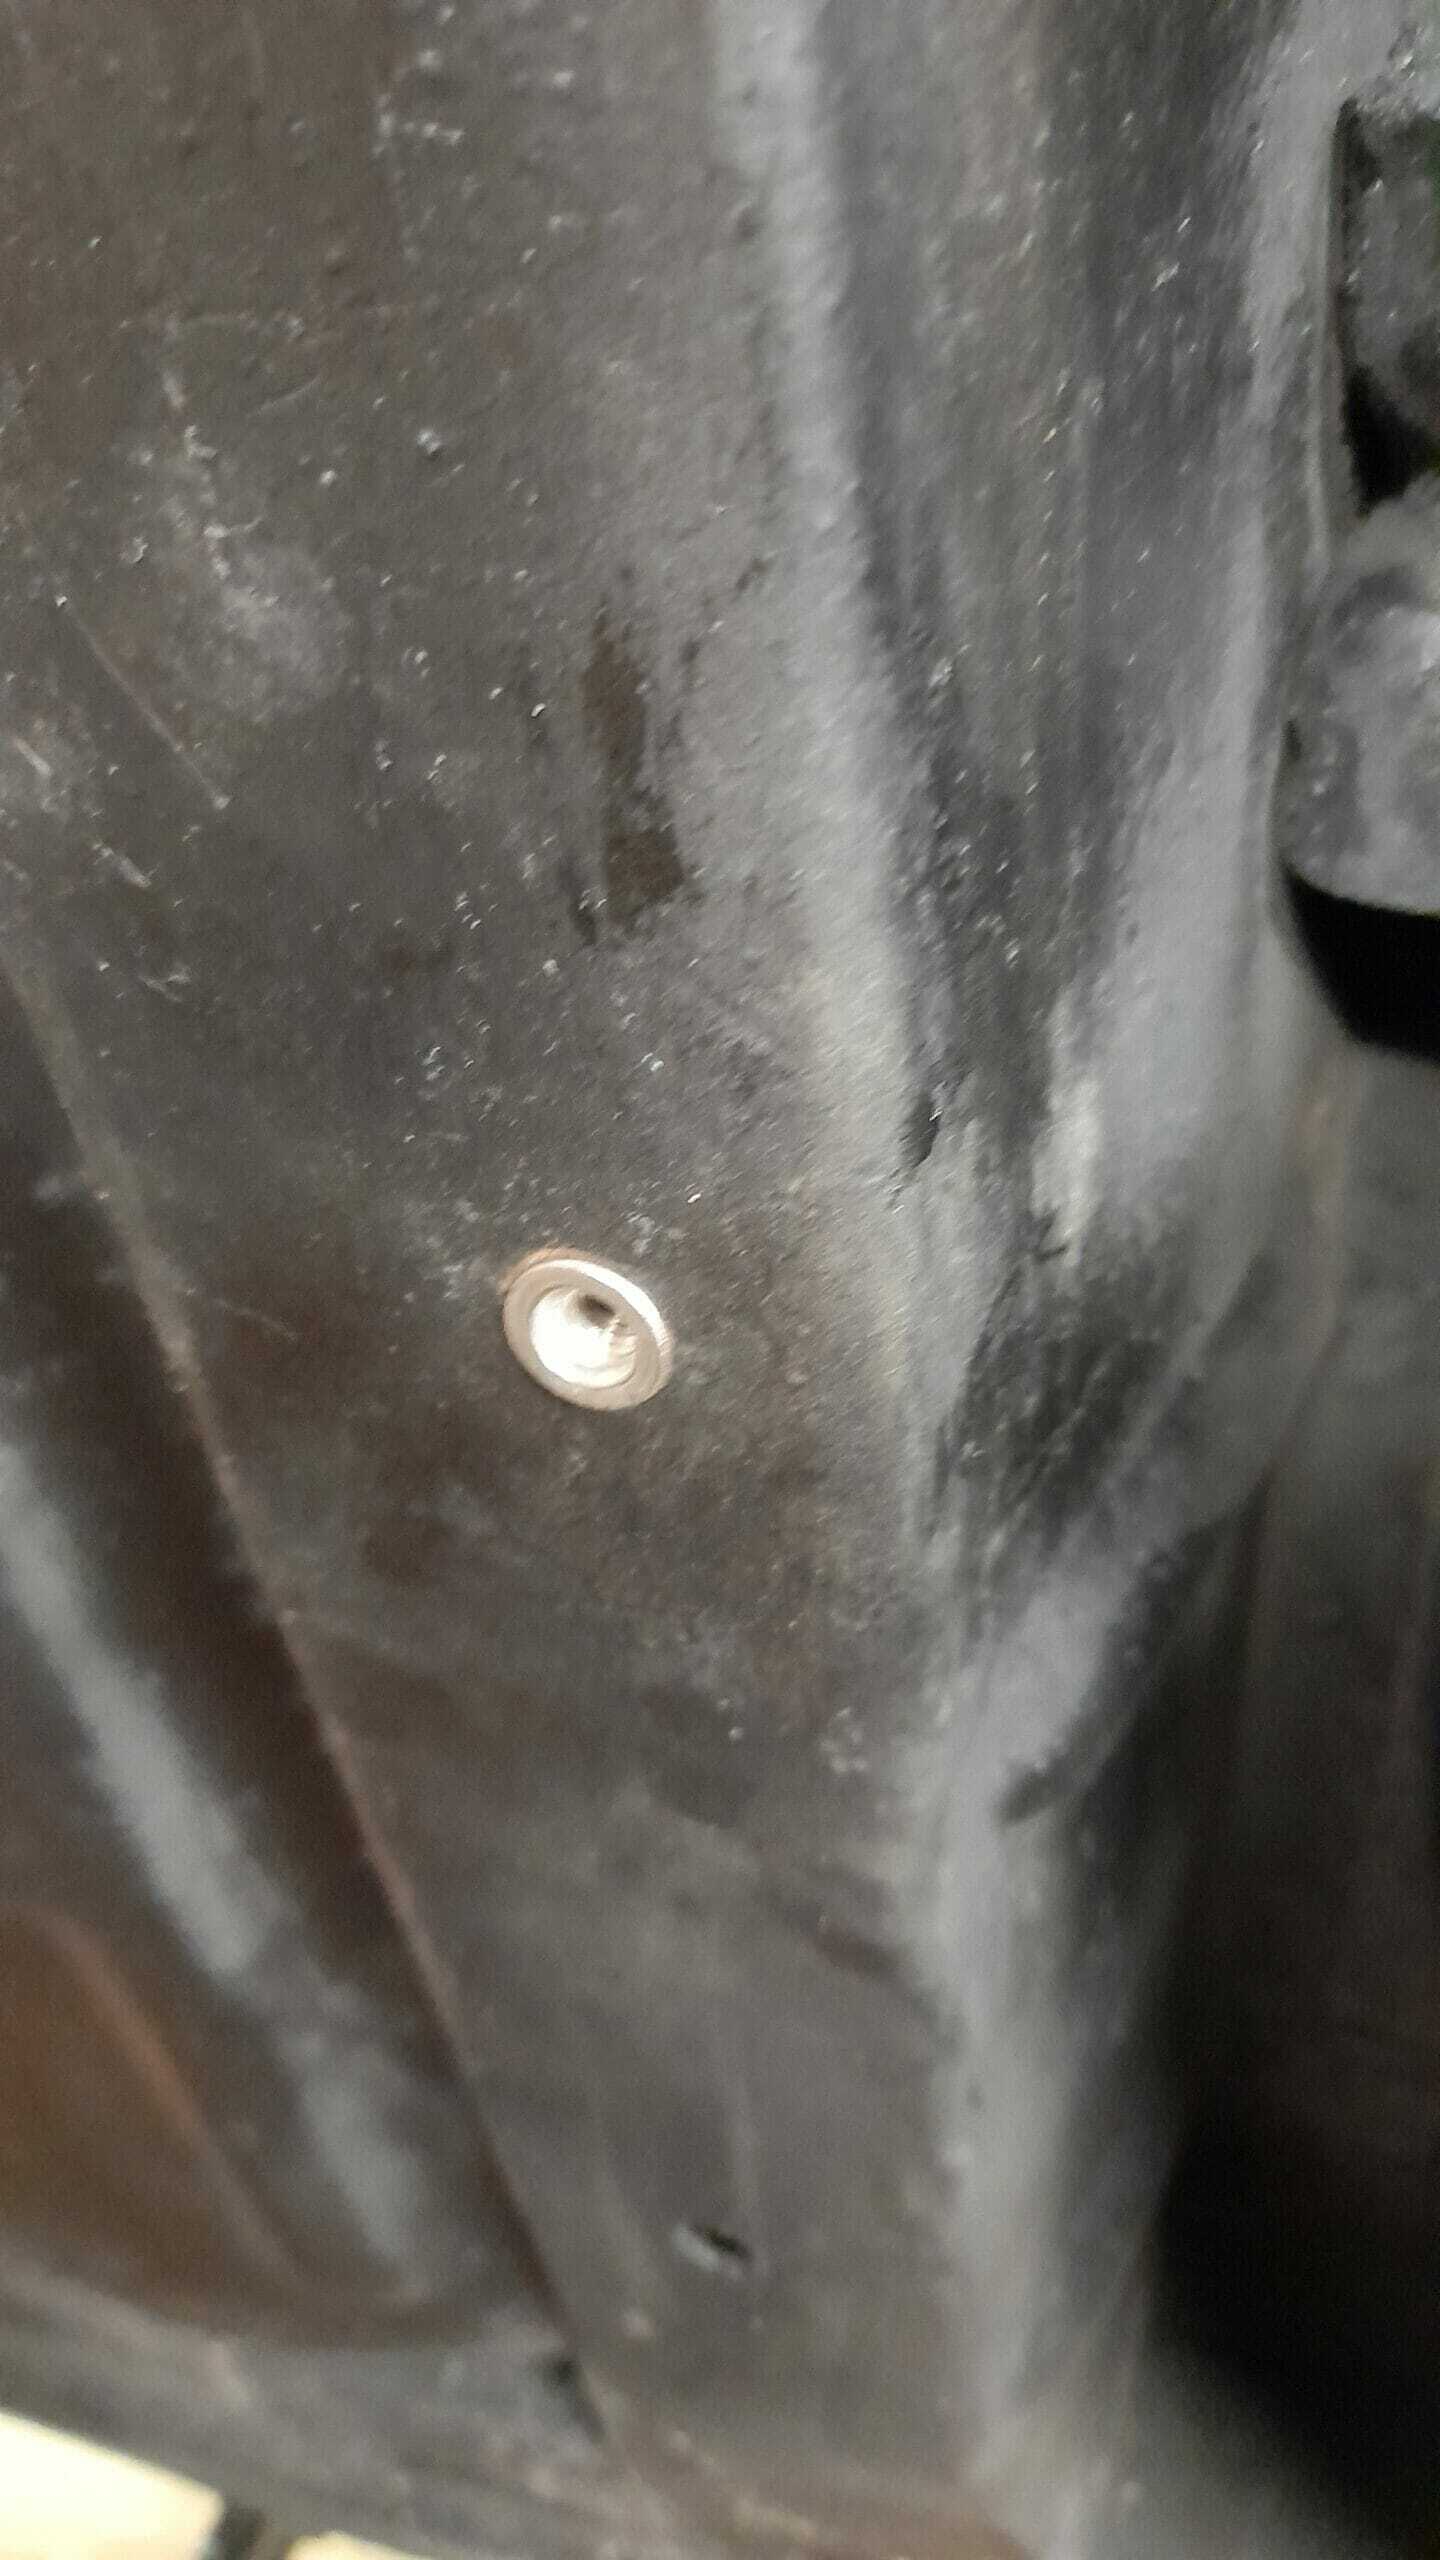
For the center plank, attachment to the center plank cross joist is done with a drill and what are called “rivet nuts”, a small wonder that I admit I have only relatively recently discovered, and which provide a very easy and affordable way to install a female nut in an area where you only have access from one side. And the most important thing: They can be given a significant tightening, much more than those of the “caged nuts”.

On this occasion, the fairings have been manufactured with 1.5 mm plate. Quite a bit thicker than previous cars (the Renault 4CV and the MGA which is 0.75mm thick). It is therefore somewhat more difficult to work with -especially when bending for folds-, but in exchange it is much more rigid, which is to be welcomed.
The following have been chosen for the fasteners
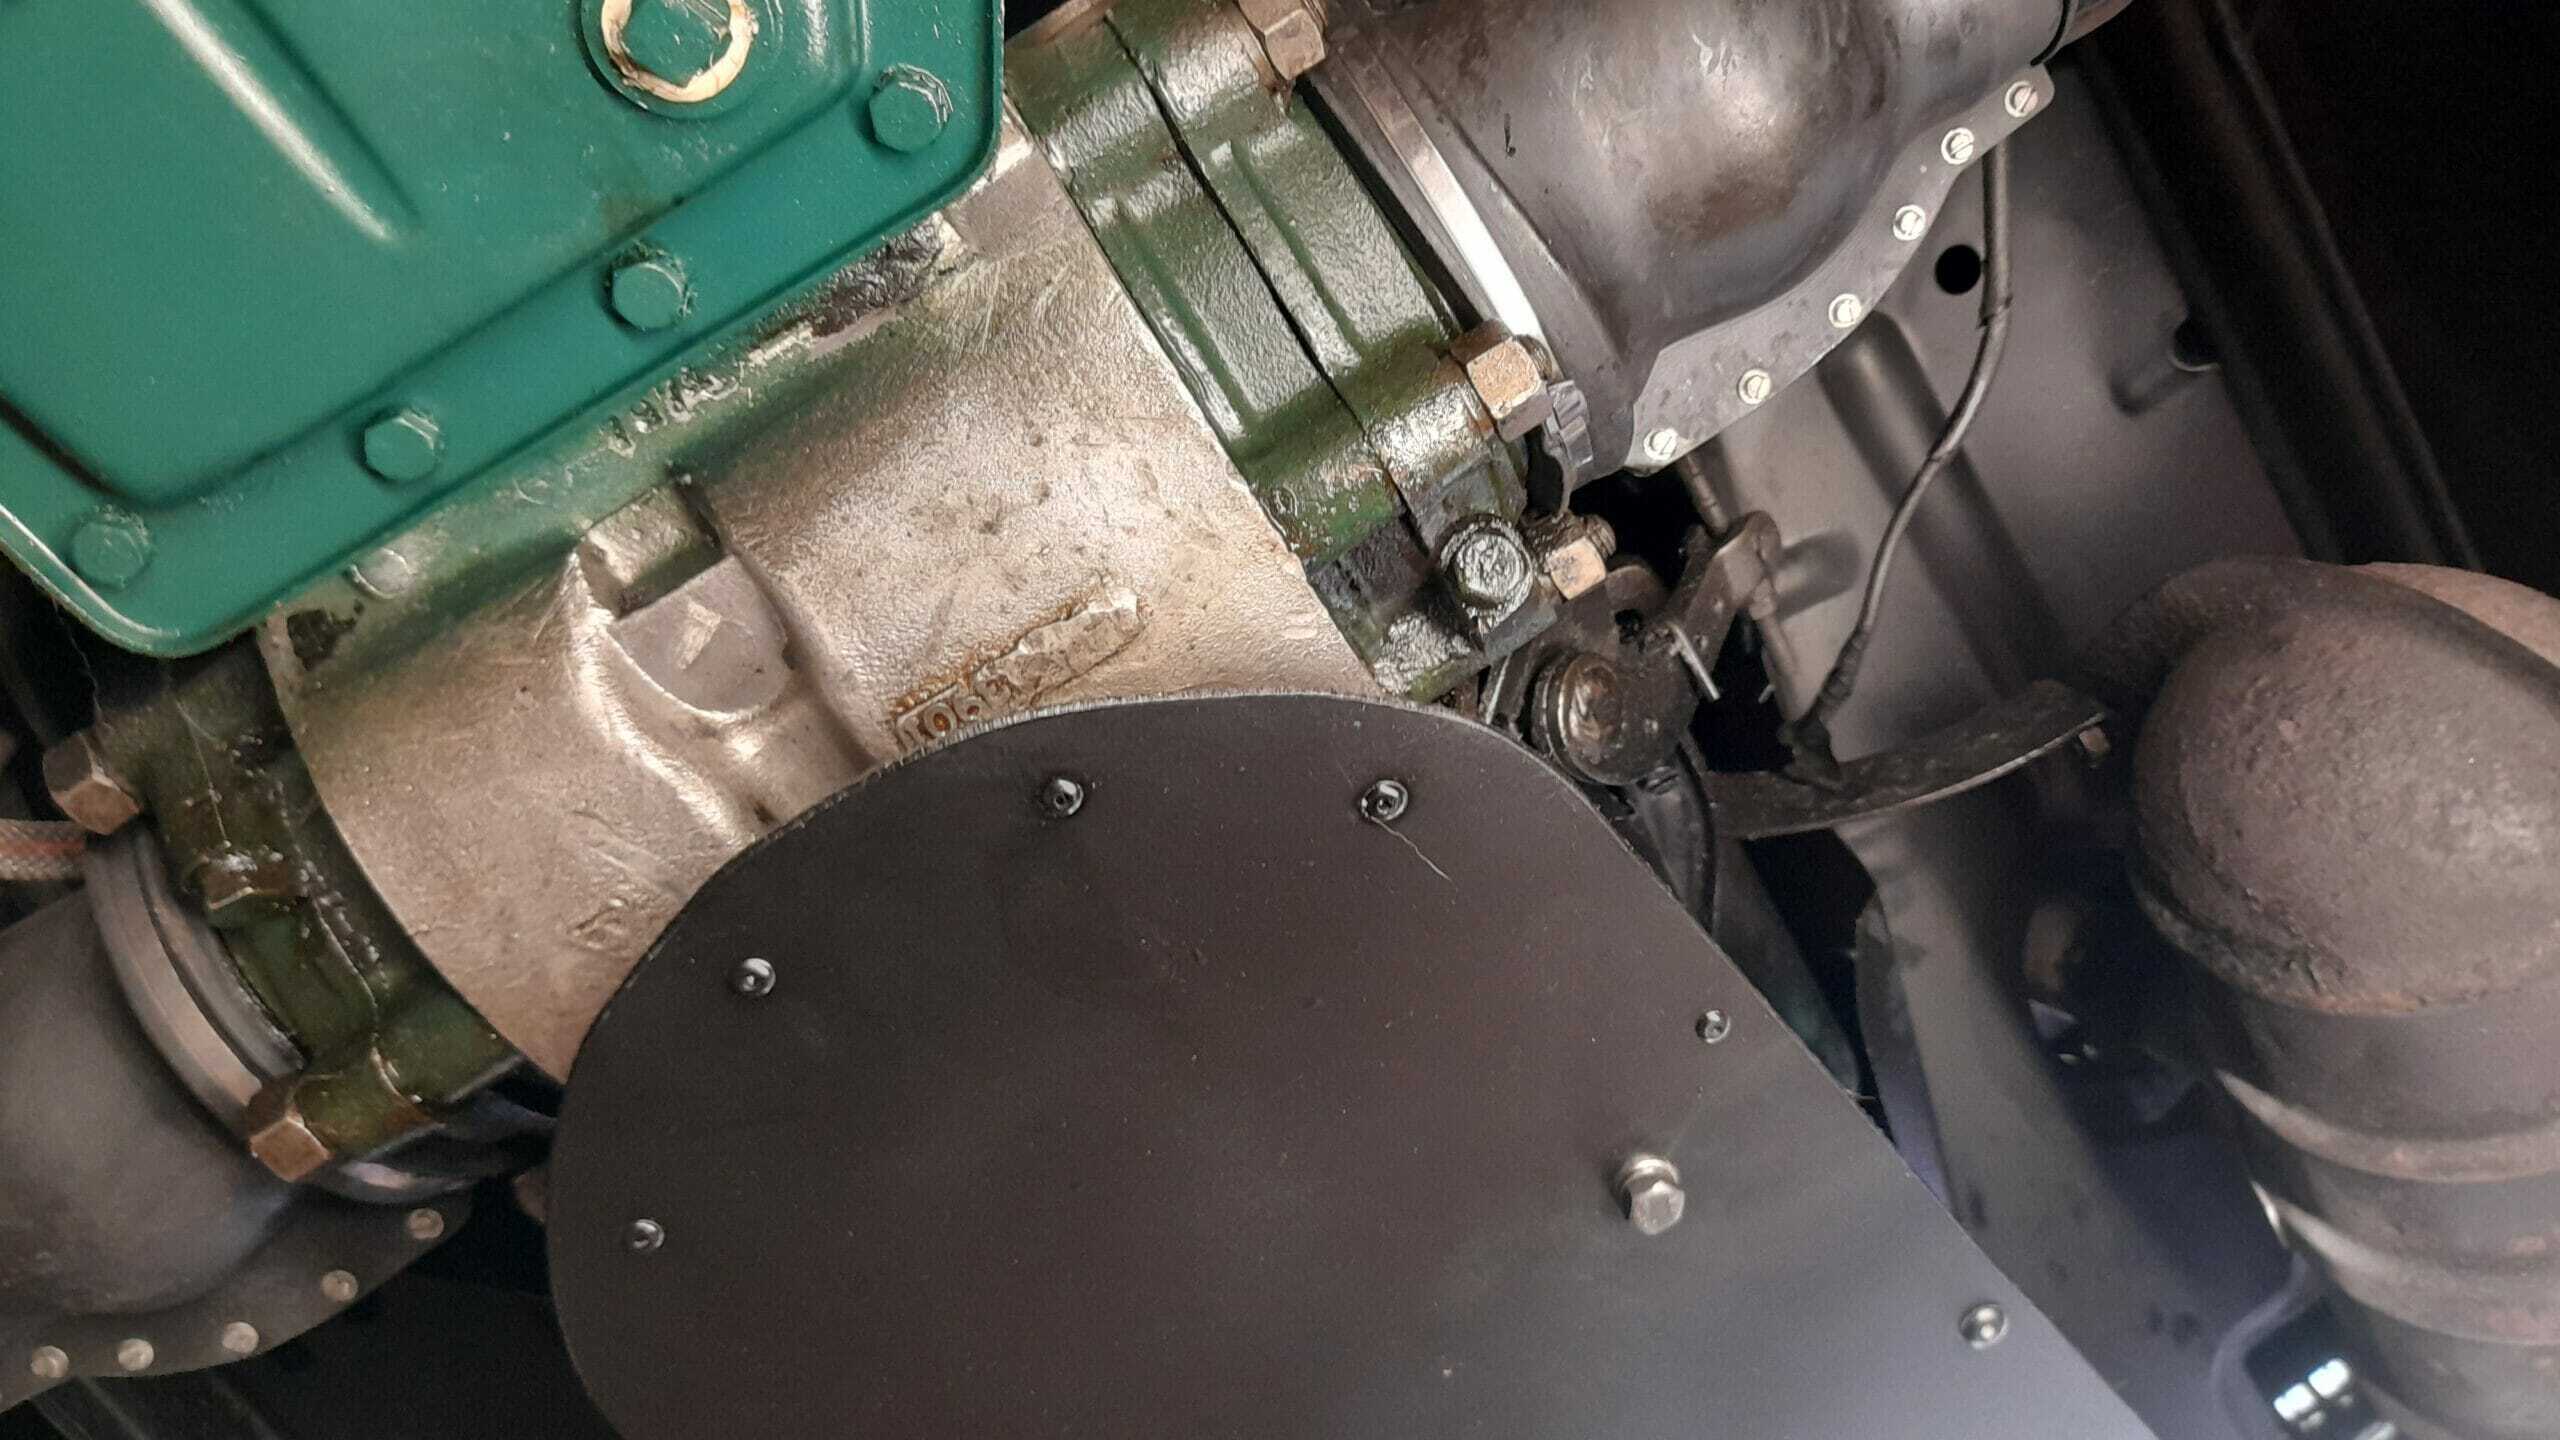
- H-H studs for the rear side (also sometimes called “turrets”) with M6 thread
- Two specially fabricated brackets are attached to two of the differential to crankcase bolts. You can unscrew them one by one to accommodate the two brackets and nothing will happen. The central fixation is shared between the back plate and the central plate. These brackets have a welded nut so that the screw can be threaded from bottom to top without having to worry about holding the female nut.
- Two self-riveting nuts at the front for the center plate. They are very easy to find on the market and the device for riveting these nuts costs about 70 euros.
Rear tray and center tray
The project, therefore, as you have already seen in the general photos above, comprises two trays .
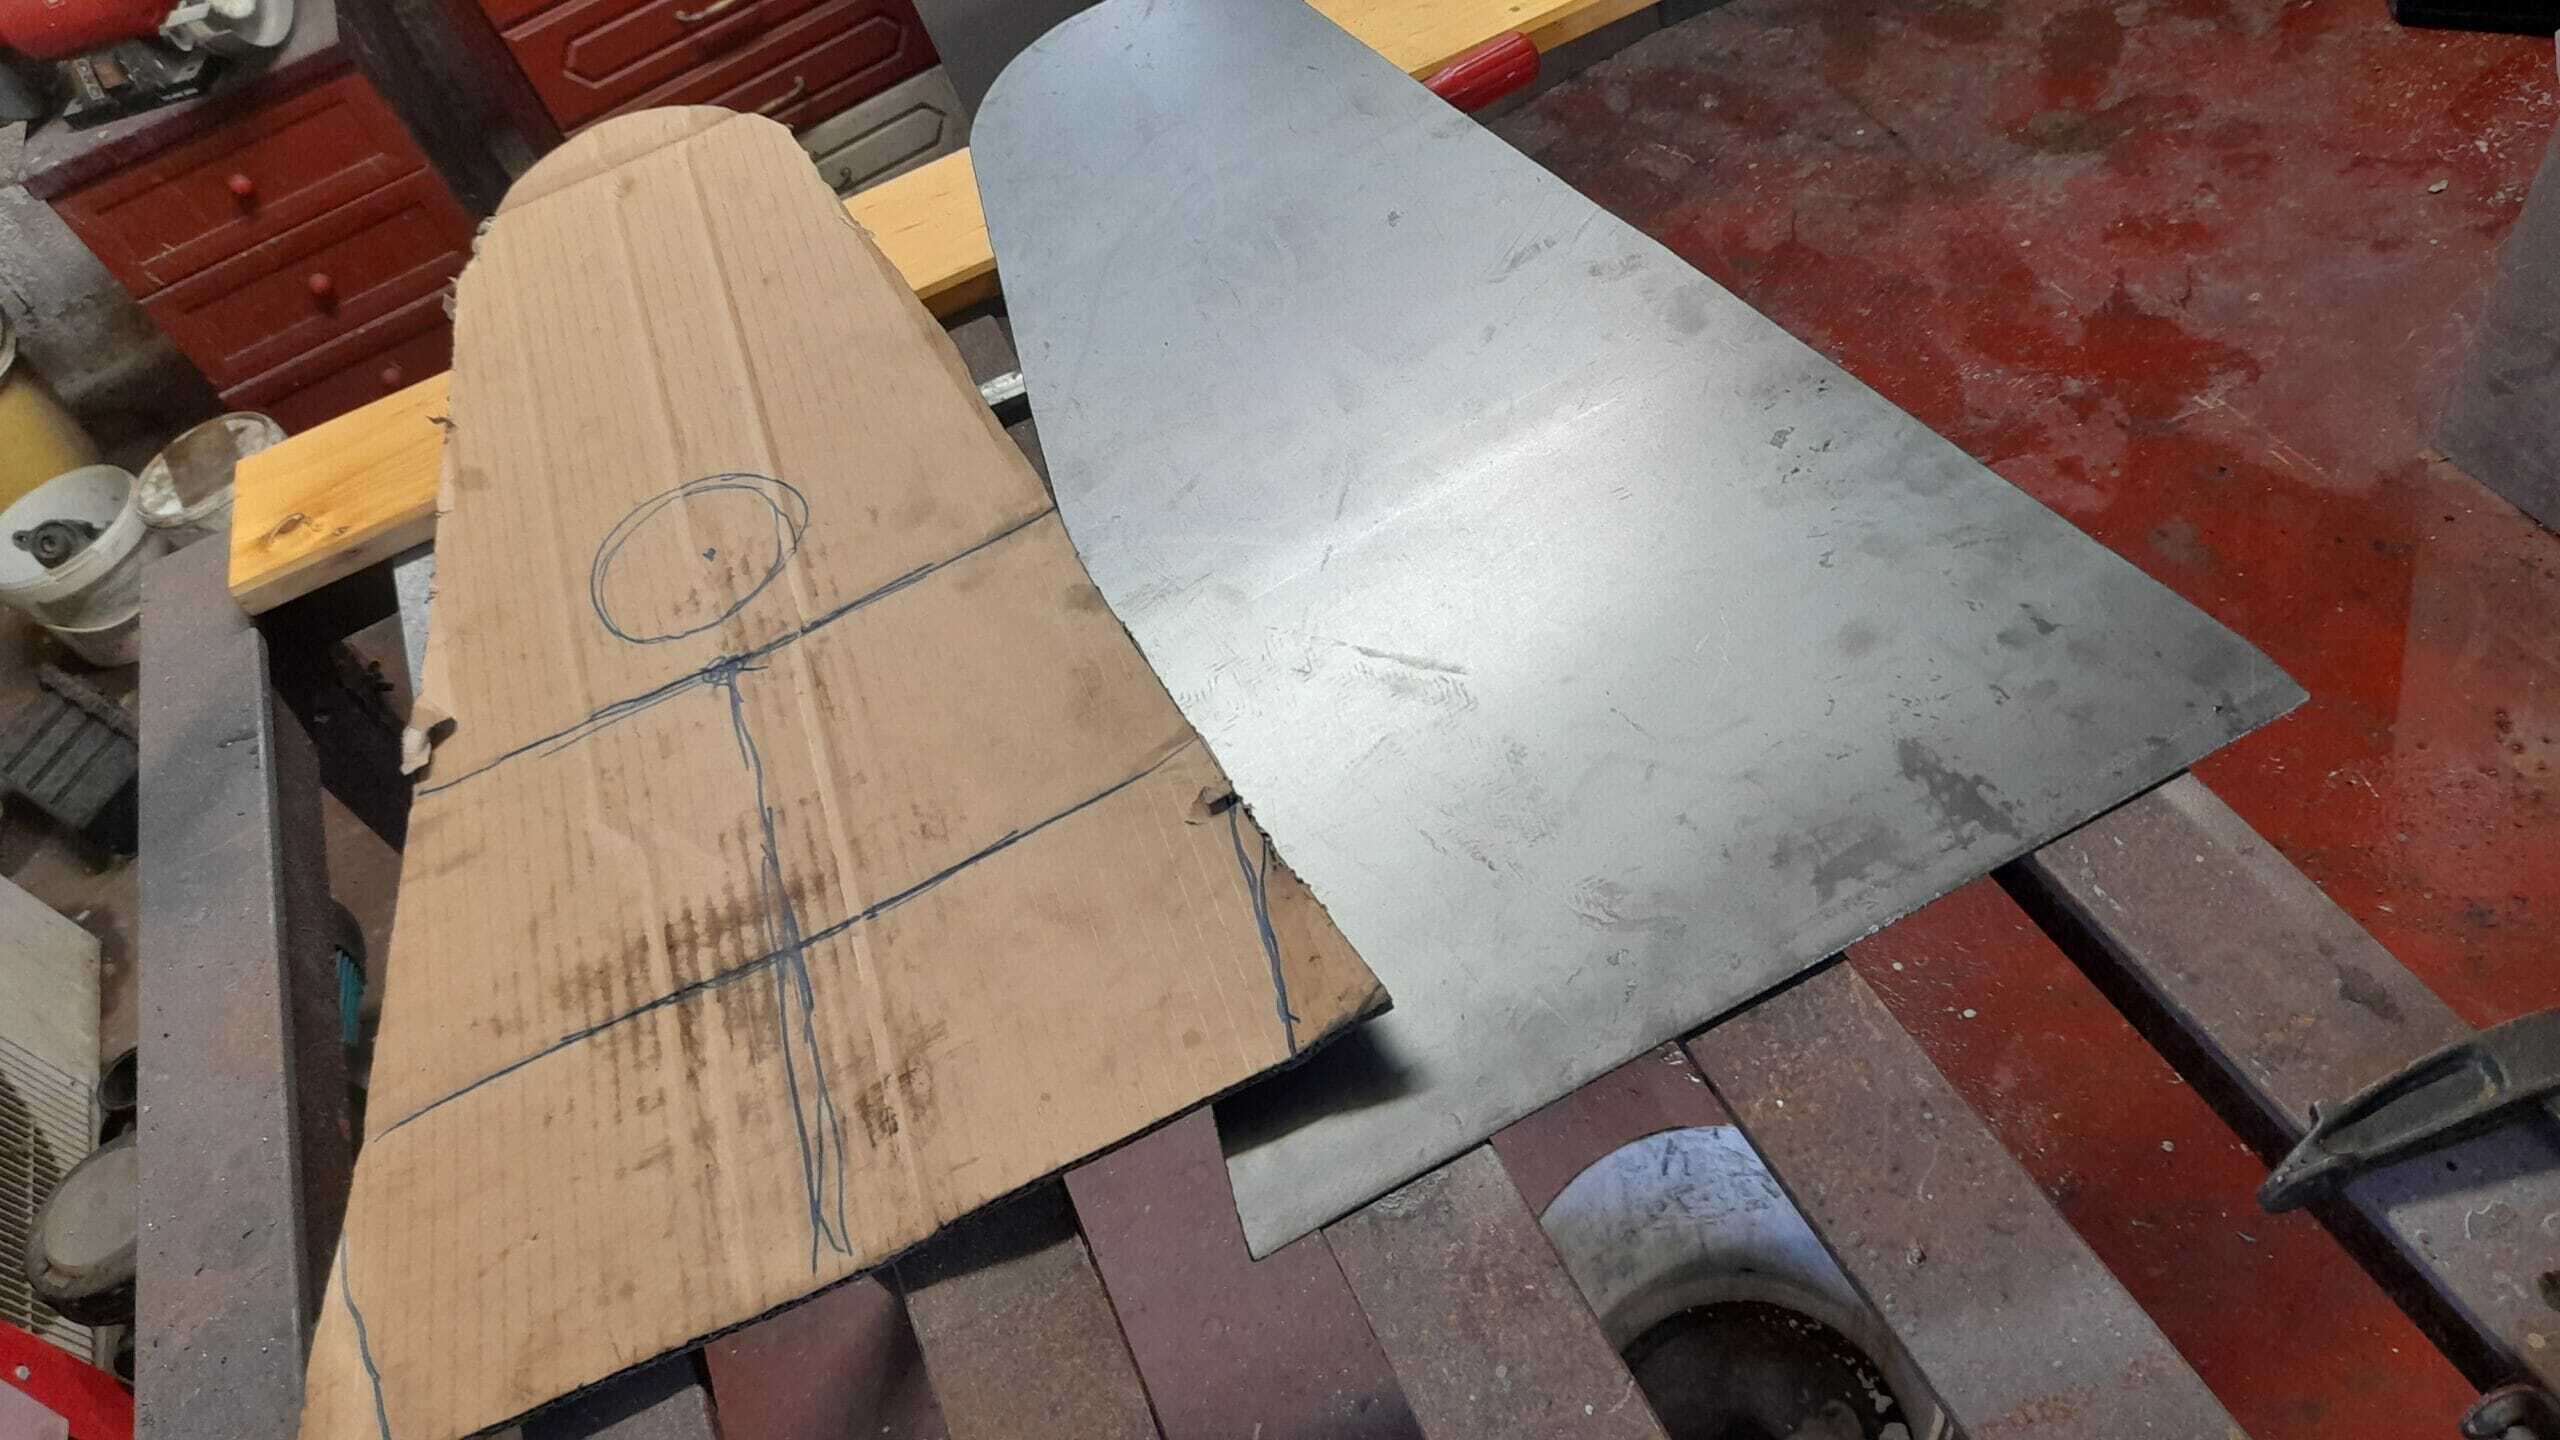
In this particular post, I provide you with detailed photos of the entire process for the rear tray. I also give you information and measurements and dimensions for a Renault Dauphine. . They can serve as a reference, but I recommend that you build yourself a rigid cardboard template, which you can adjust and on which you can mark the holes and make corrections easily.
As
the process is quite extensive, I have subdivided it into different sub-galleries of
images so that you can read it more easily. You can click on the buttons at
below to navigate from one to another.
The following gallery contains the information for the back plate. For the central plate, here you have the entry .